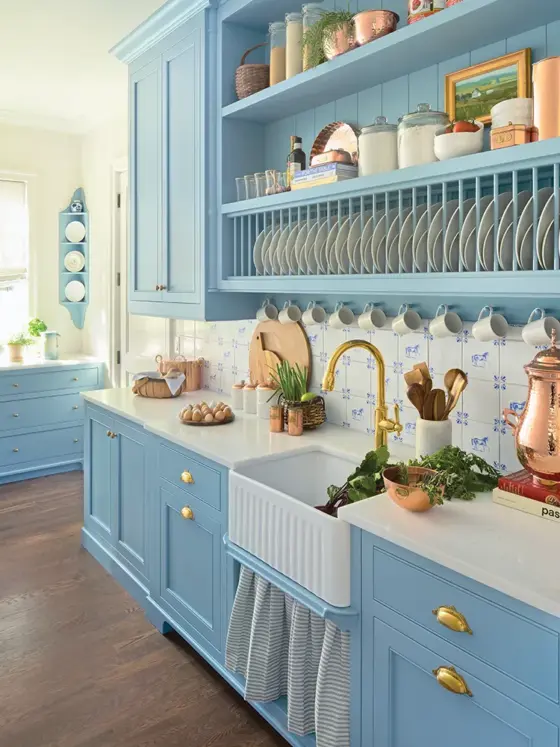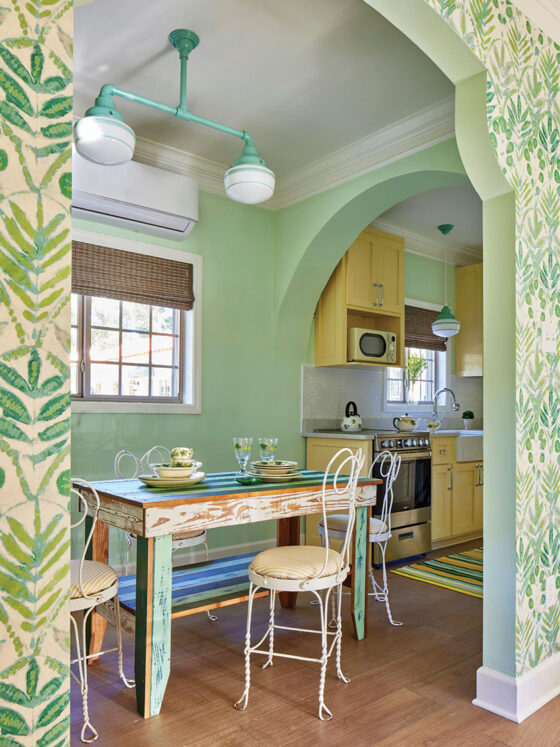
After months of planning and preparing, our Project House Austin is coming to life under the guidance of Cottage & Key Design Studio.
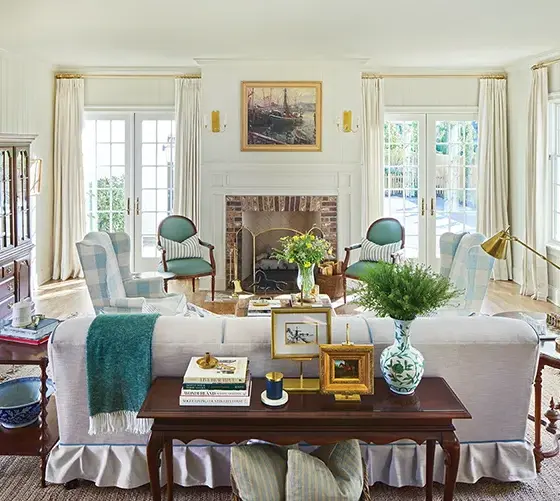
One of the most exciting phases in a new build is watching the home design leap off of the page and into reality. For our brother and sister design duo Melissa Olson and Brent Green, the progress during the construction phase has been delightfully smooth and fulfilling. “We are incredibly pleased,” Melissa says. “We’re thrilled to see all the design elements come together.”
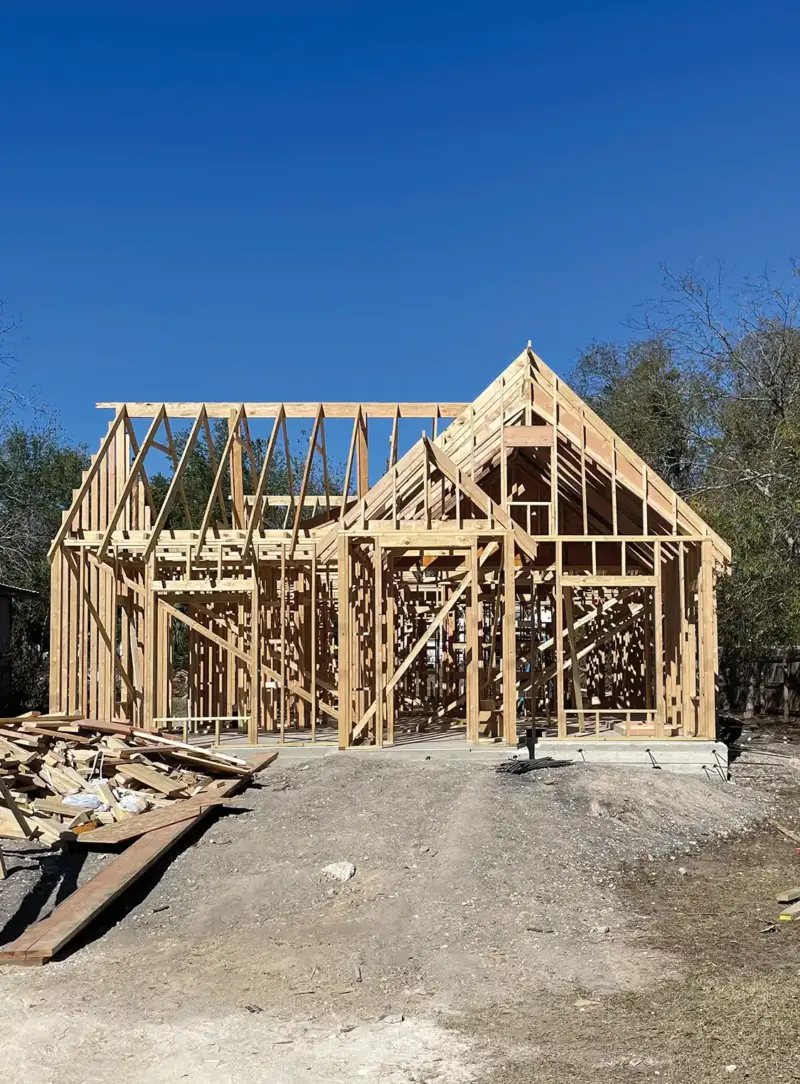
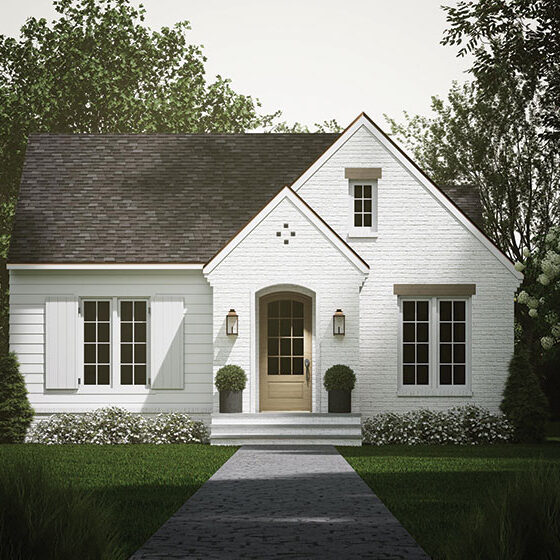
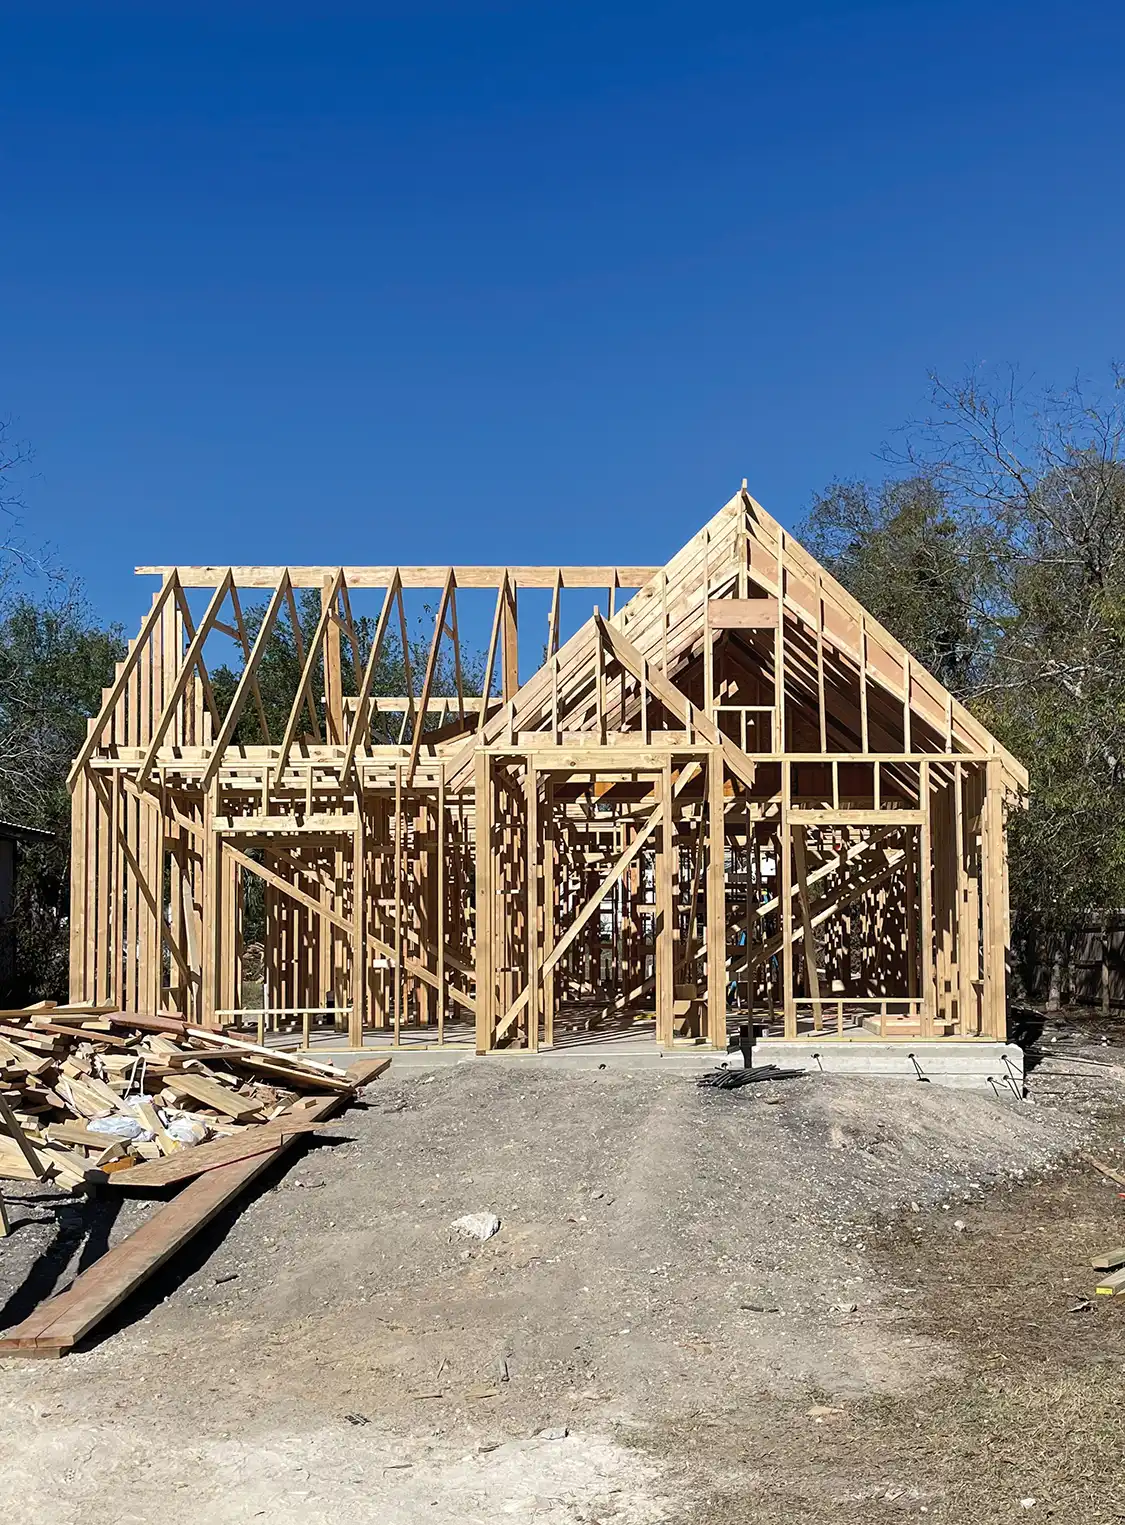
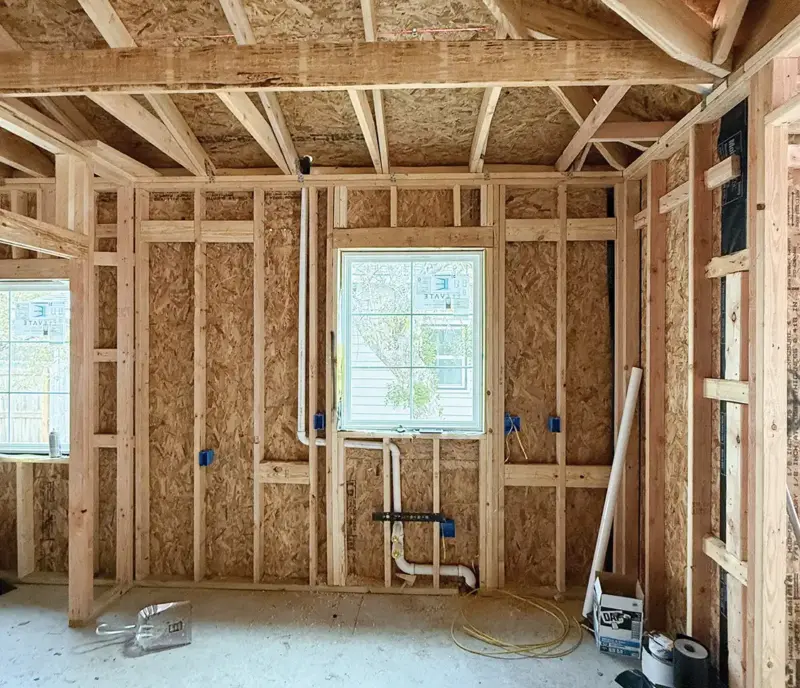
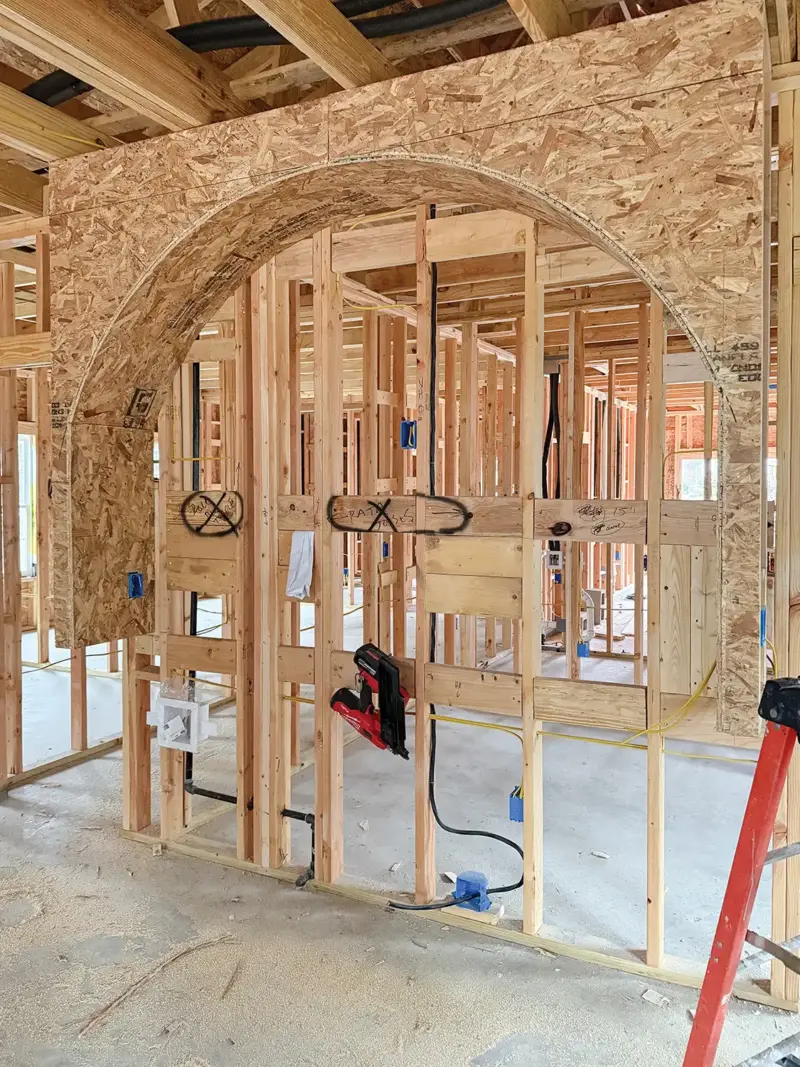
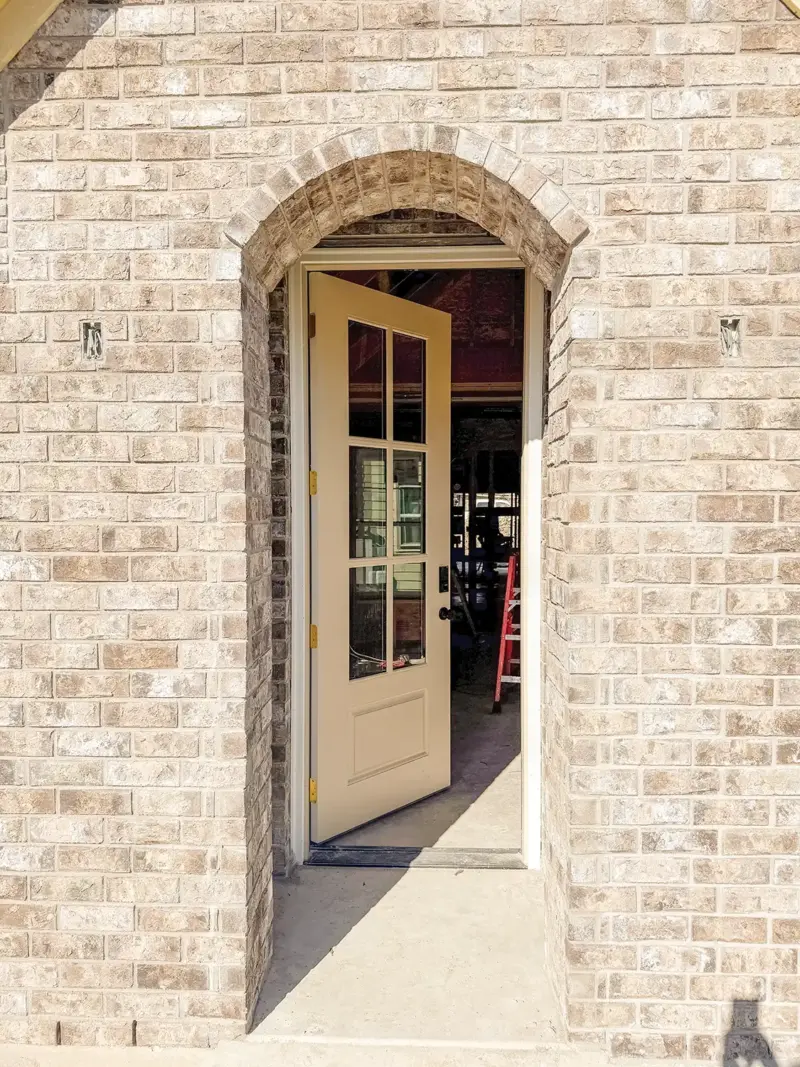
With the framing, exterior brickwork, plumbing, electrical and HVAC rough-ins completed, the team is looking forward to the spray-foam insulation and drywall installation as well as the completion of the siding and roofing. “We are particularly excited about the textural dimension the brick adds to the home’s elevation,” Melissa says.
Perfect Placement
Plumbing and electrical placements are key in the construction process but can be intimidating for DIY renovations. Bathrooms are a great example of how important proper placement is to create a design that serves both style and function. When installing a shower head, Melissa and Brent recommend placement 7 feet from the completed floor. “This ensures comfortable showering for people of all heights,” Melissa says. If you’re installing a freestanding tub, Melissa prefers a wall-mounted tub faucet to freestanding faucets. “They are typically less messy, easier to clean and often more cost-effective than freestanding options,” she says.
For electrical placements, Melissa recommends considering the other elements in the design to use as cues to ensure a visually balanced and cohesive look. For example, bathroom mirrors should be 5 to 10 inches above the faucet, which should be around 40 inches from the completed flooring. Using the mirror(s) and the flooring as references, you can then determine the placement of your lighting. “Install wall sconces between 60 and 65 inches from the floor to the center of the sconce backplate,” Melissa says. Spacing for your sconces, when flanking a vanity mirror, should allow 4 inches of space on either side of the mirror. Make sure you double-check the required electrical box sizing for your sconces as this is a common mistake Melissa and Brent see homeowners make. Finally, Melissa urges having your work checked by a qualified plumber and electrician to ensure safety.
Sponsor Spotlight
This project would not be possible without the support of our Project House sponsors—and Melissa and Brent have enjoyed utilizing their quality products to bring their vision to life. Oatey Co. has supplied the plumbing materials for the rough-in phase. “Their high-quality products are a trusted standard in the industry, and we greatly appreciate their support,” Melissa says. “From drains to flanges, supply boxes to pipe primers and cements, Oatey is the standard for rough-in plumbing products,” Brent adds.
Another part of the rough-in phase was the installation of the HVAC. MRCOOL® provided the system, which highlights their Central Ducted Hyper Heat technology. “The installers were impressed by the system’s ease of installation, thanks to features like the pre-charged Quick Connect line sets,” Melissa says. “This system is a game-changer, effectively challenging the misconception that heat pumps are ineffective in colder climates. We’re confident that this ‘cold-climate heat pump’ will provide exceptional comfort and efficiency throughout the year.”
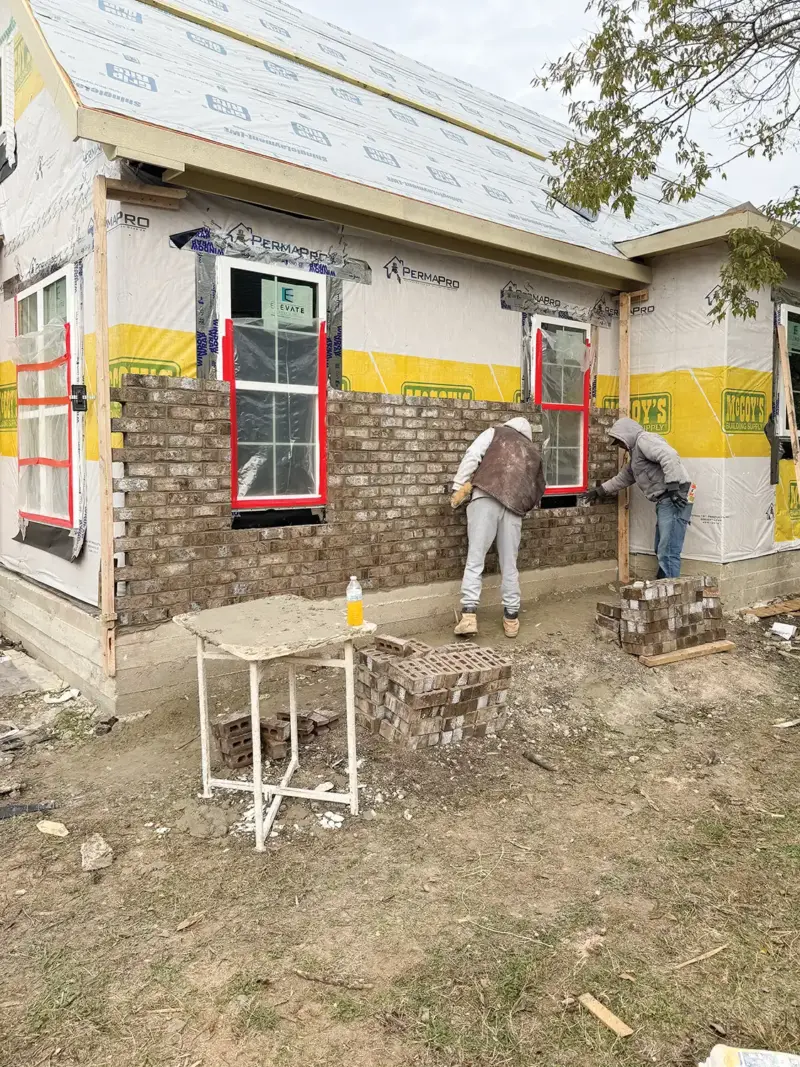
For the exterior work, Cherokee Brick supplied their high-quality, American-made bricks. “We were pleased with the smooth and efficient installation process,” Melissa says. Interior and exterior doors were provided by Steves & Sons. Though door installation can be difficult, and intimidating, Brent and his assistant were able to install with ease utilizing Steves & Sons’ videos and instructions. “We also toured their manufacturing facility and loved getting to see how the doors were made from start to finish,” she says. “It’s an impressive facility, and we were blown away by their quality and expertise.”
Looking Ahead
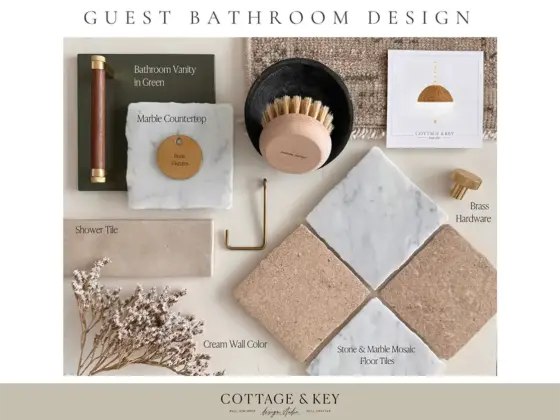
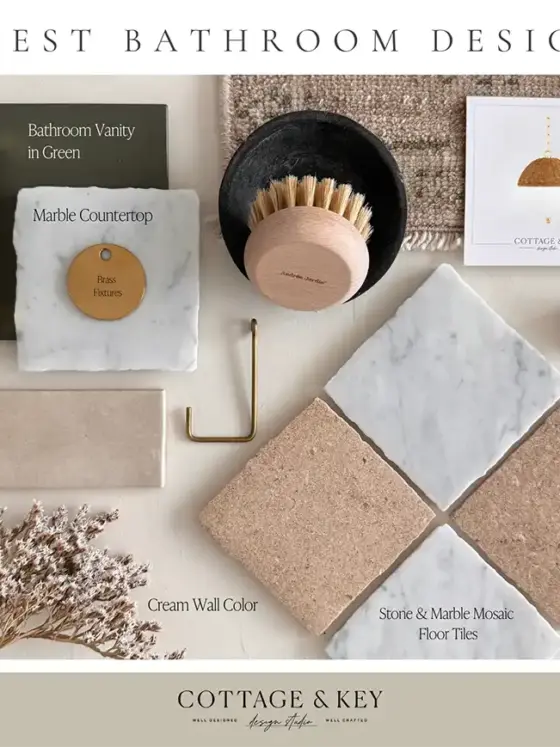
What’s next for our Project House Austin team? Aside from the new coat of paint on the exterior, Melissa also looks forward to putting the finishing touches on the interior design, starting with the guest bathroom.
Capitol Lighting/1-800LIGHTING will be supplying the pendant light. “It is stunning and adds a touch of texture and charming scalloped detail,” Melissa says. The tile will come from Alexander James Tile. “They provided a stunning checkered floor design featuring marble and Cream Marfil stone,” Melissa says. “The walls are adorned with a creamy neutral tile with subtle texture complementing the floor for a sophisticated and timeless look.”
Finally, the vanities for both bathrooms are from Willow Bath & Vanity. “They offer a beautiful selection of colors and styles, rivaling what you’d typically find from a big box store,” Melissa says. “These cabinets are something you’d have a custom cabinet maker create, except it’s readily available to all at an incredibly affordable price.” Their vanities also arrive with quartz or marble tops and sinks already installed, making them easy to place into the rest of the bathroom design.
Follow along on Instagram @cottagesandbungalows and @cottageandkey for updates and we’ll see you in the next issue for room reveals! To learn more about Cottage and Key Design Studio, visit cottageandkey.com and shop.cottageandkey.com. Don’t miss out on our amazing Project House Austin sponsors. To follow along with more Project House Austin updates, sneak peeks and cottage inspiration, find us on Instagram, Facebook and Pinterest!