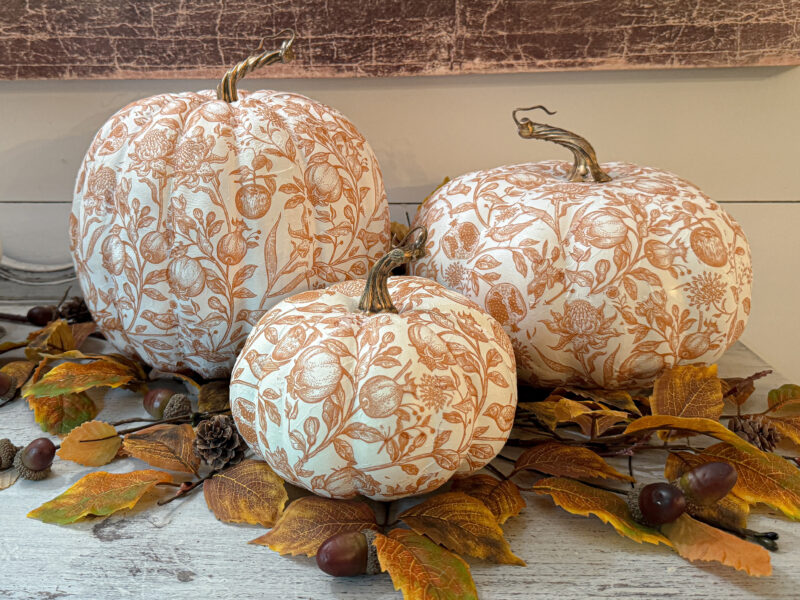
A step-by-step tutorial to add charm to your decor.
With fall upon us, it’s time to starting welcome pumpkins into our homes. I love using pumpkins for decoration, both inside and outside of my home, and this budget friendly DIY project is a fantastic way to create beautiful and unique designs. By using napkins, you can easily add a touch of whimsy to your decor. These decoupage pumpkins are not only customizable to suit any style but also offer a perfect match for my neutral cottage aesthetic. If you’ve ever struggled to find decorations that fit your theme, this is an ideal solution.
Supplies for Decoupage Pumpkins:
- Faux pumpkins – You can find pumpkins at any craft store, such as Hobby Lobby, Michael’s, or even the Dollar Store. I recommend picking up a few different shapes and sizes, and opting for ones with more realistic-looking stems.
- Matte Mod Podge
- Napkins – Here’s where you can get creative, choose any napkins that matches your home aesthetic, I found that ones with lots of details work the best. I found mine on Amazon but Home Goods had some beautiful ones too.
- Spray paint or acrylic paint – If your pumpkins aren’t already the color of your napkin background, you will need to paint them.
- Rub n’ Buff – Antique Gold is my favorite.
- Small paint brush
- Scissors
- Hot glue gun – To reattach the stems.
STEP 1 – Prepare the Pumpkins
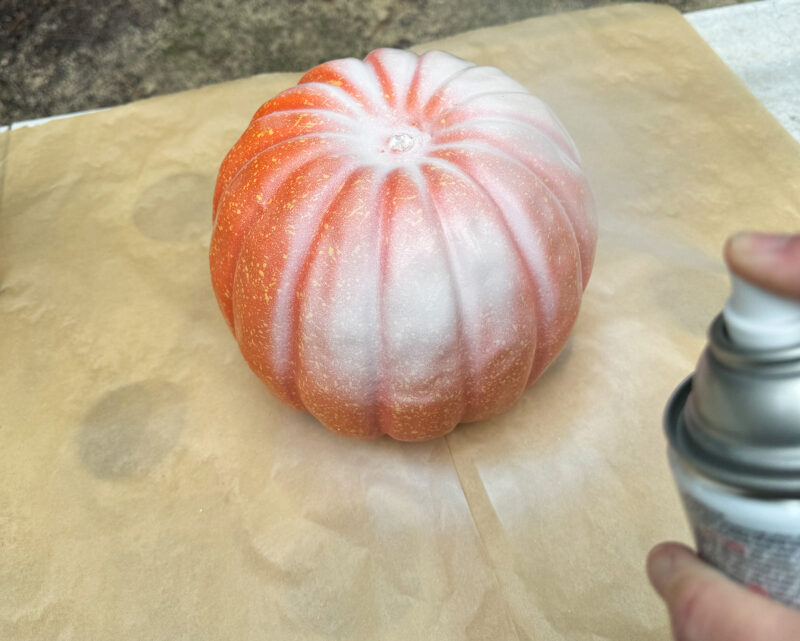
To make it easier to apply napkins all the way around your pumpkins, start by removing the stems. Simply wiggle them gently, and they should come out with ease. Set the stems aside for now; we’ll reattach them later with a bit of hot glue. If your pumpkins aren’t white or don’t match the background color of your napkins, you’ll need to apply a few coats of paint first, as the pumpkin’s color can show through. For instance, I had an orange pumpkin that I painted with several coats of white spray paint.
STEP 2 -Prepare the Napkins
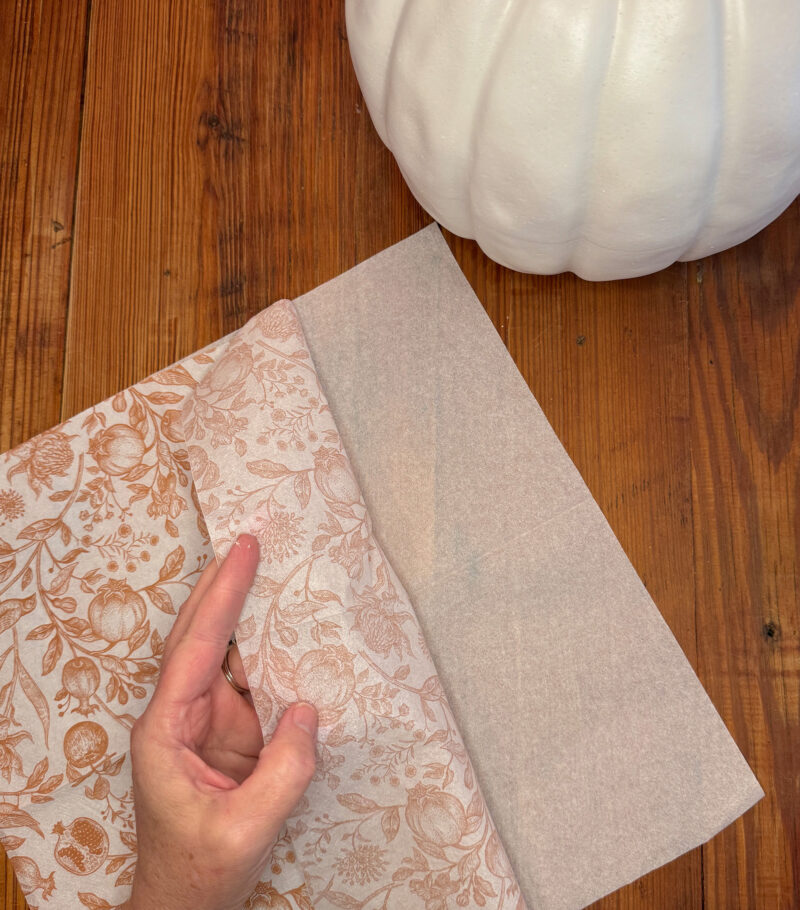
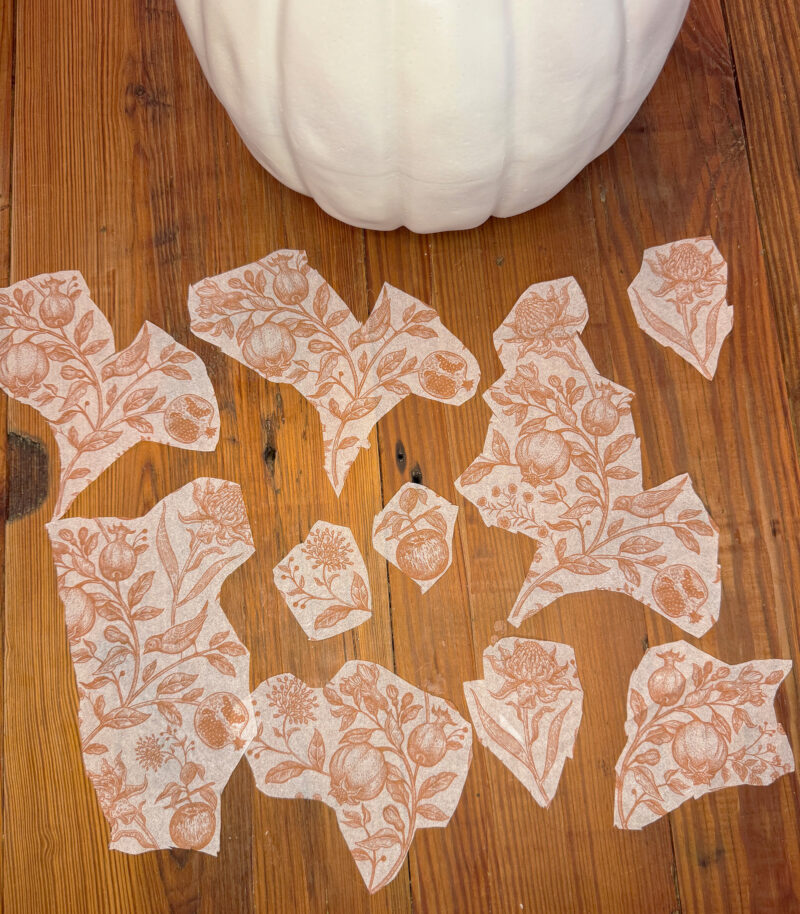
Separate the top layer from the back of the napkin, gently peeling the sections apart so that you’re left with a single-ply layer. Next, cut out the shapes or cut into strips based on your napkin’s pattern. For example, if you’re using a napkin with flowers, you might cut out each individual flower. Don’t worry about making perfect cuts; any imperfections once covered by the Mod Podge, will blend in seamlessly.
STEP 3 – Apply Mod Podge and Napkin Pieces
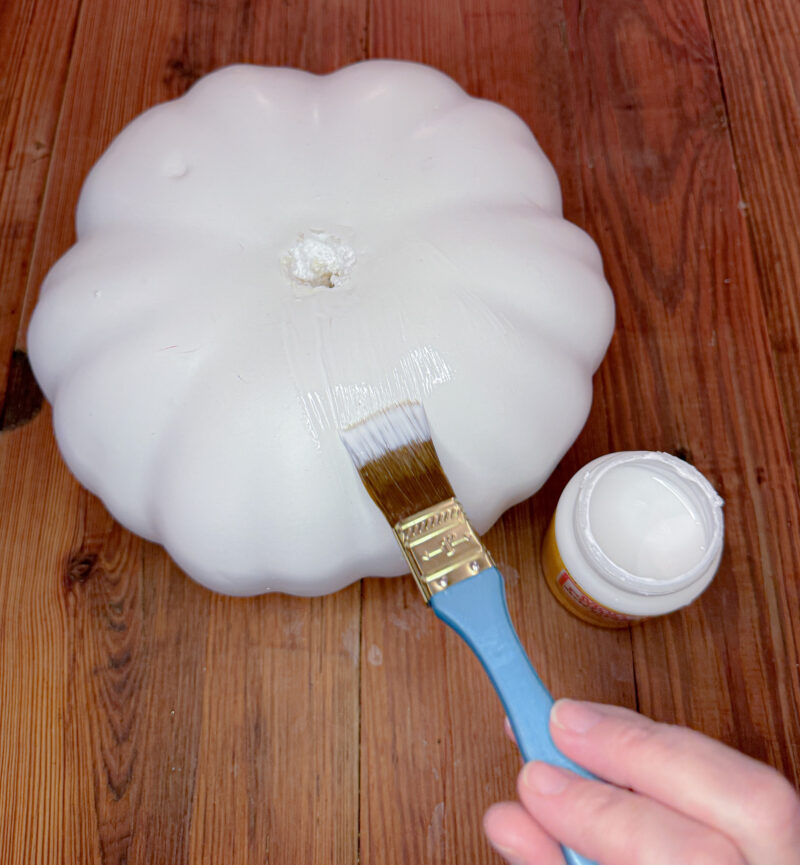
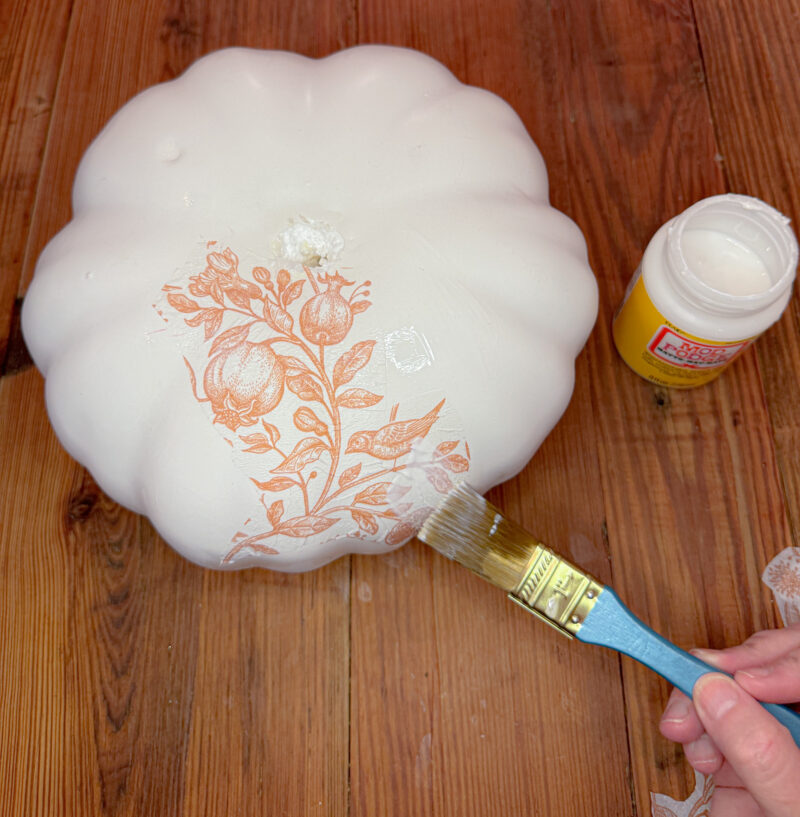
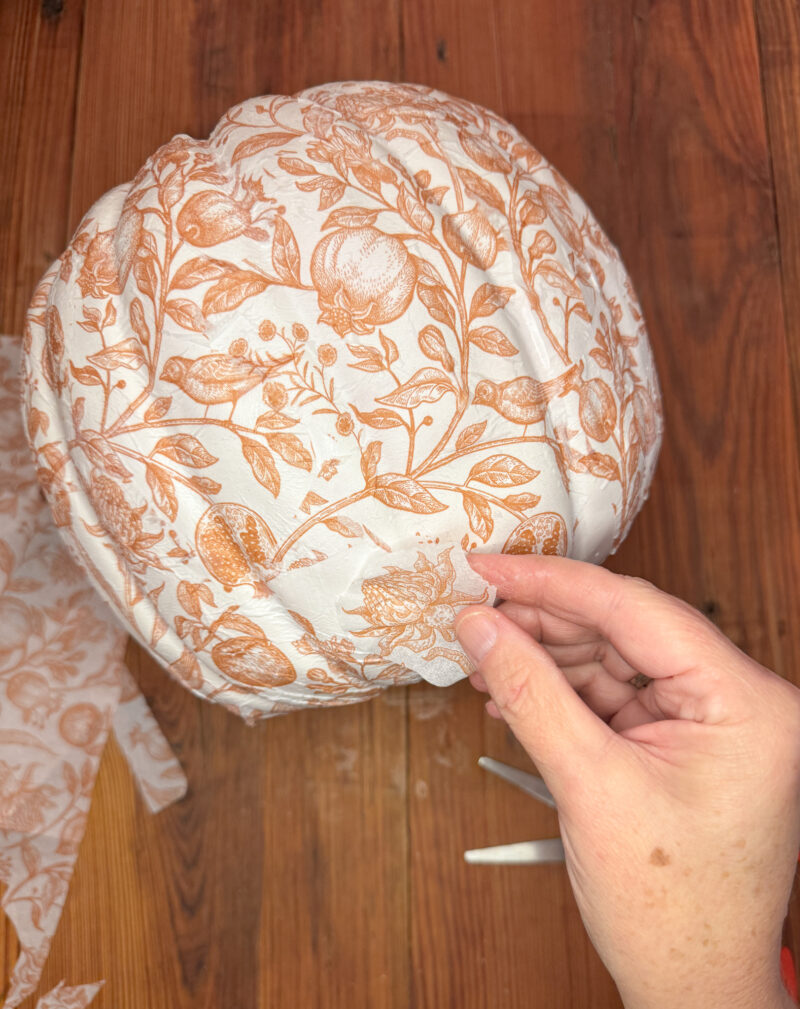
Using a small paintbrush, begin by applying Mod Podge to the top section of the pumpkin. I recommend working in small areas and applying as you go. Place a piece of napkin onto the Mod Podge and gently smooth it out with the brush, taking care to avoid tearing the napkin. Apply another layer of Mod Podge on top to fully adhere the napkin to the pumpkin. Continue this process around the entire pumpkin until you achieve your desired coverage. If you encounter any gaps, you can cut smaller pieces of napkin to fill them in. Allow the pumpkin to dry completely.
Step 4 – Add the Finishing Touch
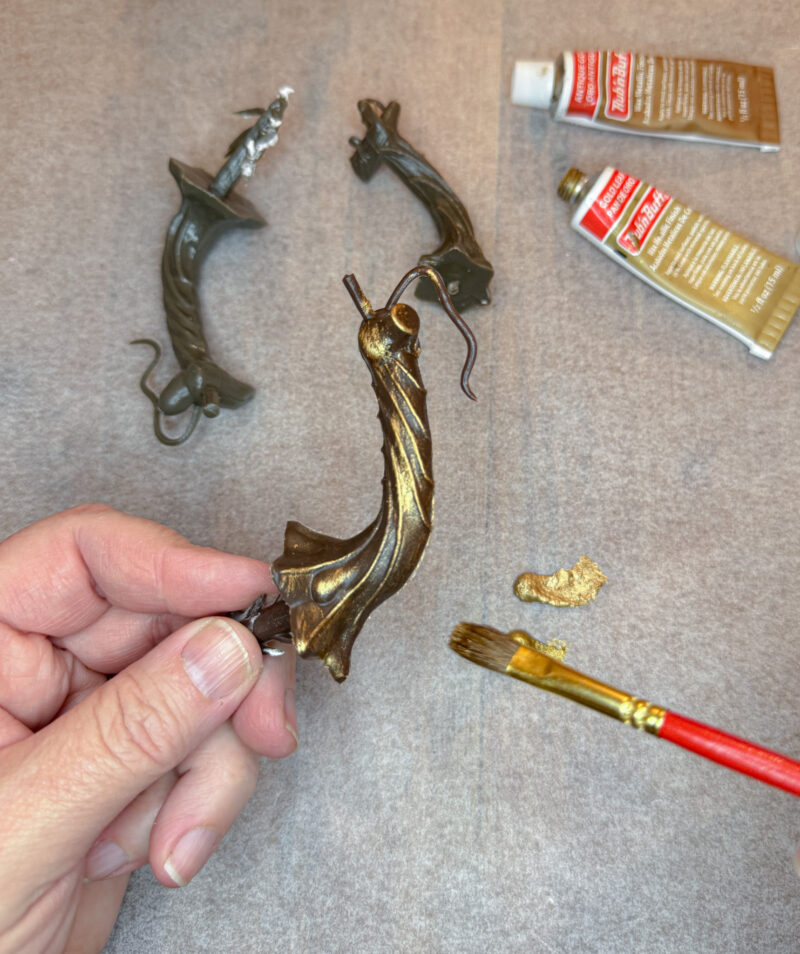
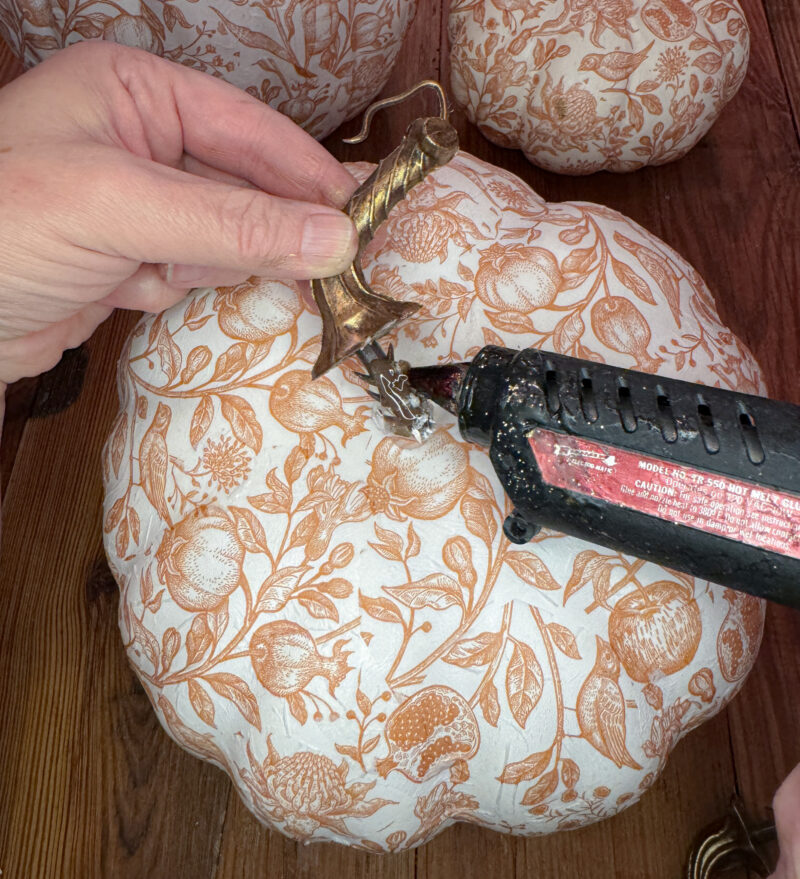
Paint the pumpkin stems to complete the look. You can use spray paint for a quick and even finish, or for a more vintage touch, I recommend using Antique Gold Rub ‘n Buff. Simply apply it randomly with a brush to achieve a beautiful, aged appearance. Next,
add a small dab of hot glue to both the base of the stem and the top of the pumpkin. Carefully press the stem into place, securing it firmly.
Step 5 – Style and Enjoy!
These pumpkins turned out even more beautiful than I imagined! I love how each one is unique and seamlessly blends into any room of our home. I styled mine with natural elements like leaves, pine cones and acorns, but their versatility means you can place them anywhere. They would look stunning in a tablescape, stacked at varying heights on a mantle or shelf, or added to your fall porch decor. The possibilities are endless!
