Jill Stout, entrepreneur and stylist, uses her love of all things home decor to engage with her large following on Instagram under @gatheredgrace. She recently undertook a project that just may be on quite a few “to do” lists this year–updating the front door. Nothing says “come on in” like a freshly painted door and a few accessories. Jill shows us the process she followed, using high quality Behr Paint Company from Home Depot.
Jill Stout of @gatheredgrace
I am excited to be working with Behr Paint Company on this DIY project.
Let me tell you, it was a difficult decision because there are so many beautiful paint samples to choose from!
After searching through the Behr Color Library that they offer at Home Depot, there it was, the perfect shade. I chose Carbon Copy (PPU25-01) a beautifully rich, deep shade of slate ash with a hint of green from the Behr Marquee line.

The Behr Color Library at Home Depot makes it simple to choose a paint you will love.
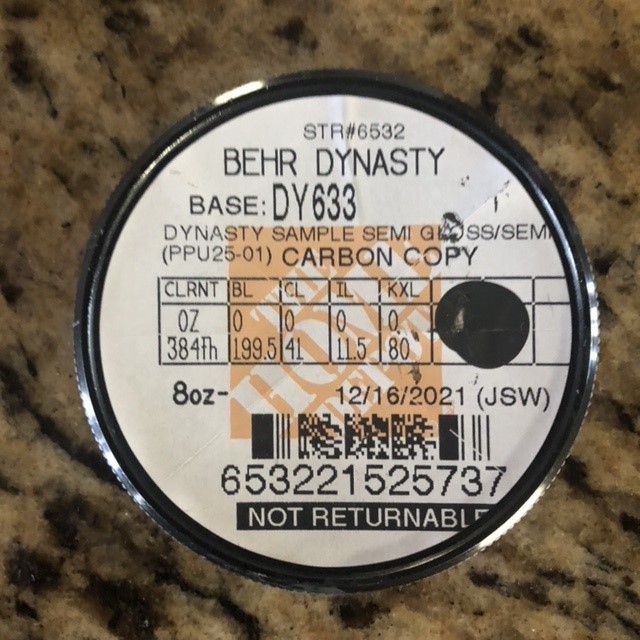
Carbon Copy is a soft shade deep grey- perfect statement color
The front entryway is a statement piece on your home, so make it stand out.
Step 1
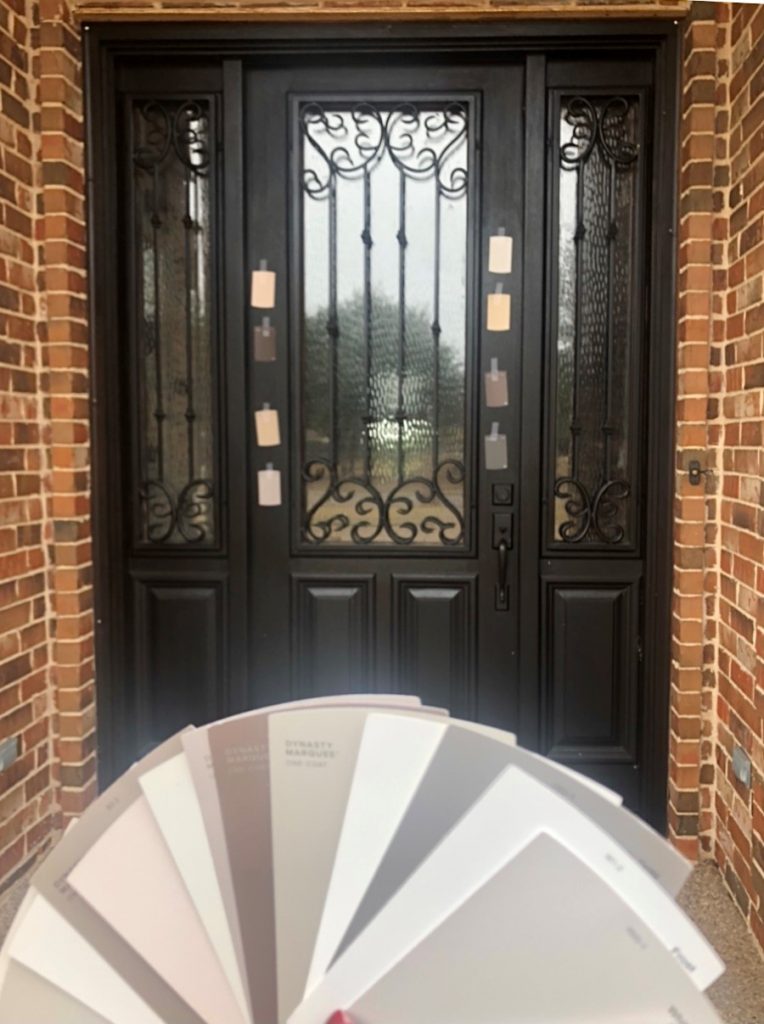
The first step is to decide what paint color you want to use. I love browsing the paint samples at the Home Depot store where Behr paint is sold. I took sample cards home and taped them to my door to get an idea of what color might work best. Small sample cans are also available.
Step 2
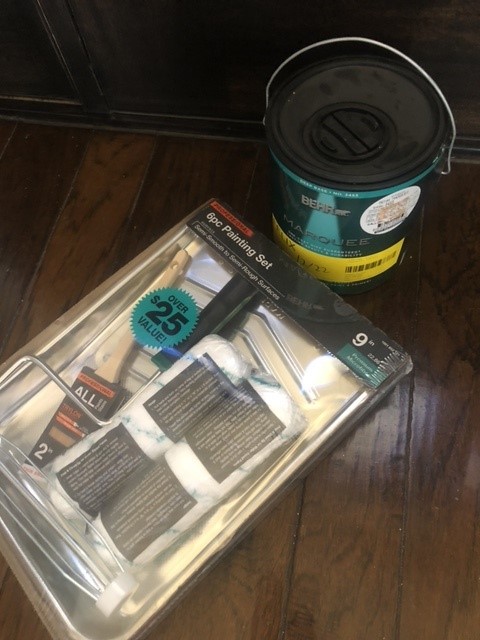
Gather the necessary paint supplies for your project.
Items in this DIY include painter’s tape, various sized brushes, sandpaper, a drop cloth, a paint pan and wet cloths.

Step 3
It is time to prep your door. The most important step of this process.
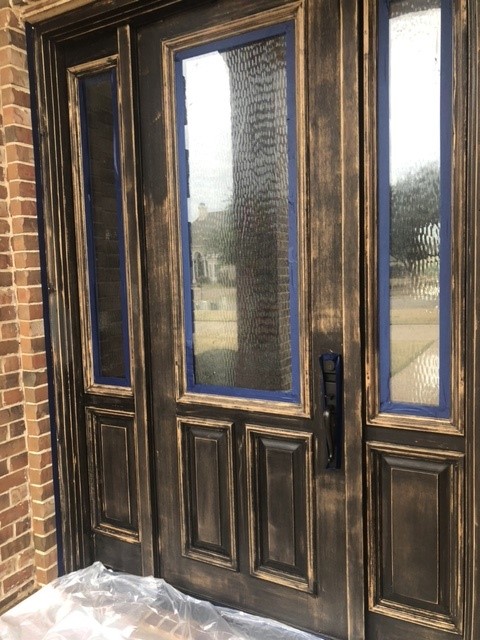
Lightly sand the door. This will give the new paint something to bind to and enable it to go on smoothly.
It will also help remove built up debris, which is so important to a smooth finish.
Apply the tape to protect any area you aren’t painting on the door. I like to use the paint on the inside edge to create a clean line. You can also use the tape around your doorknob and kick plate. Tape off the window if you have one. Basically, you want to place the tape wherever you don’t want the paint to go.
Step 4
Lay your drop cloth under the area you will be painting. Since you are painting vertically, paint will inevitably drop, so it’s easiest if you catch drips with an old towel or sheet.
Start by painting inside the moulding or trim. Then paint the larger sections using up and down or side by side strokes. Keep the paint strokes long and clean to minimize visible brush strokes.
You can also use a small foam roller to paint the larger panels of the door for a smoother finish. If you would like to do this, use the small paint brush to paint the moulding and trim. And then you would follow up by using the foam roller on the flat surfaces of the door.
Once the door is painted and has dried for at least 24 hours, remove any masking tape carefully and gently.
Then go around and clean up any edges with the razor blade scraper. Add a few accessories and you’re done!
Click here to watch the full process:
Front Door Refresh with Behr Paint
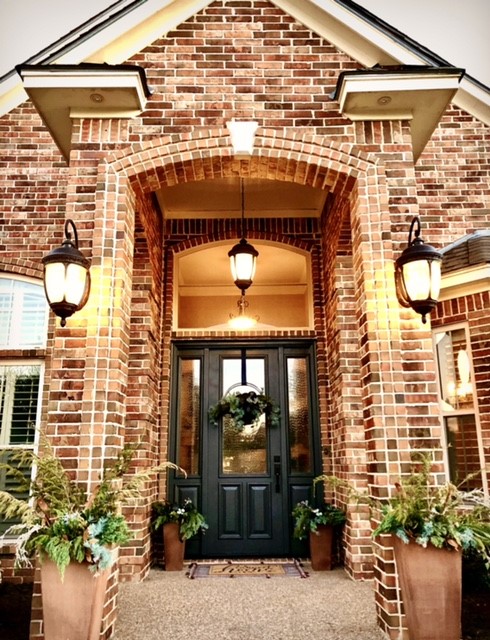
In the end, the results were absolutely amazing! I loved the color Carbon Copy from Behr-so easy to use!
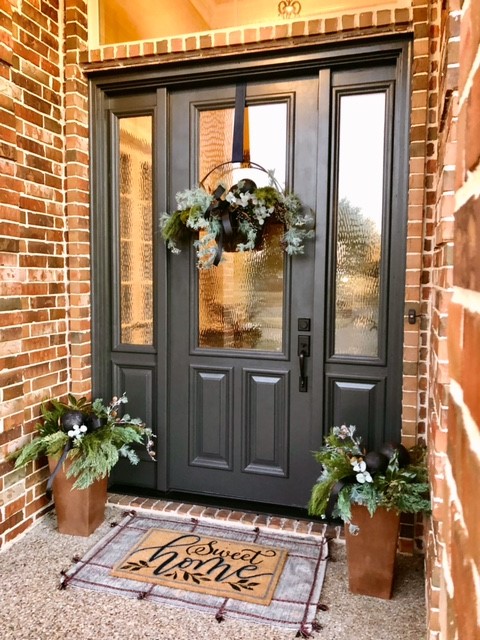
Jill accessorized her entry with a wreath she crafted herself and planters from Plow & Hearth. Visit them here for an abundance of beautiful home decor items.
Watch a quick video of the finished entry: Final Outcome
To see more of Jill’s home and DIY projects visit her on Instagram at @gatheredgrace. And to see Behr’s full line of paints, visit them at behr.com or homedepot.com. Or visit a Behr Color Library at your local Home Depot.


