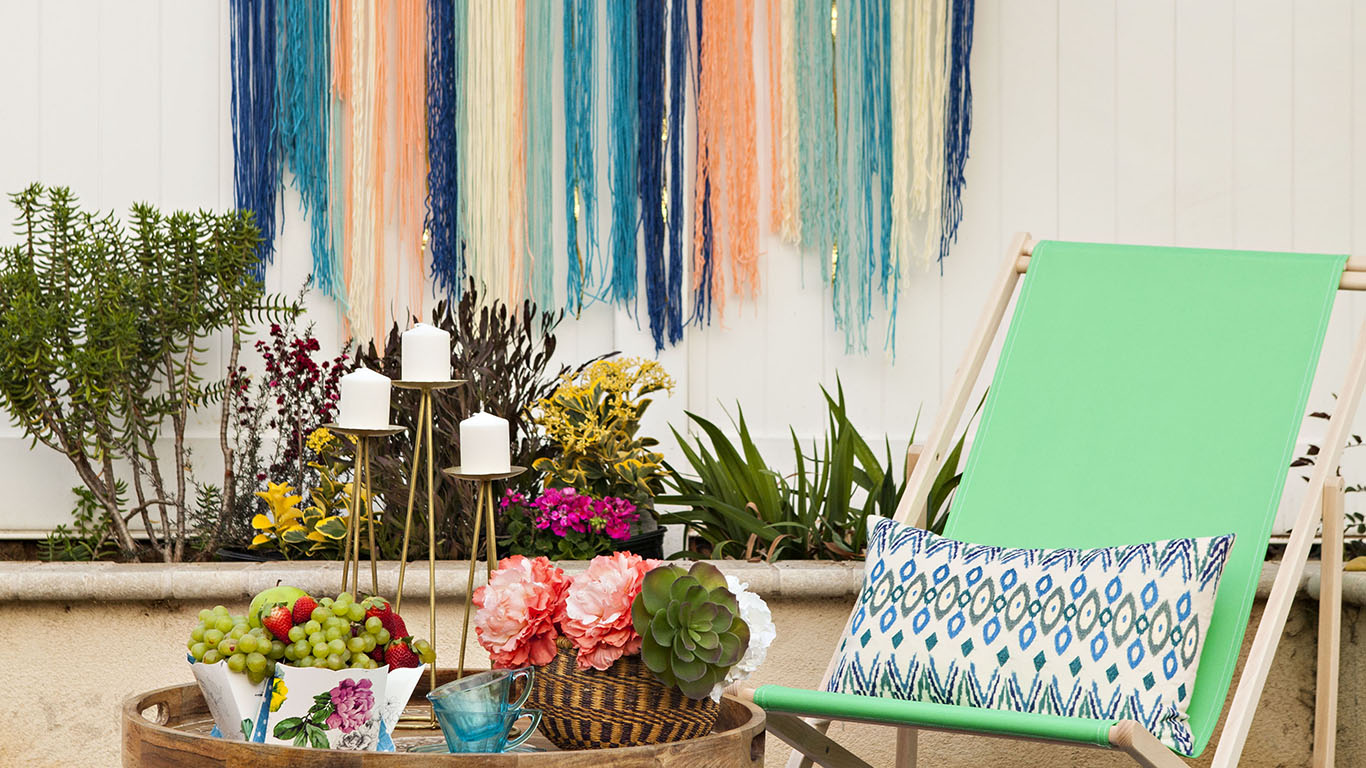
If you love the look of macrame but don’t have the patience for all those knots, try this DIY yarn art garland. This is one of those endlessly customizable garlands that can be used in myriad ways. For our backyard boho theme we chose cool beachy California colors. But you could use deliciously nubby yarns with neutral tones for a more natural and organic look. Or try toned down warm colors with natural rope and jute for a farmhouse look.
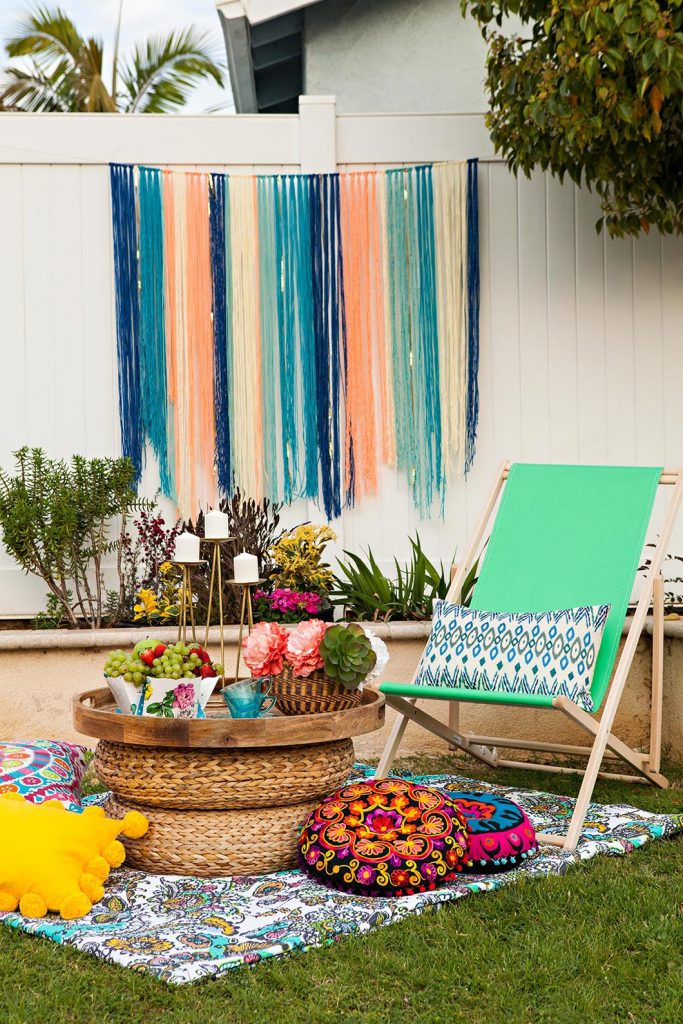
We left ours long to fill the large space nicely. But you can trim yours to fit your space if you’re using it as wall art. Experiment with different cut patterns and lengths and don’t be afraid to mix in unexpected textures. For our colorful party garland we used an fun sequin trim for sparkle. Pom-pom fringe would be fun to try for a kid’s room or party, or boucle thread would give a neat textural vibe.
Ready to make yours? here’s how:
DIY Yarn Art Garland
What You’ll Need:
- Long hefty rope or twine
- Yarns in your color palette of choice
- Scissors
How to do it:
1. Determine the length of your wall-hanging based on the area you are creating it for and cut your rope or twine to that length plus an additional 4 feet—you’ll want 2 feet of rope on either side for hanging allowance and to give your fringe some breathing room.
2. Decide the how long you’d like your fringe to hang down. Our fringe is about 4 feet long. Make your yarn into 4 or 5 long loops that are twice that length.
3. Starting at one end, string them to the rope by folding the yarn in half to form a u-shaped loop. Begin to wrap this around, over the top of the rope while pulling the ends of the yarn up around the bottom of the rope. This is also called a lark’s head knot. Pull the yarn ends through the loop tautly.
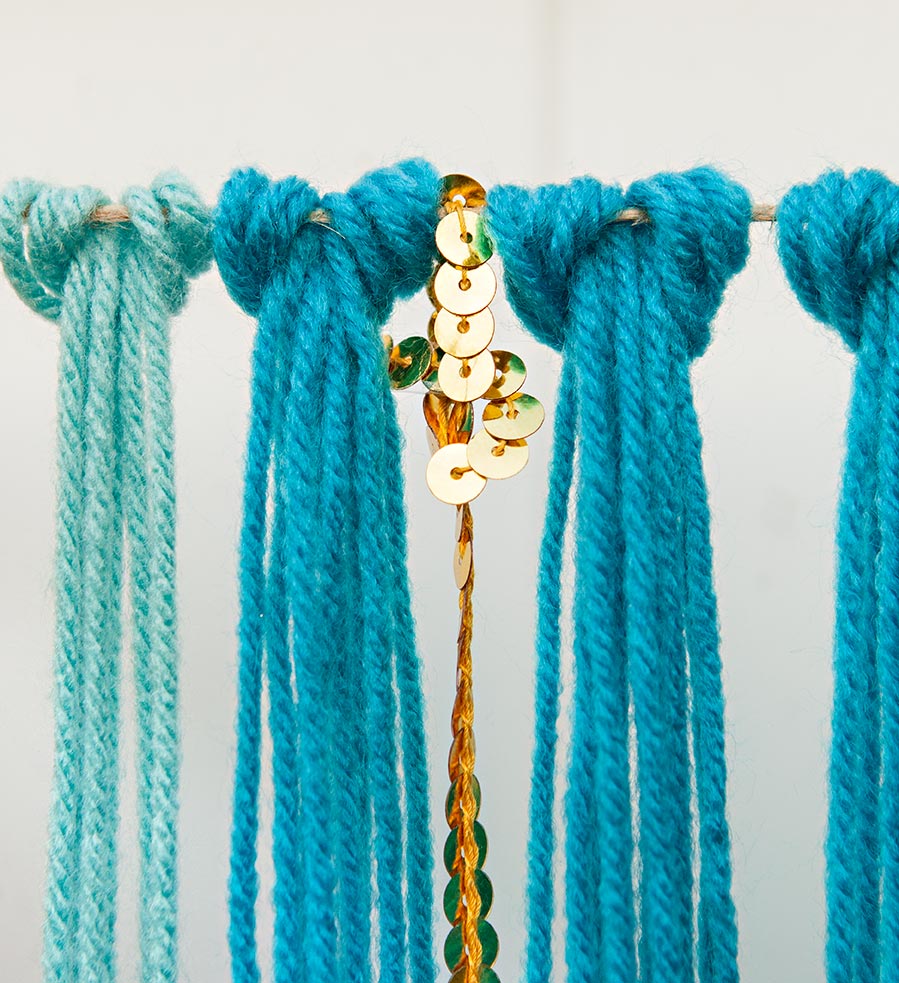
4. Repeat with your other yarn colors until the fringe is as wide as you need.
5. Clean up the bottom of the hanging by trimming the yarn ends. Use a slight zigzag pattern for a lighter and more modern look.
Check out “How to Style a Beautiful Bohemian Summer Soiree” for even more eye-catching boho style tips!
Looking for more easy DIY decor? Check out this simple gingham painted tray perfect for beginners.
Are you following us on Instagram, Facebook and Pinterest yet? Click those links to get your daily dose of cottage inspiration!

