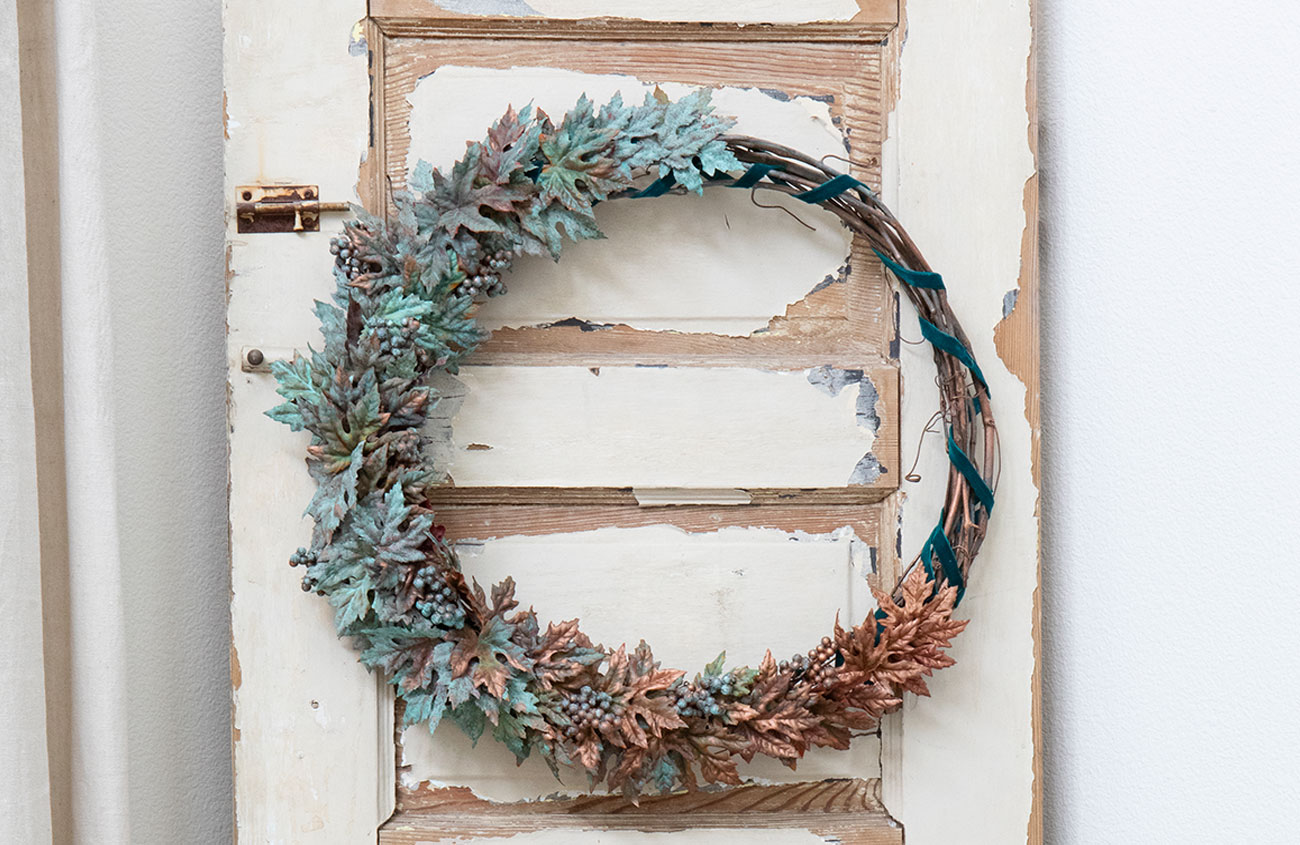
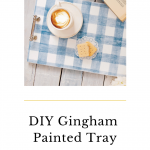
It’s yard sale season! If you find yourself bringing home an abundance of basic accents and accessories, now’s the perfect time to brush up on your painting skills. We have the perfect DIY project for you! Jill Rinner and Chantelle Deimling know a thing or two about reviving old finds using paint. Their paint line, Bungalow 47, named after the Michigan shop they own and operate online, is designed for fuss-free application. This DIY gingham painted tray uses a two-tone paint palette and simple taping to produce a classic cottage plaid tray.
What You’ll Need:
• Basic tray or wood board cut to size
• Bungalow 47™ Furniture Paint in Farmhouse Sink and Nautical Stripe
• Painter’s tape
• Measuring tape
• Pencil
• Two metal handles
• Paper towels
What You’ll Do:
1. Paint on a base coat of Farmhouse Sink. Let it dry.
2. Mark the center of your board at both ends. This will establish the center of the plaid design, so you end up with equal distances on either side.
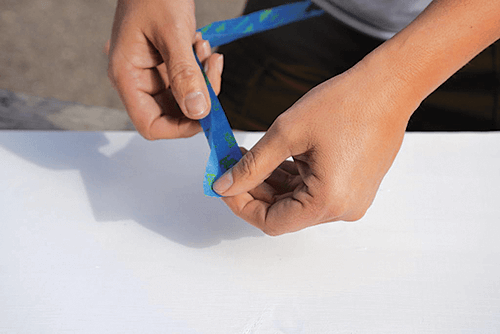
3. Tear a piece of tape long enough to cover your length, and wrap the edges because you’ll be painting the pattern down the sides as well. Fold the tape in half lengthwise, adhesive on the outside. This is going to help you center your pattern, and you will repeat this for the other direction.
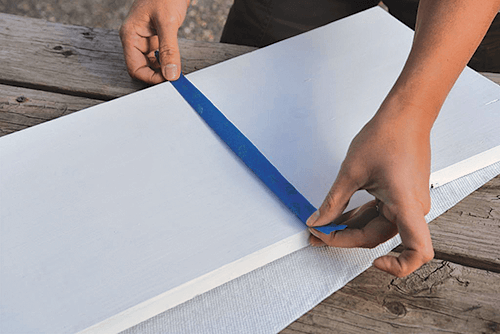
4. Place your first piece of tape along the center tape guide, the folded side against the center markings. Unfold the tape and press down. The center of the tape should line up perfectly with your marked center line.
5. Begin putting your next tape pieces on either side of your guide; then pull away your guide and place it on the opposite side of your tape.
6. Continue placing your tape lines using the first piece of tape as your guide until you have gone down the entire board. The white space left is where you will dry brush on your accent color.
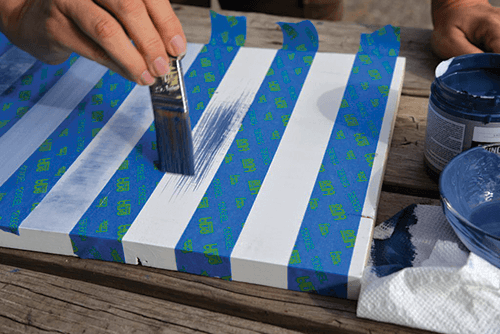
7. To dry brush, thin the Nautical Stripe paint with a little bit of water and keep your brush sparse and dry. Dab some paint onto your brush; then blot off the paint onto a barely damp paper towel. Brush lightly into the white areas. Let them dry.
8. Repeat steps 4 through 7, placing stripes perpendicular to your first set. Dry brush the remaining open areas with more paint. Let them dry completely; then carefully pull off the tape.
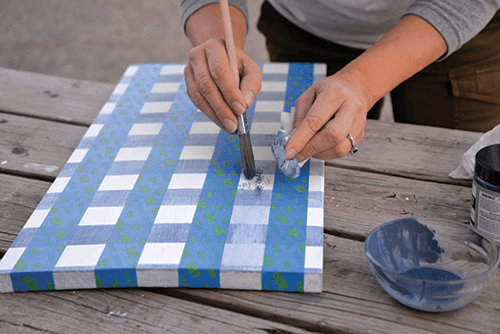
9. Measure and drill holes to affix your handles.
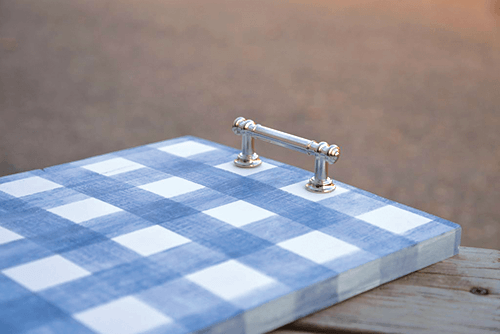
VOILA! Now, lay some lovely belongings on this tray that bring you joy and place it somewhere you get to see it throughout your day. Or invite a friend over and serve up some tea on it. Happy crafting!
Want more simply beautiful ideas? Check out this post on a DIY faux concrete planter.
Are you following us on Instagram, Facebook and Pinterest yet? Click those links to get your daily dose of cottage inspiration!


