When families grow, as mine has recently, holiday traditions inevitably need to be updated to accommodate everyone and make way for new memories. This year my family is updating one big tradition: our Christmas stockings.
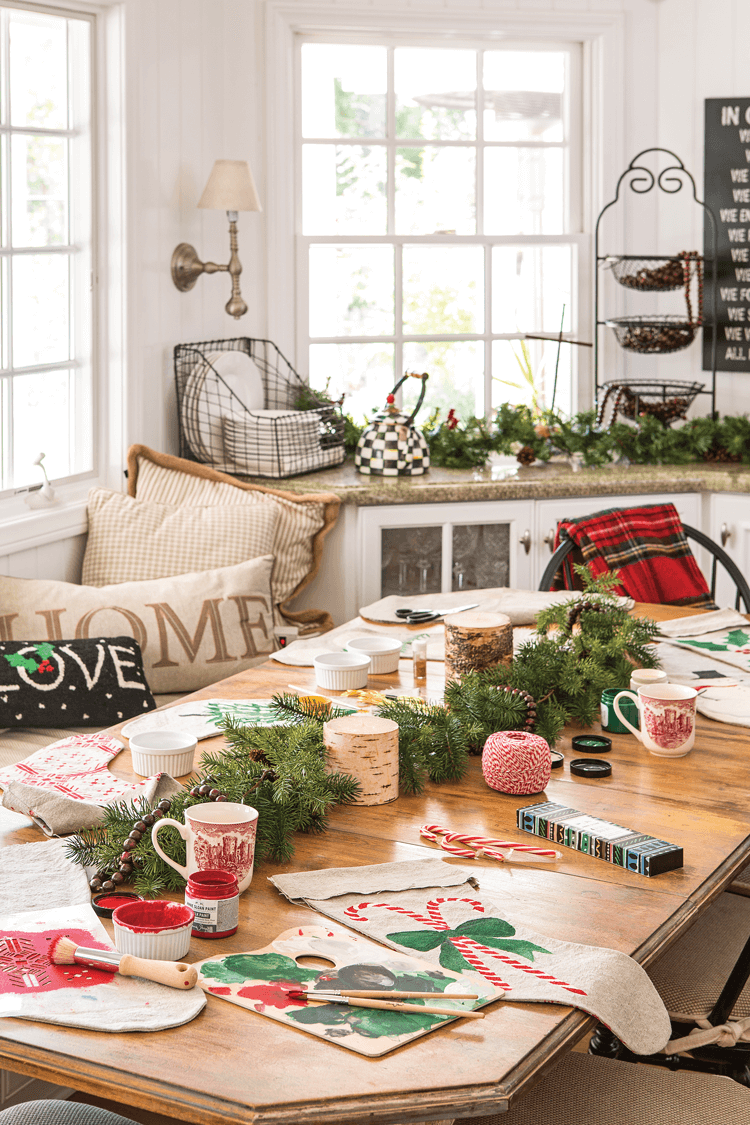
The decorations we grew up with are still as charming as ever, but our family is larger than ever, an we no longer have enough stockings to go around. Instead of buying them new, we decided to have some fun and planned a crafting party to get together and create our own personalized versions.
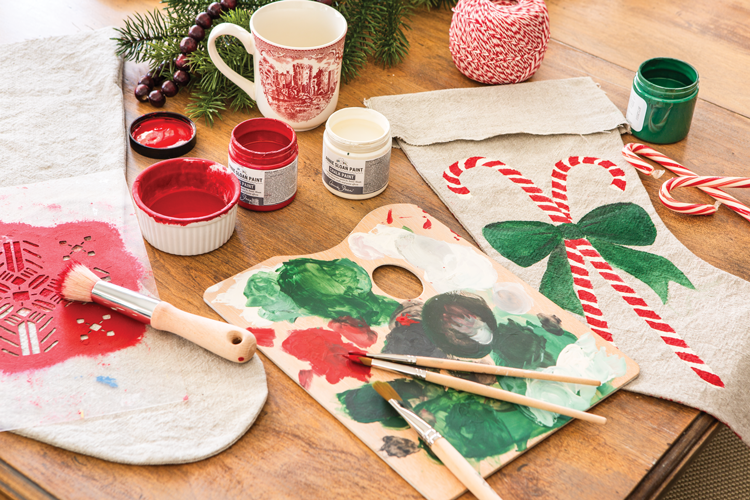
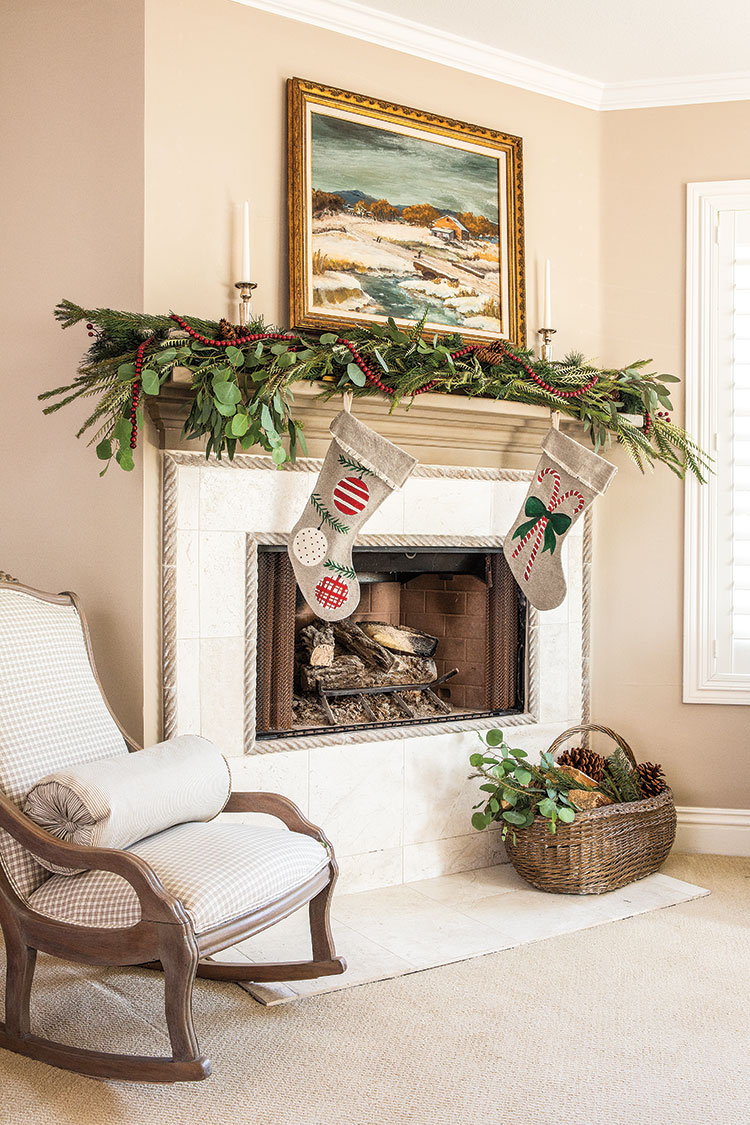
This project results in 12 stockings with a Scandinavian folk-art inspired design on the back, and a Christmas-themed painting on the front that is unique to each person. It doesn’t involve too many steps or supplies and looks fantastic on your fireplace. Here are a few DIY stocking ideas for your next holiday get-together.
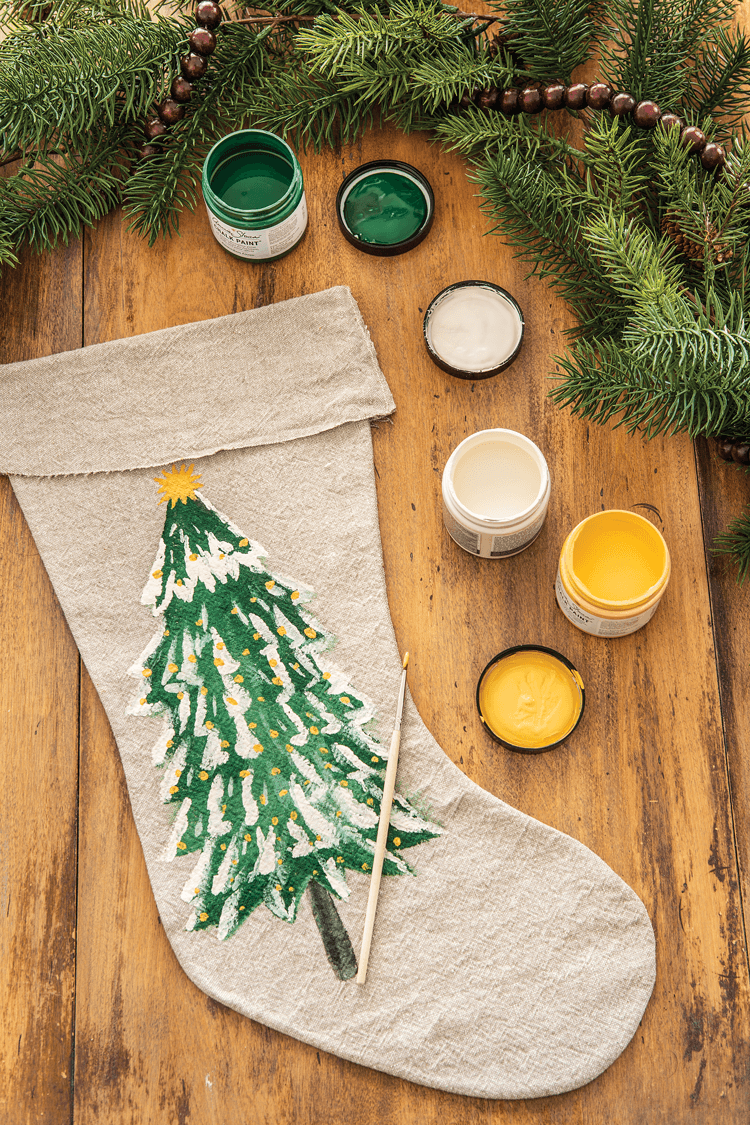
What You’ll Need:
- Fabric: For the body of the stockings, I chose a linen/cotton blend with a tight and sturdy weave. In addition to the lovely look of natural fibers, the linen and cotton blend acts well as the canvas for our festive artwork. (I used three yards of Annie Sloan’s Linen Unions fabric in Old White and French Linen.) The added benefit to Annie Sloan’s Linen Unions line is that the fabric will self-fringe when you pull threads away from an un-hemmed edge.
- Stencils: Easy to use for all levels of artistic ability, stencils also offer consistency. A tile stencil can be repositioned multiple times to cover any area with a pattern.
Paint:Fabric paints and chalk-style paints are two options for this craft. I chose Chalk Paint because of its old-fashioned look. The colors used here are Old White, Emperor’s Silk, Amsterdam Green, Arles, and Graphite. - Fabric pencil: You can pick this up online, or at your local craft or fabric store; it’s also helpful for freehand designs before applying paint.
- Brushes: Have a variety of sizes available to cover large areas and small details. A good stencil brush is also a necessity. These brushes are flat on top, instead of tipped, and hold a lot of paint.
- Water: Keep several small containers (we used ramekins) spread across the table to wash brushes and water down paint for easier application.
- Inspiration: When you’re drawing or painting, it helps to have the real thing nearby. We had a garland, ornaments and candy canes at the table, so we could see just what we were trying to achieve.
What You’ll Do:
- Cut the fabric. Find a pattern that matches your needs for size and shape. Because our fabric is so thick, we chose not to line it.
- Sew your pieces together. I found it fast and effective to have the stocking sewn up and ironed flat before painting, but you can certainly paint each side first and then sew it up after it’s dry.
- Fold your cuff. Our stocking is cut as one complete piece, meaning the cuff is folded out of the long body of the stocking. If you use our template or a similar version, now is the perfect time to mark off the areas you don’t want to paint, as they would be invisible under the cuff.
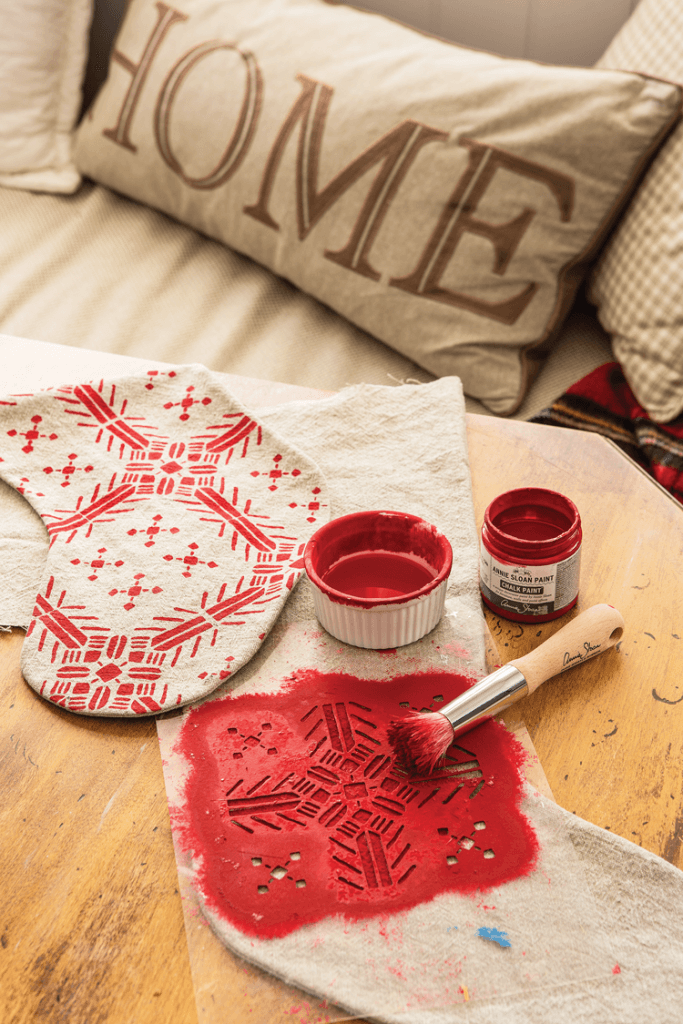
- Apply your stencil. Make sure the stenciled design is applied uniformly across each person’s stocking. Use double-stick tape between the stencil and fabric to help hold your position as you work. In a separate container, slightly water your paint down to a workable consistency and, using your stencil brush, dab the brush in straight up and down motions through the stencil until you have an opaque layer of paint. Let it dry.
- Paint your design. This is the fun part! On the blank side of your stocking, draw the design you would like to paint. We chose ornaments, trees and candy canes, among other festive motifs.
- Finish up. We fashioned hang-tabs from the Old White color of our fabric’s selvage, and then pulled threads from around the cuff to create a matching fringe. They’re ready to hang!
Read More: Love a neutral Christmas color palette? Get inspired by Maison de Cinq!
Of course, don’t forget to follow us on Instagram, Facebook and Pinterest to get your daily dose of cottage inspiration!

