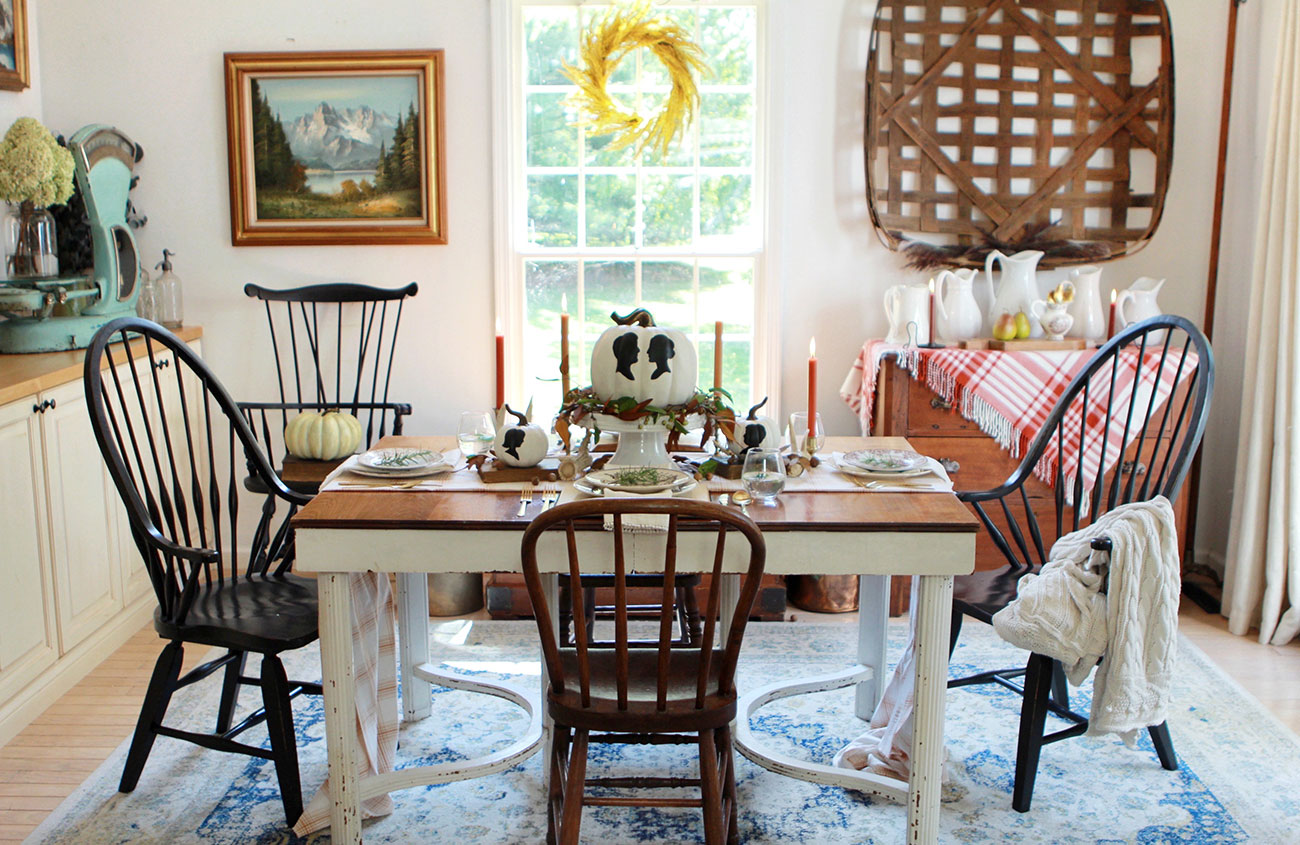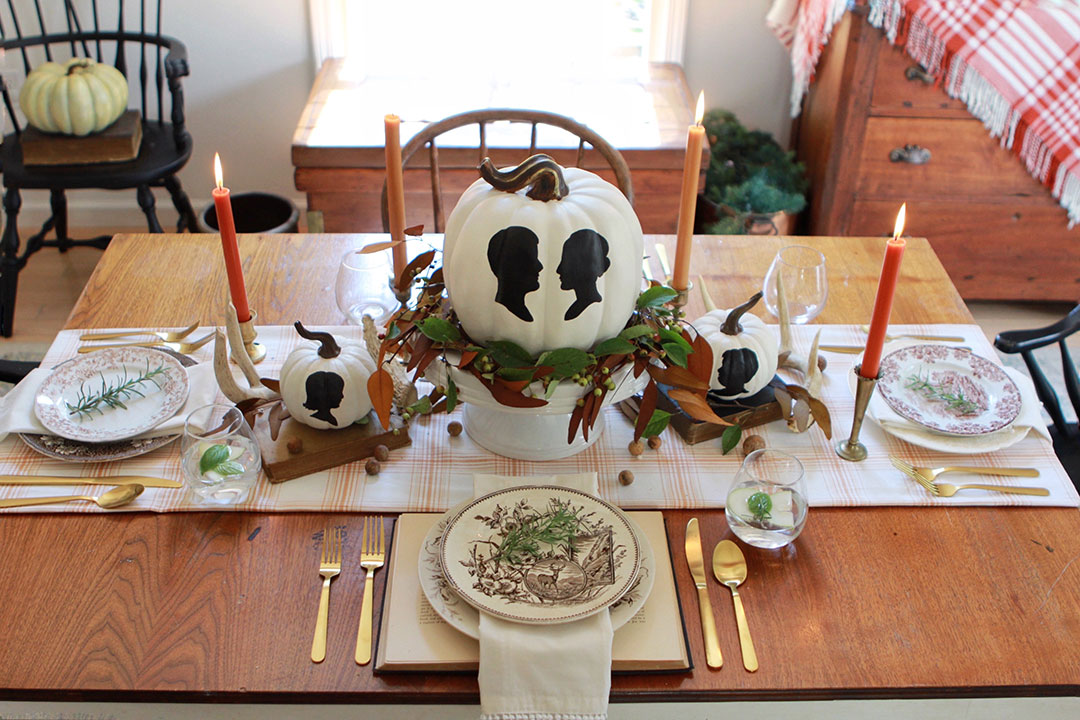
Katie Baker is one of three finalists in our 2021 Brand Ambassador search. Today, we’re featuring her DIY tutorial for personalized no-carve pumpkins. Read, enjoy and come back again to see DIYs from our other finalists, Toni Mogensen and Sara McDaniel.
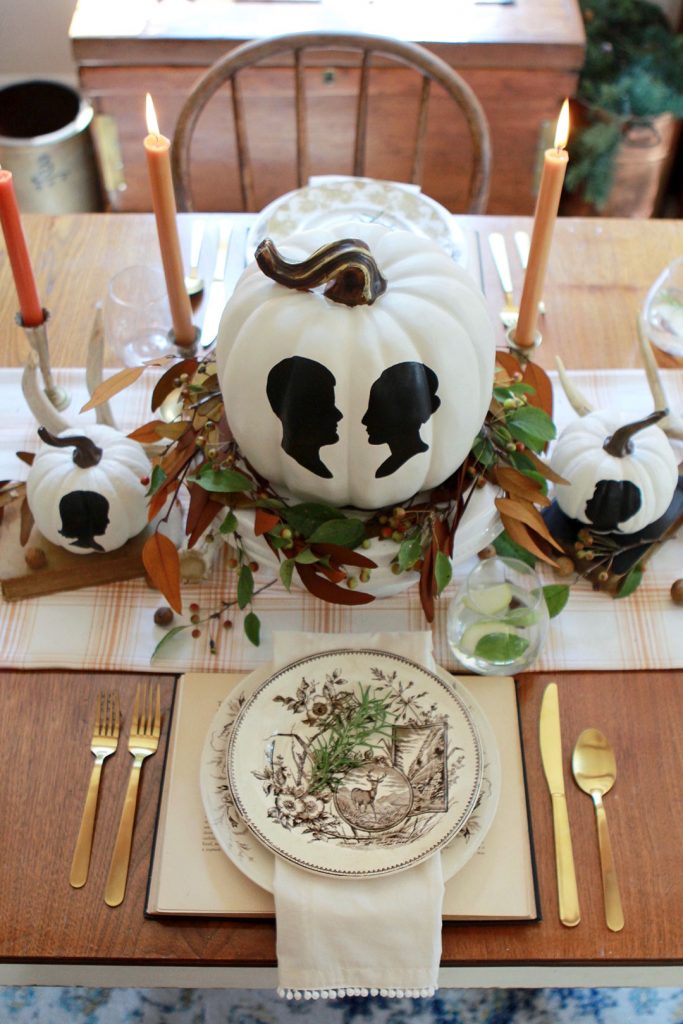
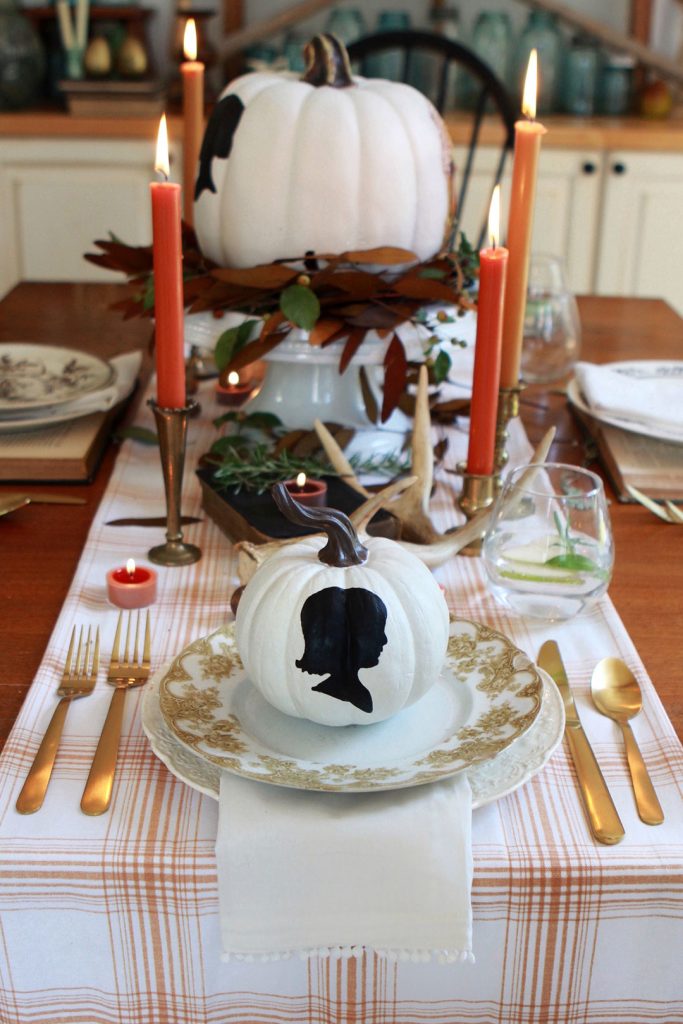
Nothing exudes traditional flare quite like the elegant lines of a silhouette portrait. Hundreds of years after their introduction, silhouettes are still current and remain a beautiful way to infuse history into your home decor in a very personal way. We love silhouettes for their simplicity and versatility. They effortlessly bring a classic look to any style of home decor, and these DIY silhouette painted pumpkins are the perfect fall twist on that tradition.
WHAT YOU’LL NEED
- Pumpkin
- Fine Point Scissors
- Pencil
- Camera (a phone camera is great)
- Printer
- Paper
- Paint Brushes
- Black Paint
- Painter’s Tape
THINGS TO CONSIDER
- In a pinch, use a Sharpie or Paint marker
- Real pumpkins will only last several weeks. Use faux pumpkins if you want to keep them to use again.
- For generic silhouettes or silhouettes to reference, search Google Images for free silhouette art.
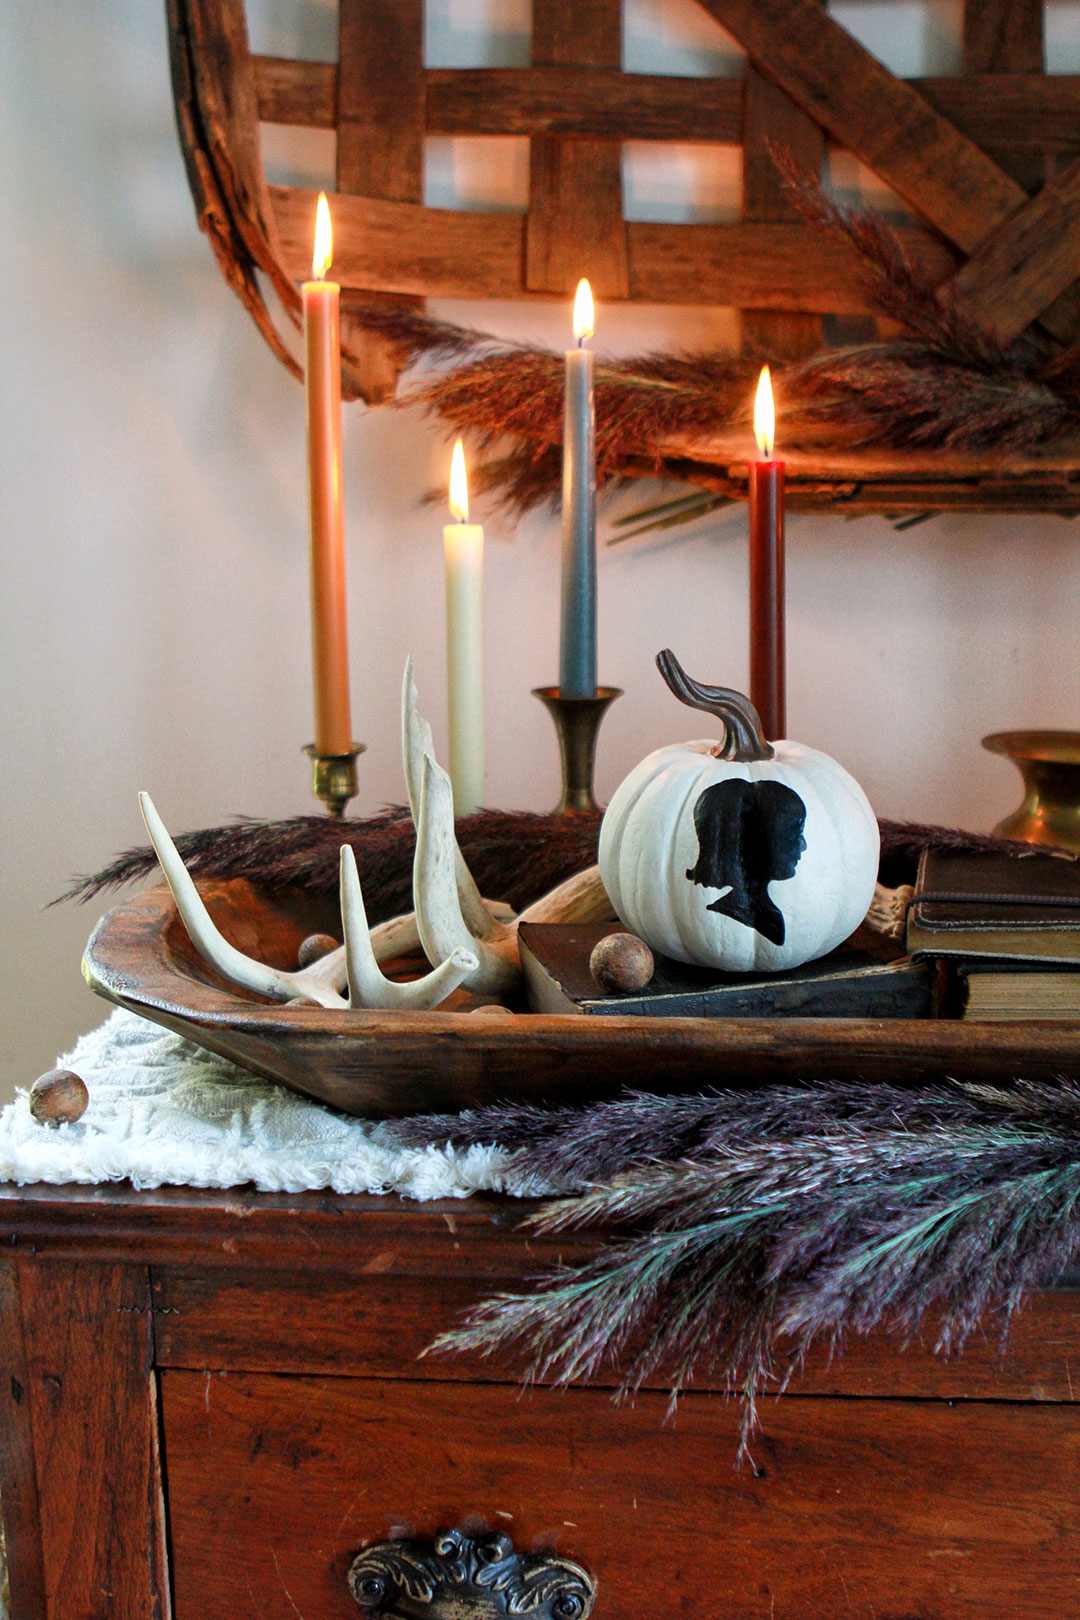
- Have fun with different styles, colors, patterns, and subjects. (Scroll to the bottom to see our Haunted Halloween Painted Pumpkins!)
WHAT YOU’LL DO:
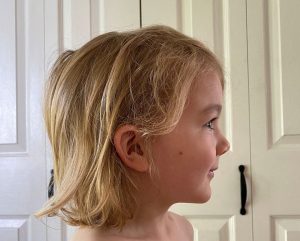
One: Take a side profile picture of your subject. I used my phone camera. It’s best if the picture is taken directly from the side against a plain background so details of the facial features standout. Eyes should be open, subject should look straight ahead with a relaxed expression and mouth closed. Long hair looks best when pulled up in a bun or ponytail.
Two: Print out the picture on a printer. Make sure to adjust the image size when printing to fit the size silhouette you are wanting on your pumpkin.
Three: Use fine point scissors to cut out the image, paying close attention to details of the facial features like the nose, lips, and chin.
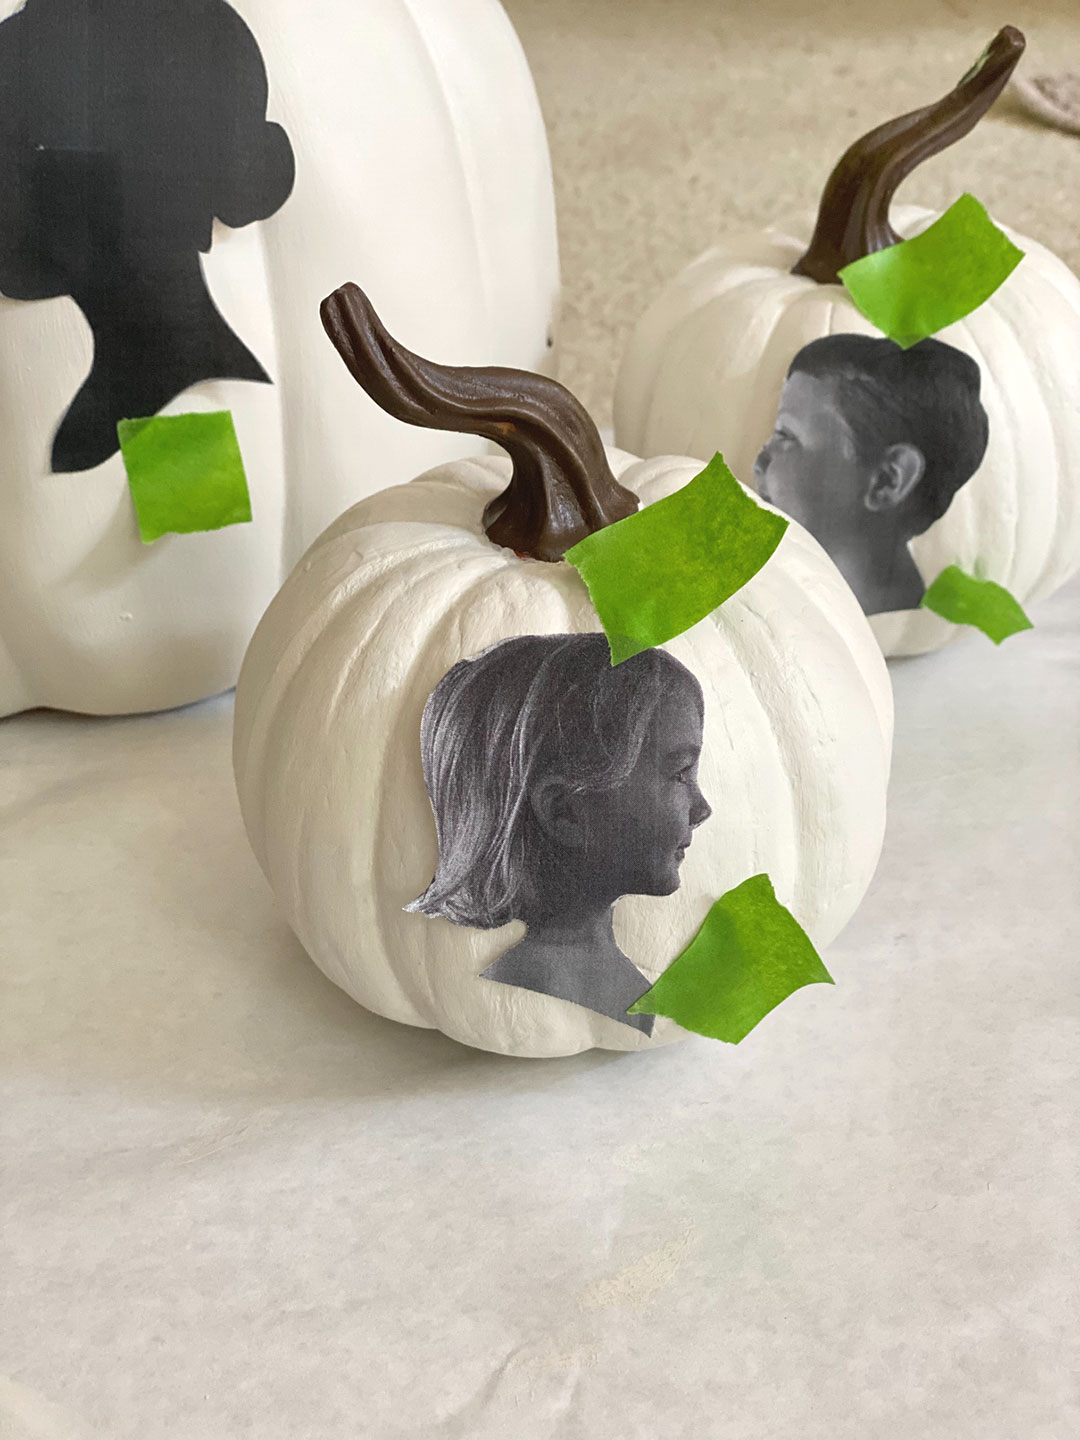
Four: Once you find the perfect placement for your image on the pumpkin, use painter’s tape to hold the image in place.
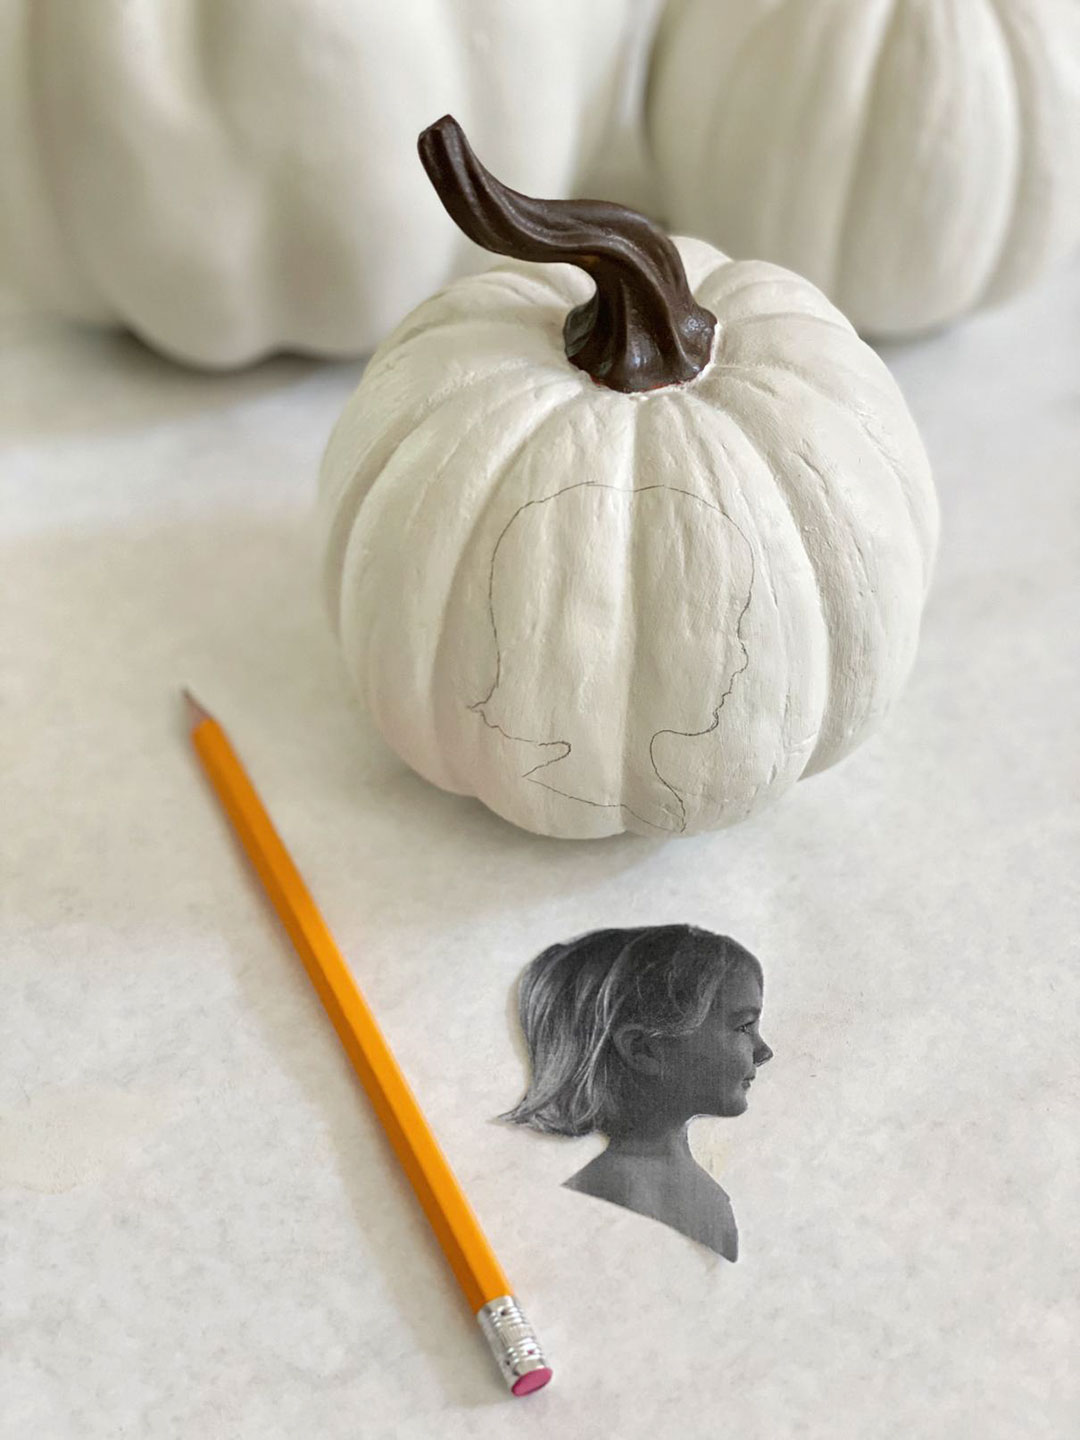
Five: Next, use a pencil to lightly trace around your image.
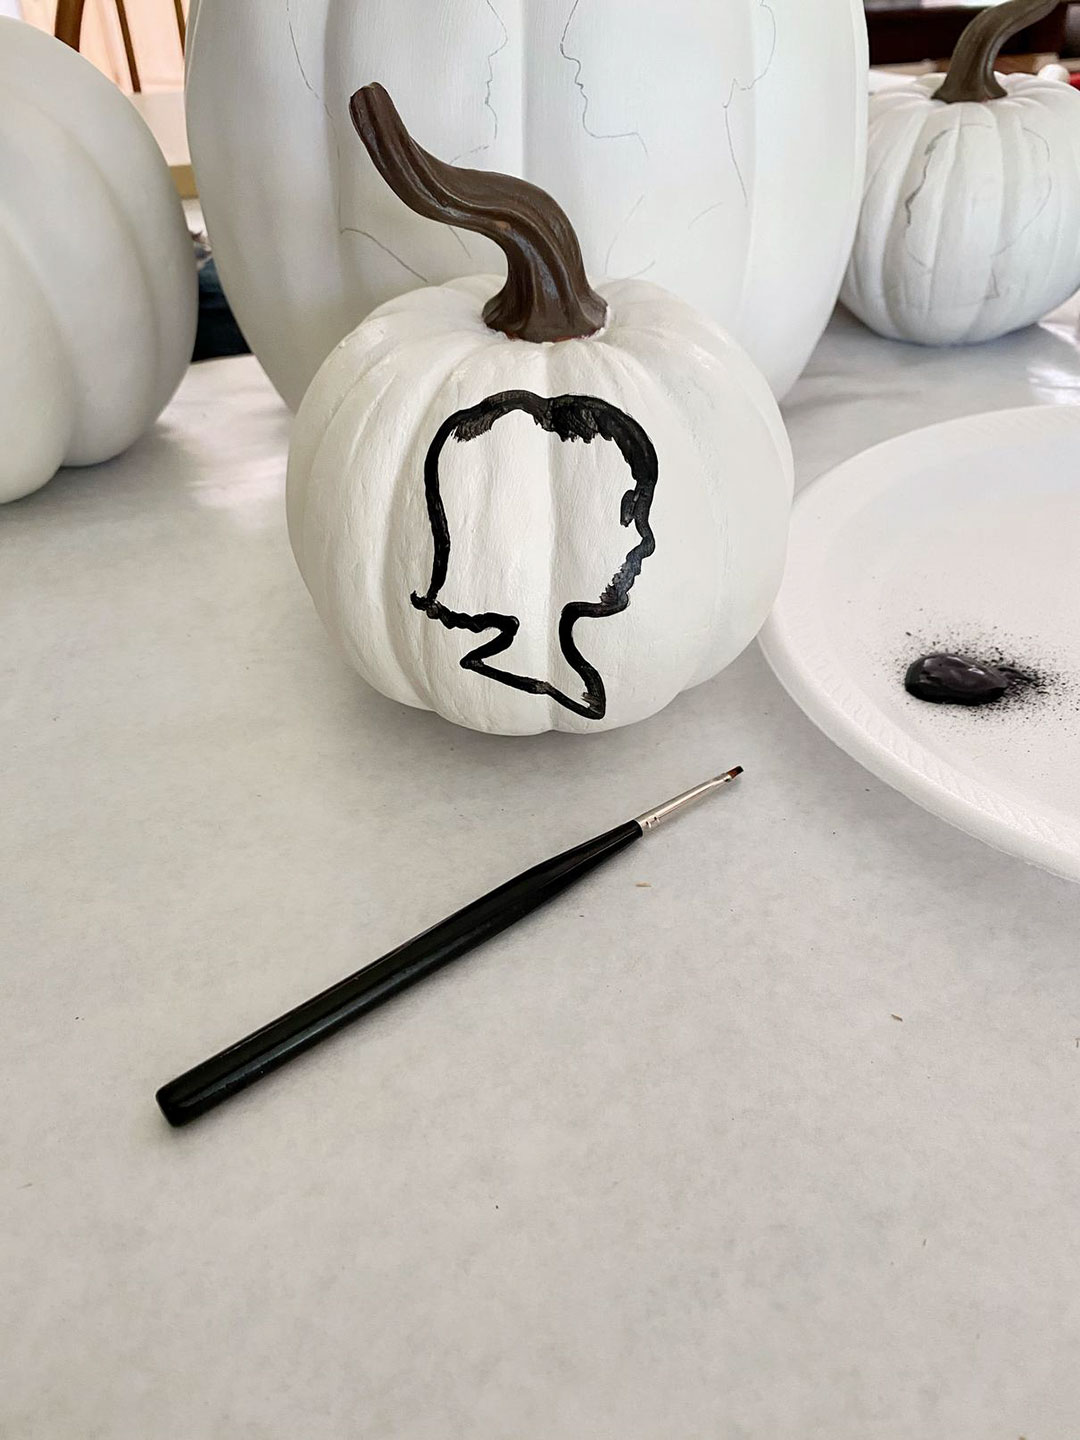
Six: Remove the tape and image from the pumpkin and now it’s time to paint. Use a small detail brush and black paint to trace the pencil lines drawn in the previous step.
Seven: Then use a slightly larger brush to fill in the image with black paint.
Repeat steps six & seven until the proper number of paint coats is achieved, completely filling in the image. This took me two coats of paint.
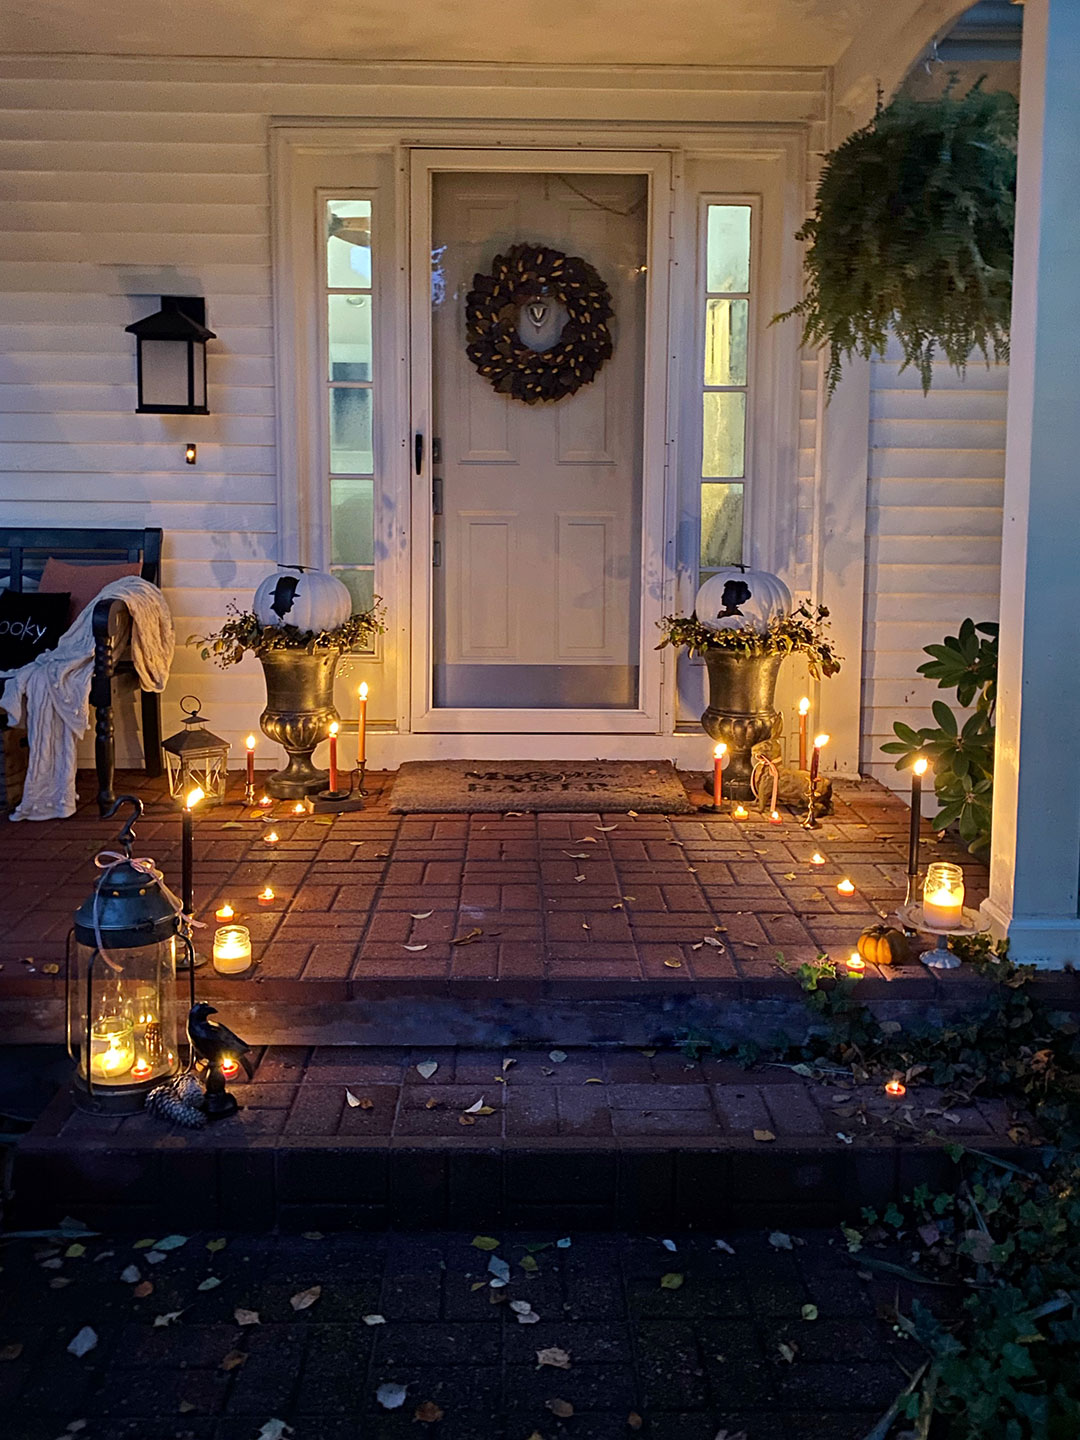
Haunted Halloween Painted Pumpkins
I used all the same steps from the silhouette painting, except I wanted my Halloween pumpkins to have a haunted, eerie feel. I used Victorian Era silhouettes found on Google Images to print, cut out, and trace. However, I still used our profiles to make the facial features to give a personal touch.
Katie Baker shares warm and welcoming decor on her website Baker-Nest.com and on Instagram at @Baker_Nest.
Want more Halloween porch decor ideas? Check out this post on No-Carve Pumpkin Ideas.
Of course, don’t forget to follow us on Instagram, Facebook and Pinterest to get your daily dose of cottage inspiration!

