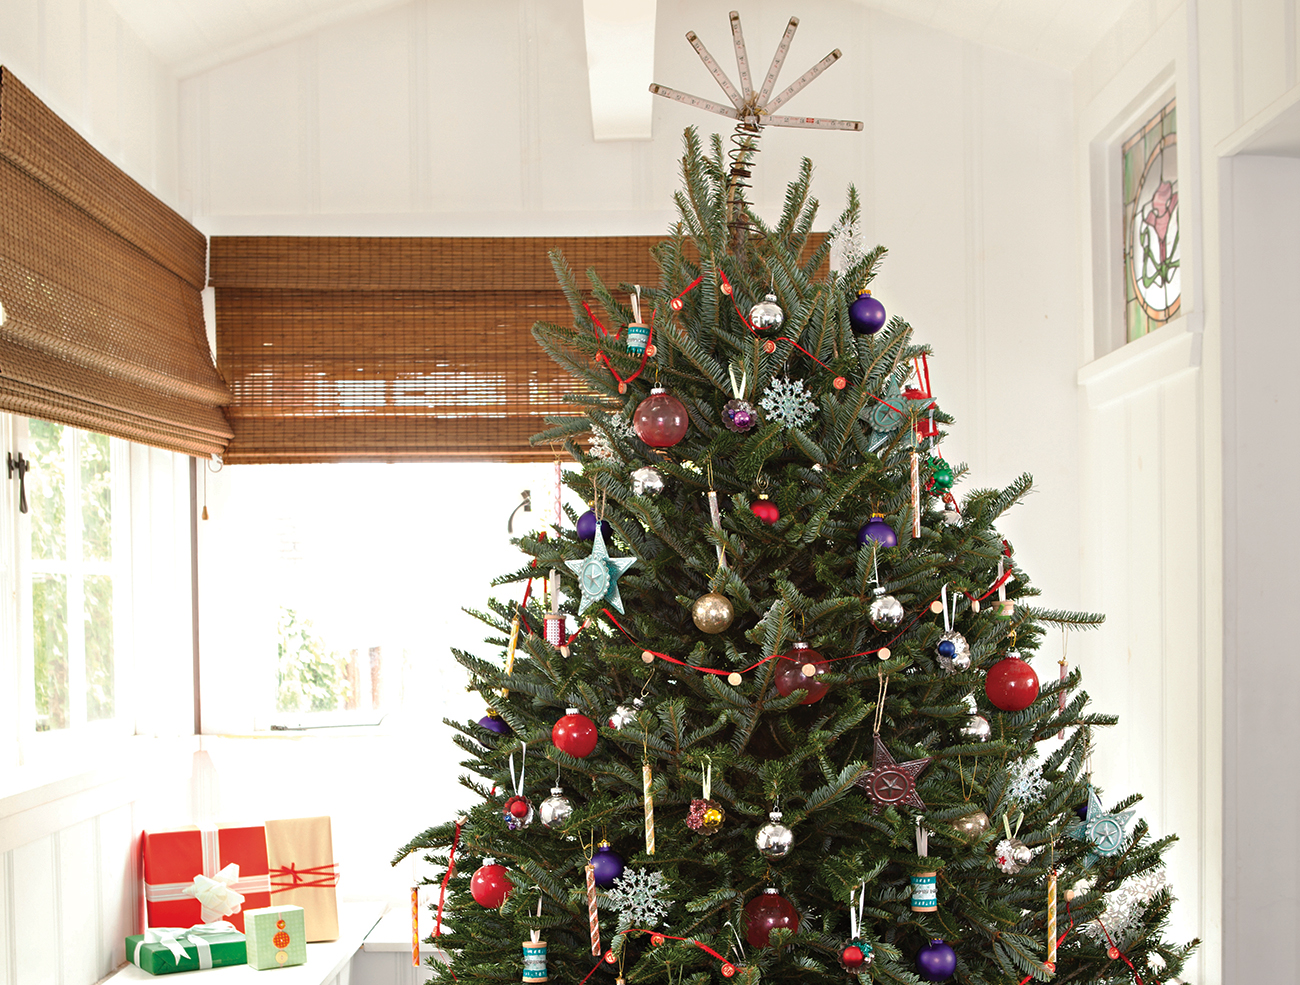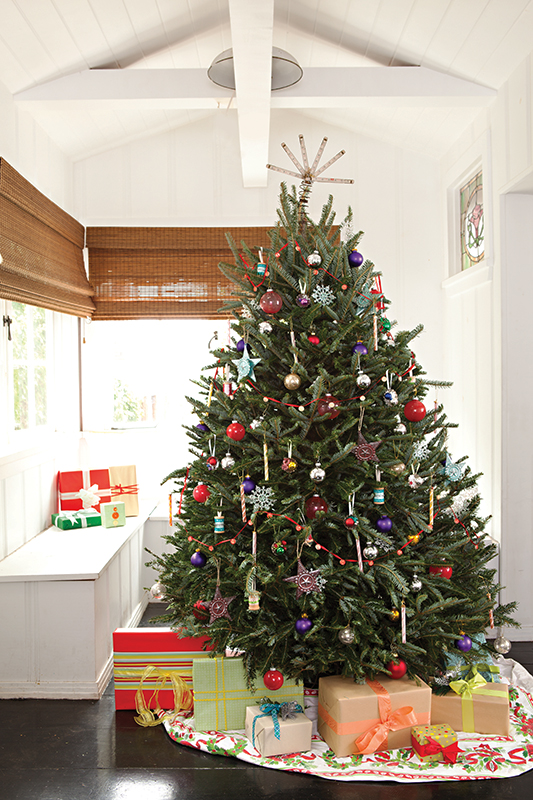
For flea-market fans, the fun of collecting and decorating with vintage finds doesn’t end when the holidays come around. This tree is bedecked with clever and crafty ornaments made using a few craft-store staples and a sampling of vintage finds. Use unexpected materials from an old collapsible yardstick to antique candy molds to make these simple projects that extend the life of your treasured finds.
Mini Tart Dioramas
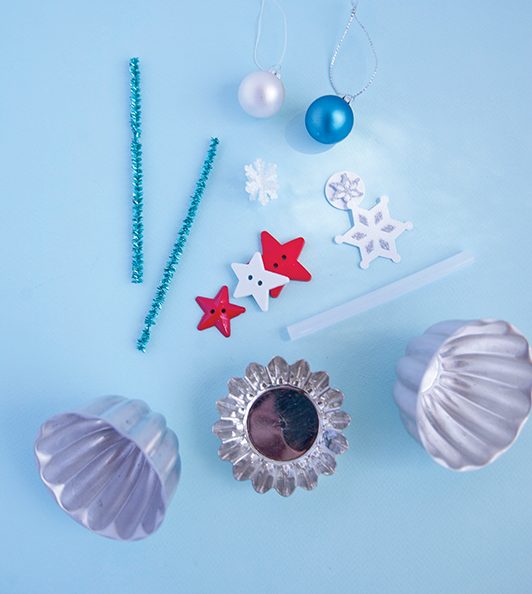
What You Need:
• Vintage mini tart tins, candy molds or other recessed metal form
• Small ornaments
• Festive stickers, buttons or other small embellishments
• Metallic pipe cleaners, bits of small garland or twigs
• Hot glue and glue gun
• Ribbon
How To Do It:
1. Using a mini tart tin as the base, arrange the small decorative embellishments on top in your desired composition.
2. You can use a pencil to twist the pipe cleaners and formable garlands into a spiral shape.
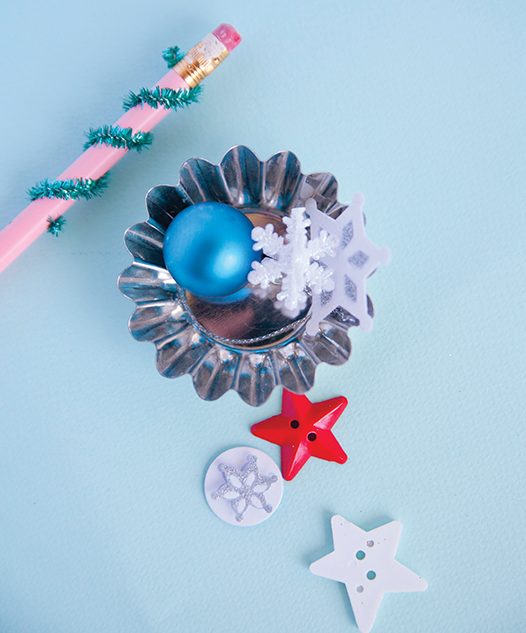
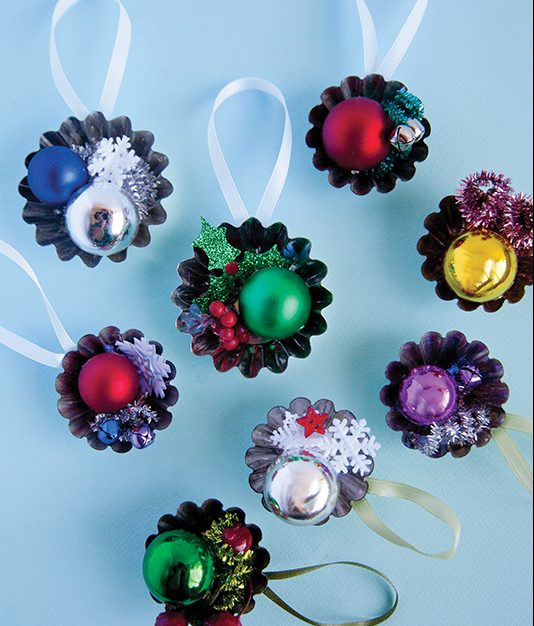
3. Once you’ve chosen the desired location for all elements, carefully hot glue them in place.
4. Snip a length of ribbon long enough to form an ornament hanger; then hot glue it in place on the back side of the ornament.
Vintage Spools
What You Need:
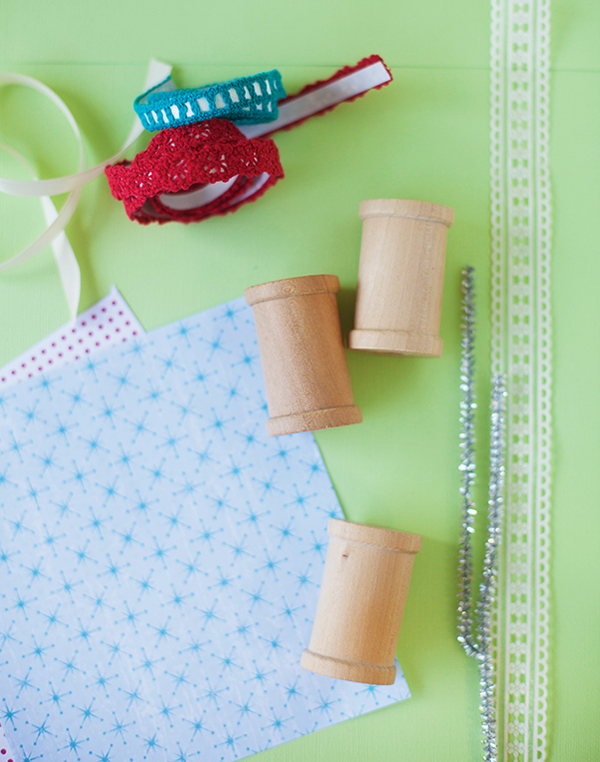
• Vintage wooden spools (you can also buy new ones at your local craft store)
• Scrapbook paper
• Vintage sewing trim or trim tape
• Lace or ribbon
• Metallic pipe cleaners
• Hot glue and glue gun
How To Do It:
1. Choose coordinating elements for your spools from the paper, ribbon and trim. Cut them to size so they wrap perfectly around the spools.
2. Arrange them in the desired positions, and hot glue them in place.
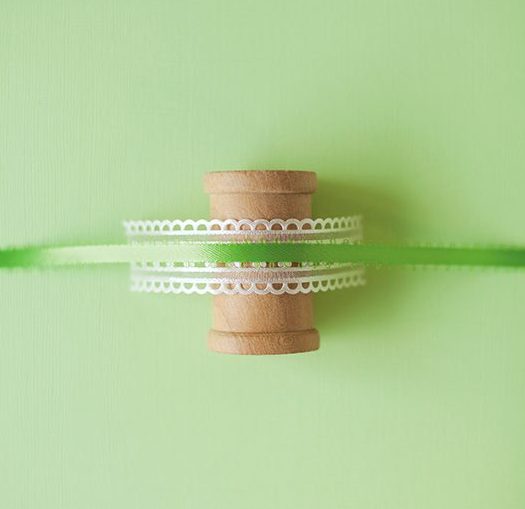
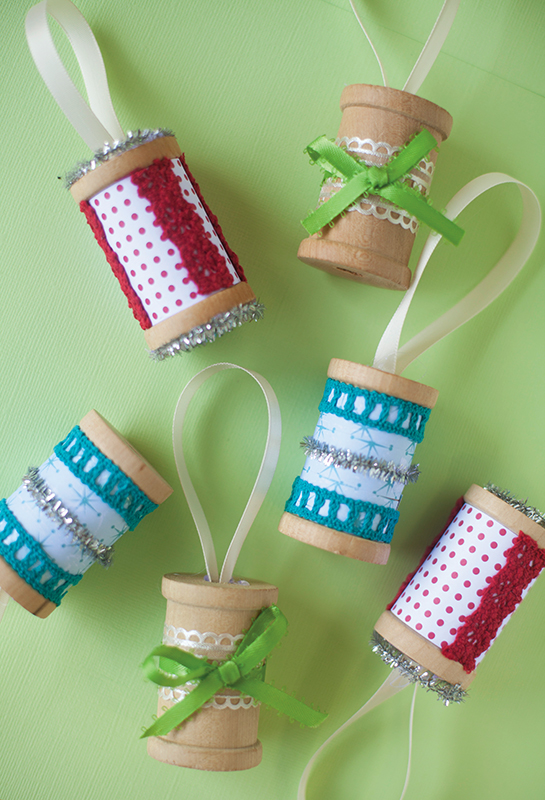
3. Snip a length of ribbon long enough to form an ornament hanger; then hot glue it in place on the top of the ornament.
TIP: These handmade ornaments use materials that have stood the test of time. Protect your creations for many more years to come by wrapping them in bubble wrap and keeping them in strong shoeboxes or plastic bins.
Vintage Ruler Topper
What You Need:
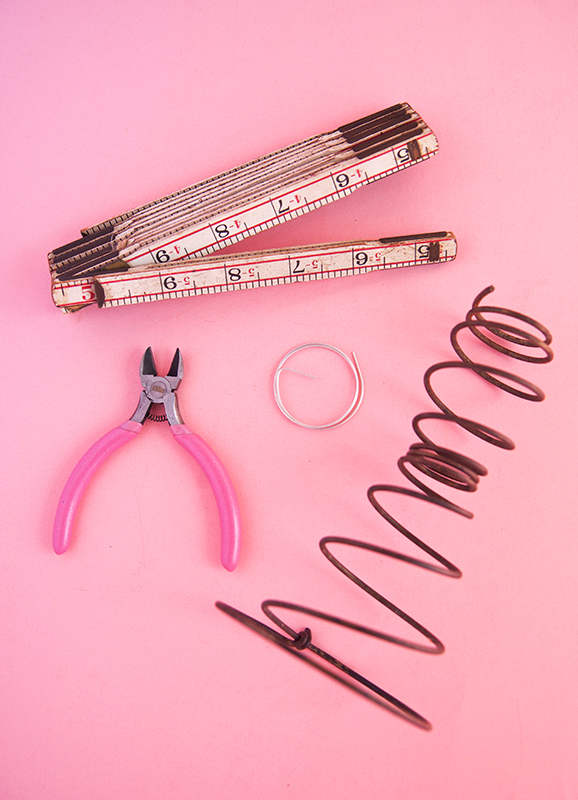
• Vintage collapsible yardstick
• Vintage bedspring
• Jewelry wire
• Wire cutters
How To Do It:
1. Fan your ruler out into a starburst shape.
2. Cut a length of jewelry wire to about 2 feet. Position the starburst atop the bedspring, keeping the large side of the spring facing down and tucking the base of the starburst into the smaller top side. With the starburst in place, begin wrapping the wire tightly around the connecting area to join the ruler and the spring together. Use more wire if needed.
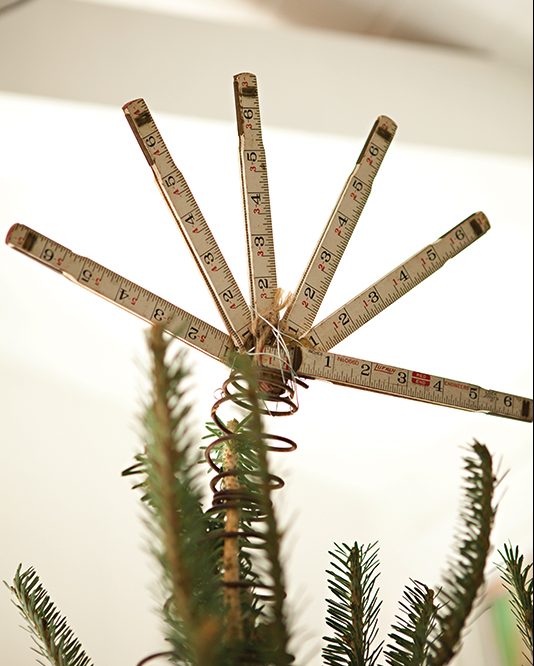
3. To further reinforce the topper, you can hot glue the connecting areas for added strength.

