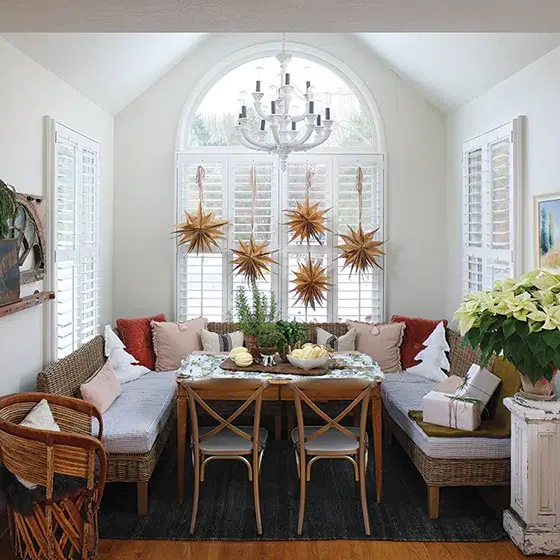
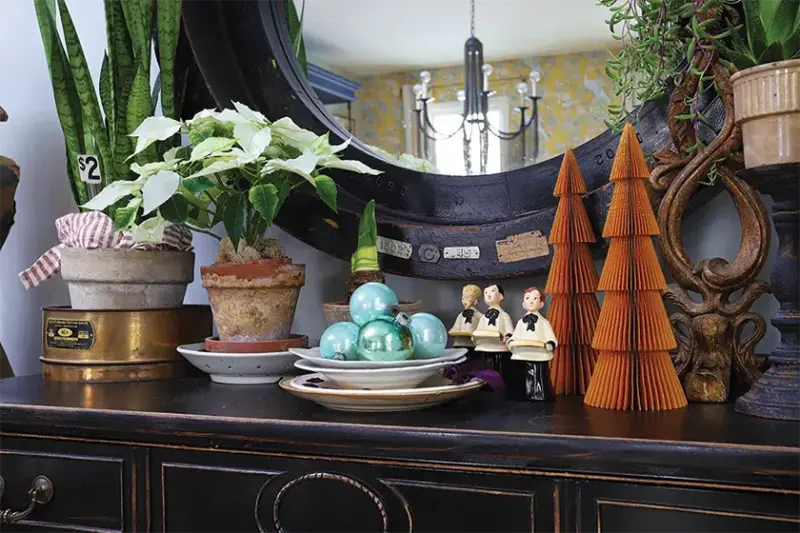
This home and online shop illustrate the beauty of thoughtfully decorated interiors lovingly filled with unique antiques and thrifted treasures. For curator, collector and creator Kari Boetsch, the holiday season is a favorite time of year. It’s when her home and her online shop, The Collected (the-collected.com), undergo their winter transformations and emerge full of vintage Christmas inspiration.
“The holiday season is very meaningful for both my home and my shop,” Kari says. These two branches of her creative expression have long held a special place in her heart. For the past nine years she’s been renovating her Michigan home to reflect her rustic, eclectic aesthetic and for the past five years she has been helping others do the same with their spaces via her shop, which offers European-style wares for the home and garden. Kari has found the two have fed into each other. “Curating for my shop keeps me in a continuous state of finding new pieces and discovering new trends, which leads to change and evolution to my own style for my home,” she says. “I’m consistent in my vintage look, but its interpretations vary as I learn and discover different things that speak to me.”
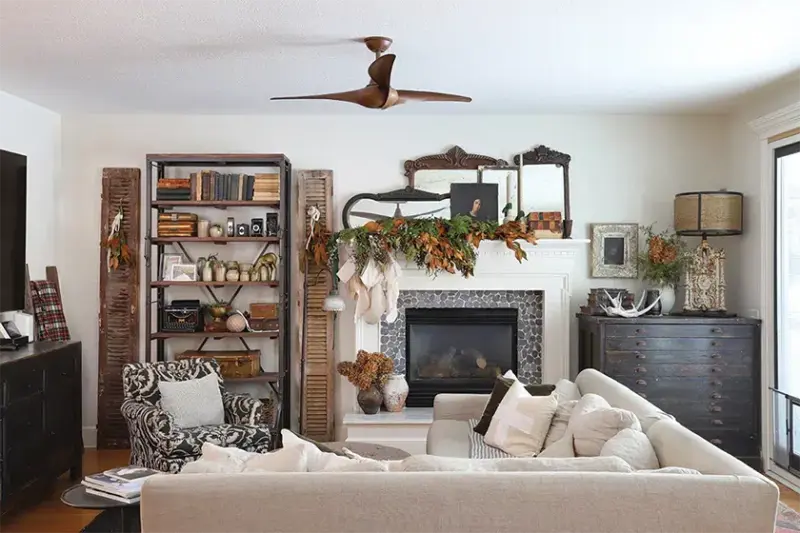
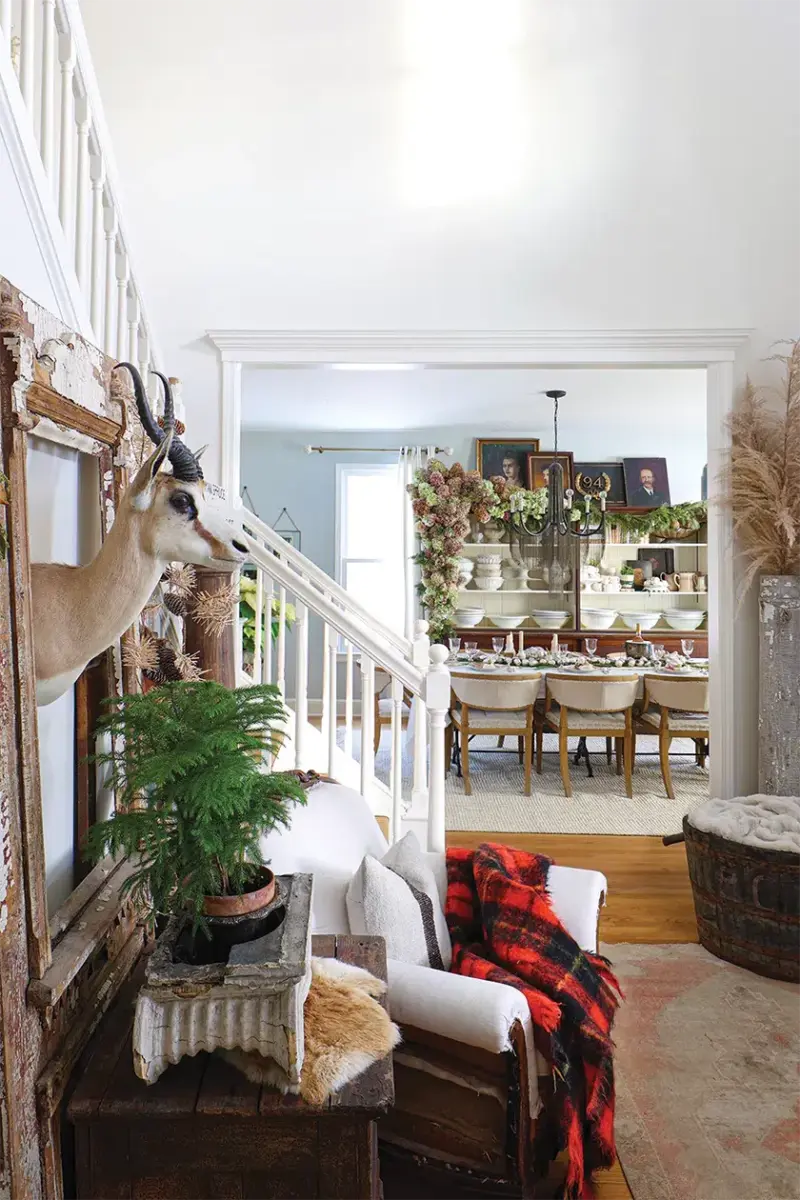
From Groovy to Gorgeous
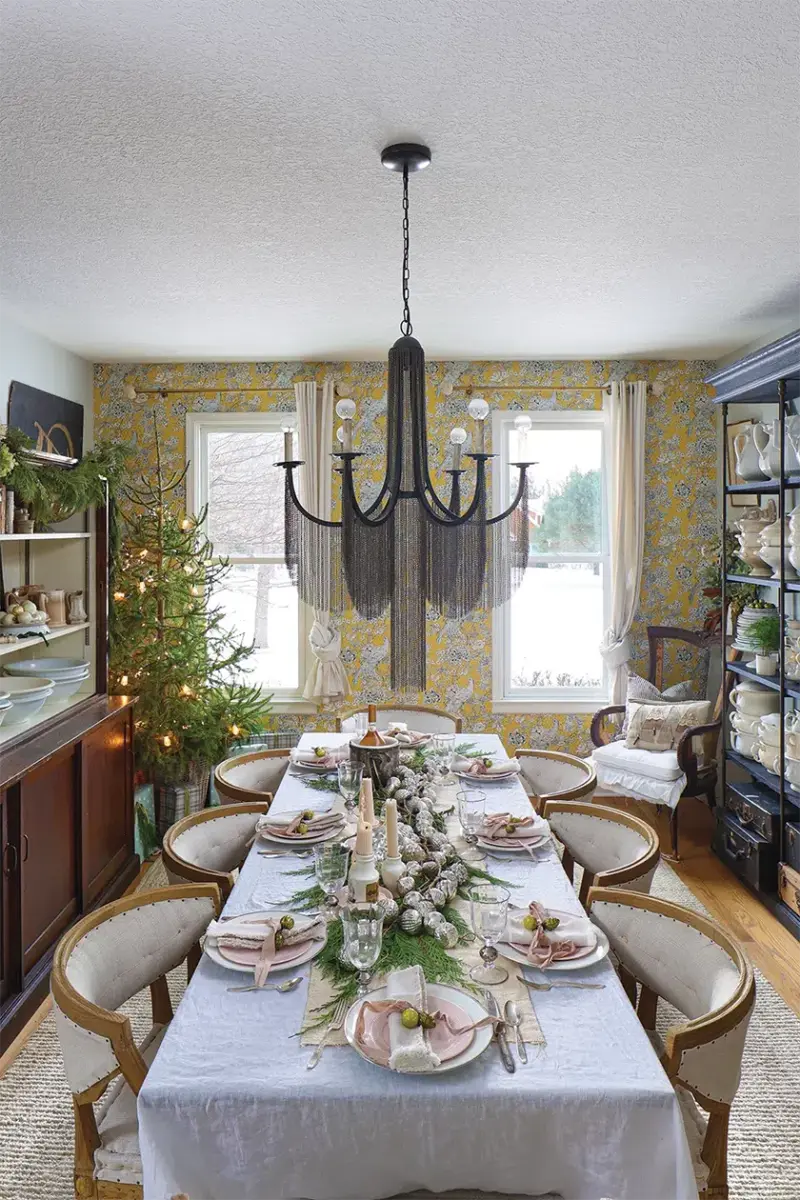
Kari’s home, which she shares with her husband and children, was completely outdated when they first moved in. Purple Formica countertops, yellow walls and blue floral carpeting were groovy, but not at all current. “It was in desperate need of a full redesign,” Kari recalls. She and her husband have updated it over time, replacing the blast-from-the-past cabinets, adding Anthropologie wallpaper and hardware and filling the rooms with antique furniture mixed with new pieces. Throughout, Kari applied her design principles: not painting furniture but rather leaving it in its natural state, opting for natural mediums when possible, as opposed to manufactured stones and marbles and using neutral paint throughout the home to unify the spaces (in this case, Sea Pearl by Benjamin Moore).
Shop Talk
Since Kari has always loved thrifting and shopping for goods for her home over the years, opening a shop only made sense. “The Collected has an eclectic mix of vintage and new items for the home and the garden,” Kari says. “I am bringing in more garden goodness and everyday elements for the home, like kitchen ware, candles, linens and more to blend with the one-of-a-kind vintage pieces I source on a weekly basis.”
A few of her favorite places to source wares are the East Coast and France. “I just introduced some of my photography from my recent travels to the East Coast and France in my shop,” she says. “It’s been fun to find vintage and antique frames to pair with my prints.” As a rule, Kari only stocks what she would purchase for her own home in her shop and there are definite times where she hangs onto items for a bit to enjoy before she stocks them in her shop. “The hardest part of my job is deciding what to keep and what to sell,” she says.
Christmas Curation
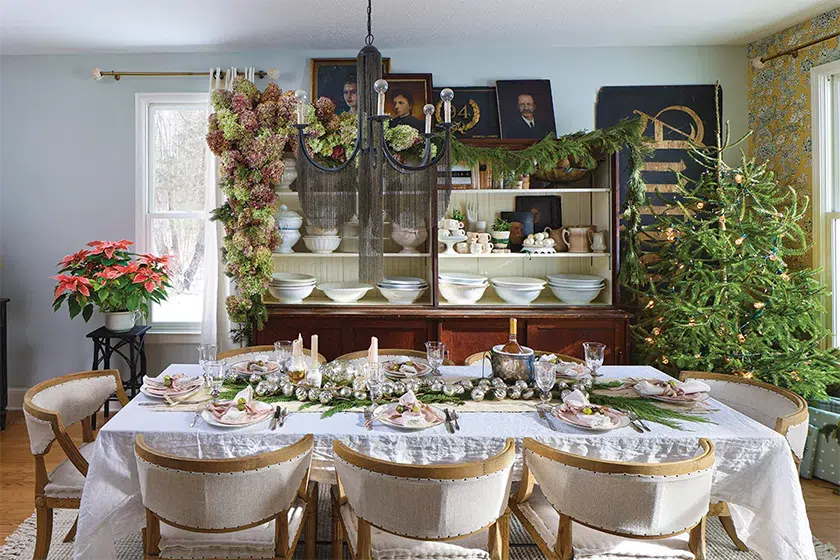
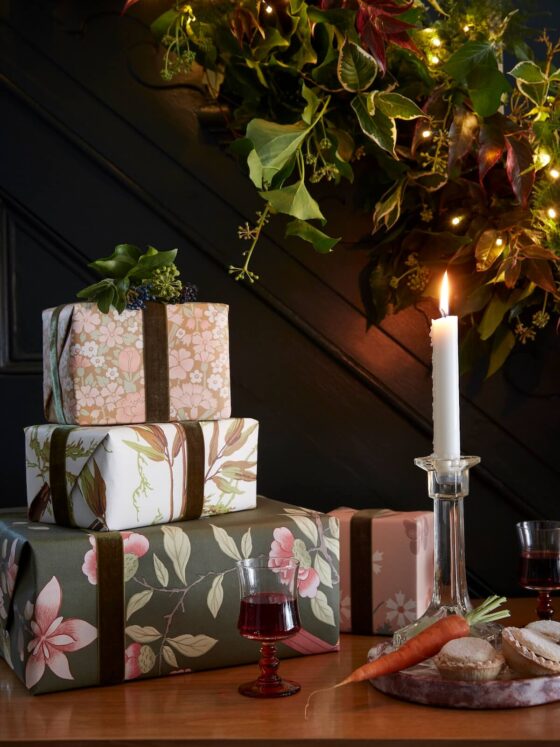
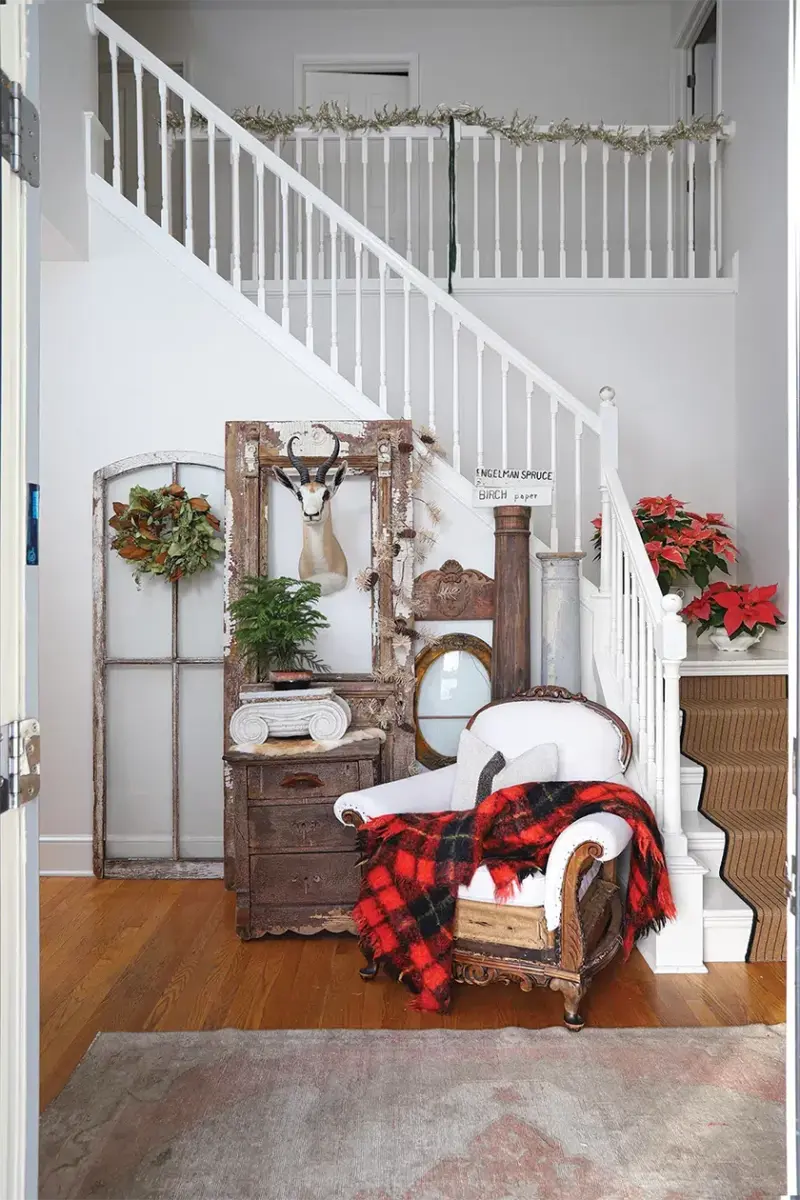
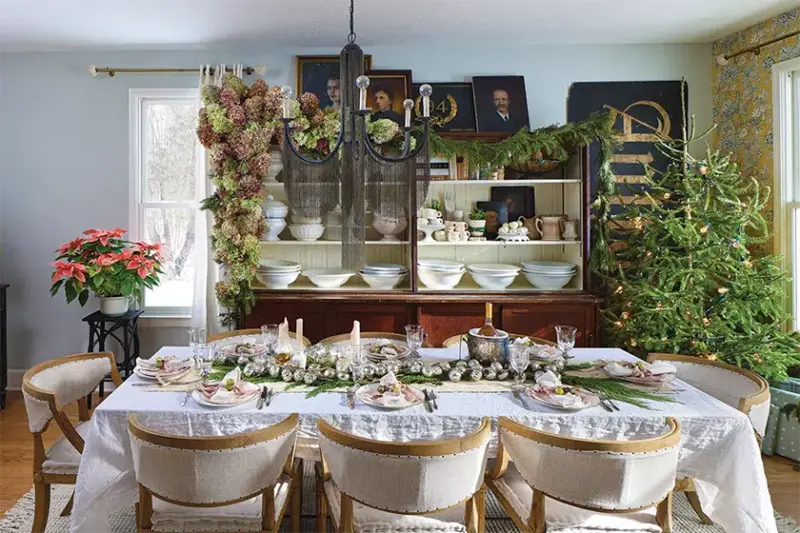
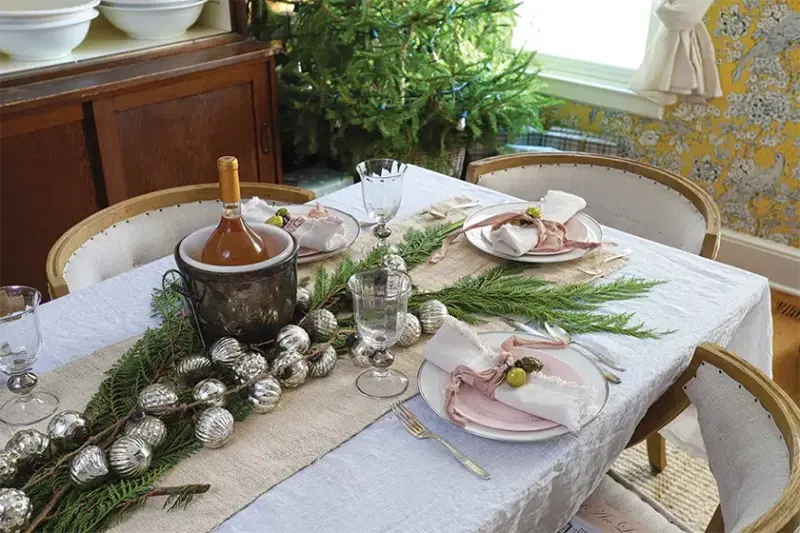
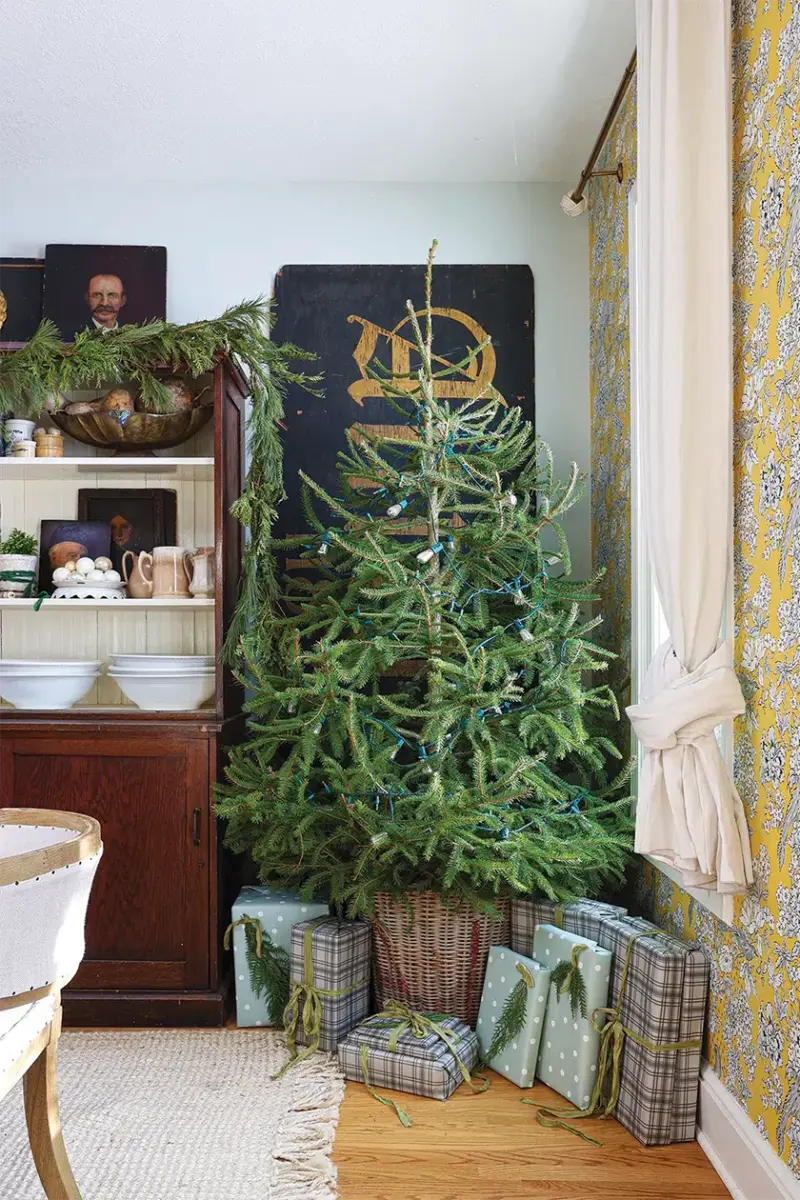
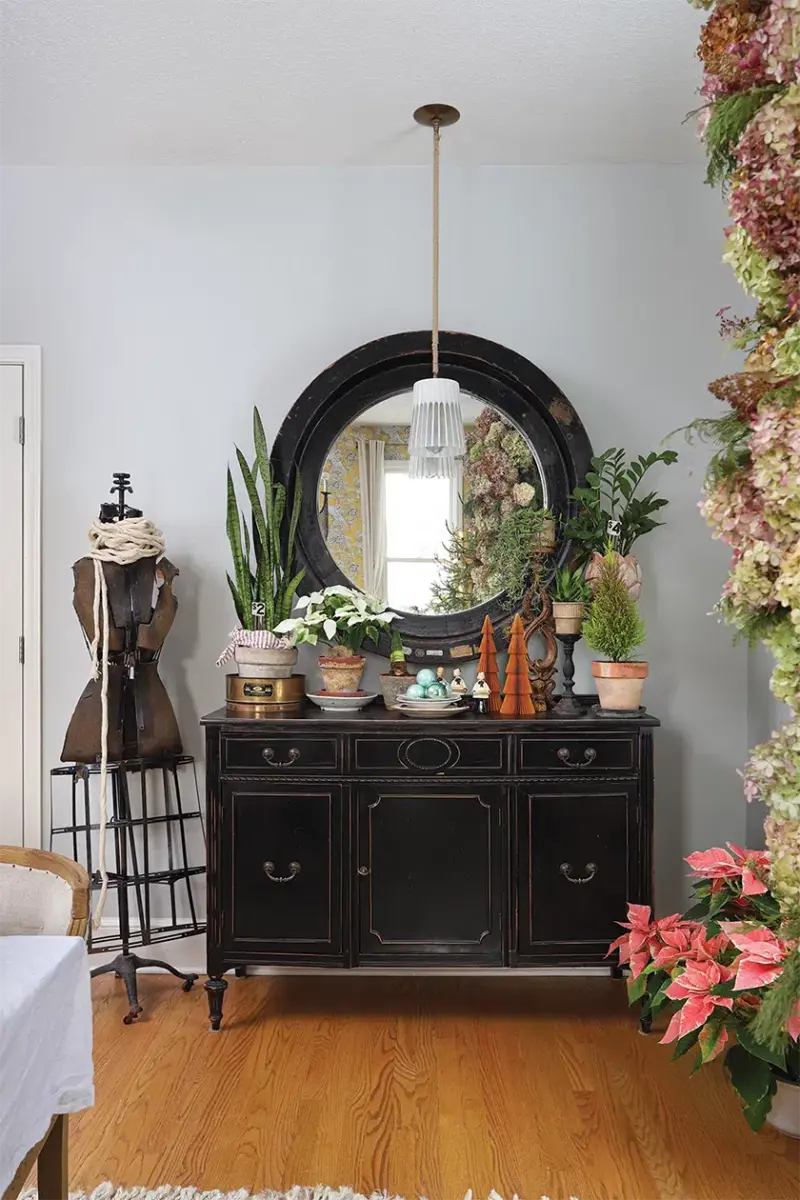
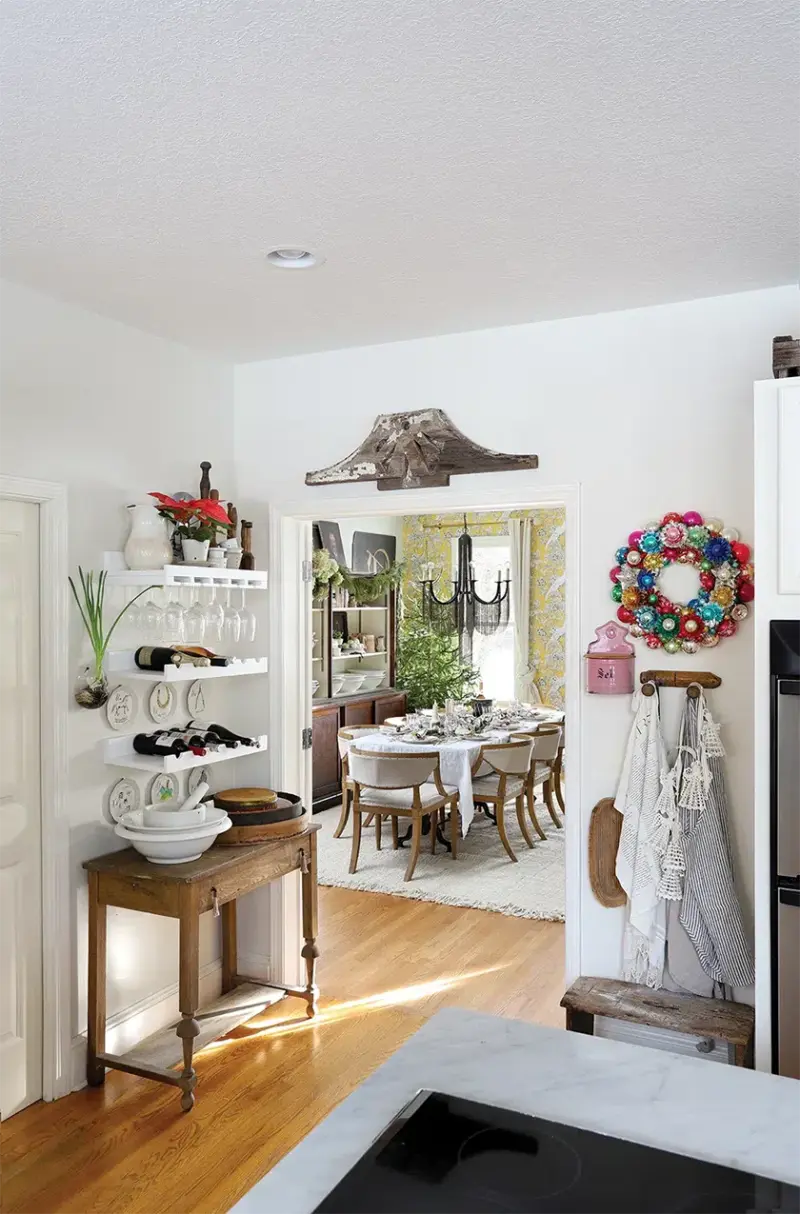
The holiday season is a busy time of year for Kari’s home and shop. “I always try to plan ahead so I’m not overwhelmed and always tie the way I decorate my home into how I curate my shop,” she says. Real greens are a signature element for her. She sources them from a fresh tree that she and her family traditionally cut during Thanksgiving weekend as well as from her local greenhouses, where she purchases eucalyptus and magnolia to trim her mantel and entryway. She dries hydrangeas from her garden every fall so she can create wreaths for her shop along with large bundle bouquets. Feeling inspired, she even made a large dried-hydrangea garland installation for her dining room.
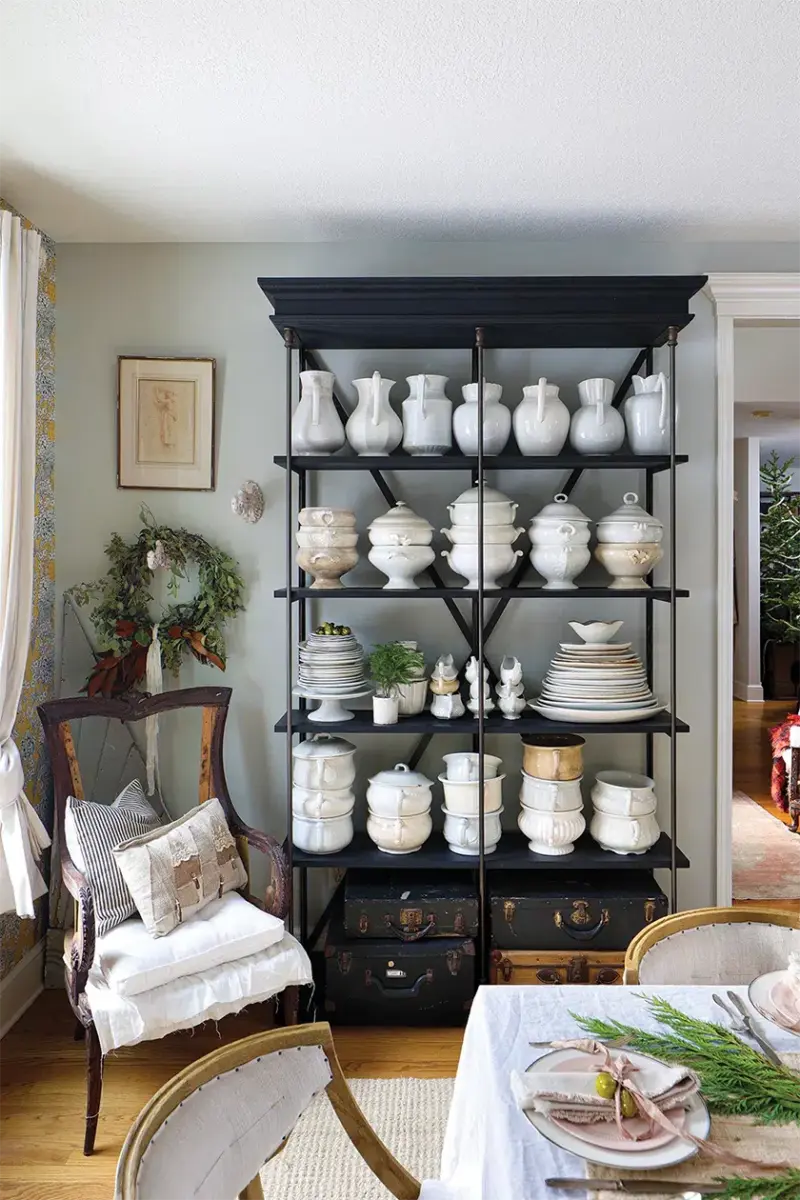
“It’s something I can leave up throughout the winter months,” she says. “I like decorating with elements I can leave up for winter. I always have festive Christmas décor, but I tend to use more of a winter aesthetic with a mix of Christmas as I like to enjoy it for a [longer] period of time.”
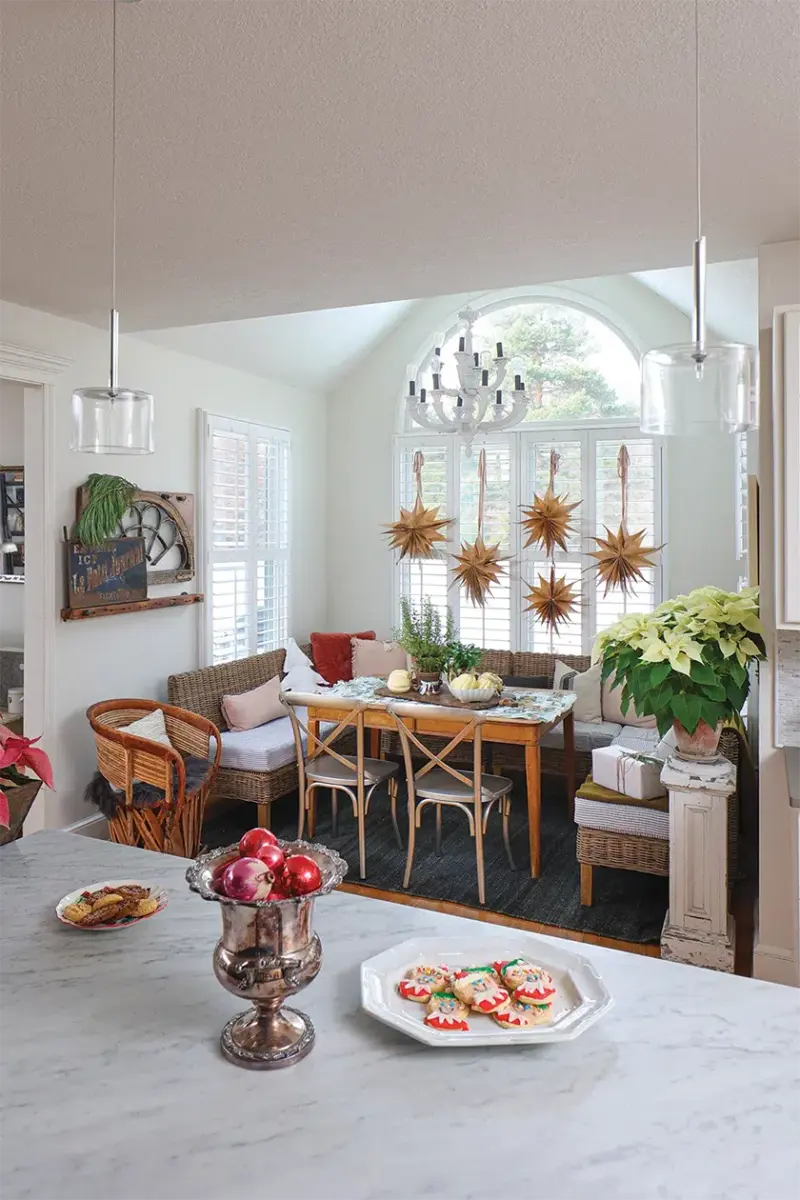
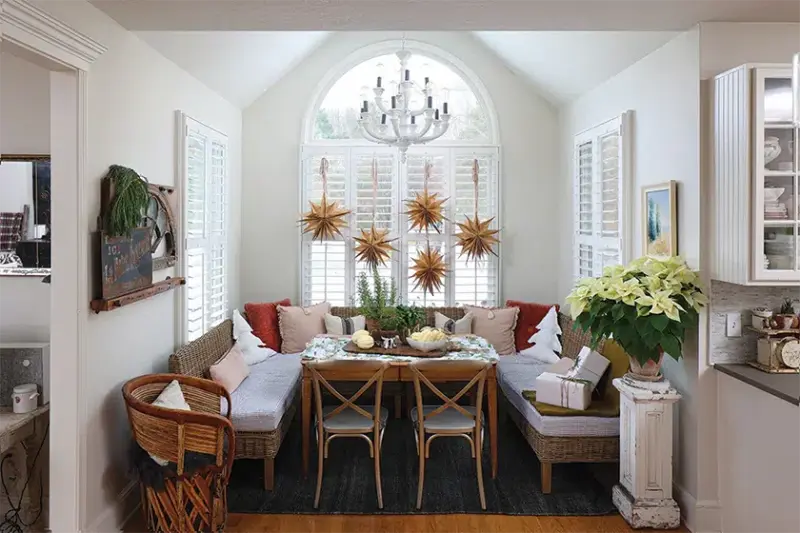
Another heartfelt DIY project is one she did with her 11-year-old daughter, Molly. Together, they made stars out of brown paper pages and hung them in the window, giving the feel of a rustic, starry winter night.

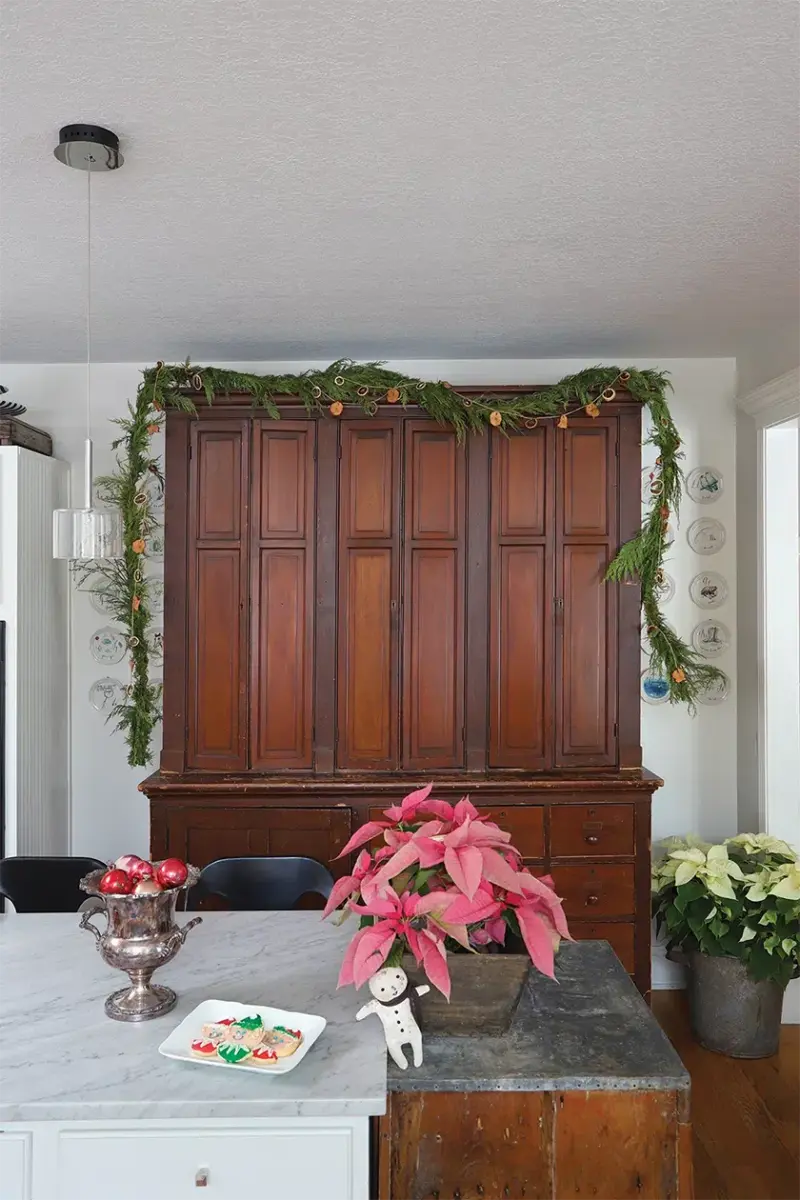
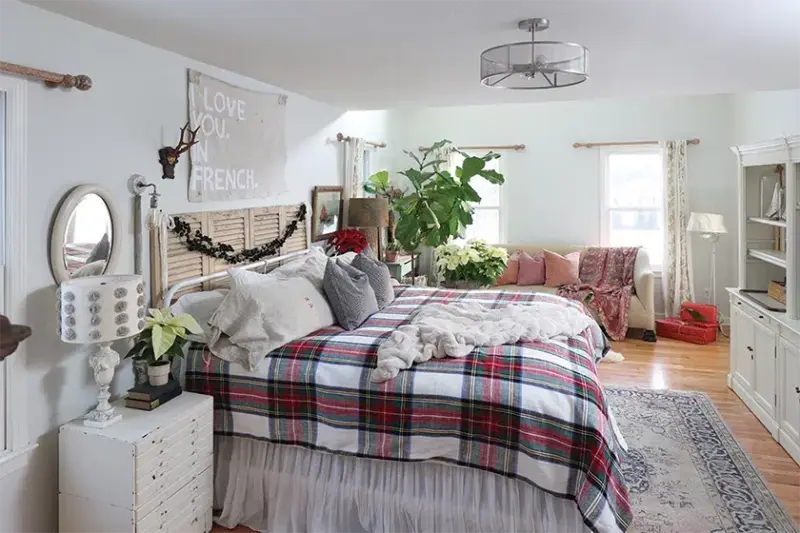
When it comes to Christmas color schemes, Kari doesn’t have one favorite she uses every holiday season. Instead, just like she does with her shop, she picks a color to use in her décor. This year, it’s muted greens and prints. Almost all her décor items are sourced from flea markets, antiques shops and natural flowers from her garden or local greenhouses.
Kari’s latest venture is providing both virtual and in-person design services and events through her new website at the-collected.com/services. Among the services you can sign up for at the-collected.com are residential styling and design advice to create a
curated home or event, a design-style plan, sourcing and installation.
Kari’s Christmas is creative, collected and curated at home and in her shop, proving that a home’s festive inspiration can expand far beyond its threshold—just like the holiday spirit.
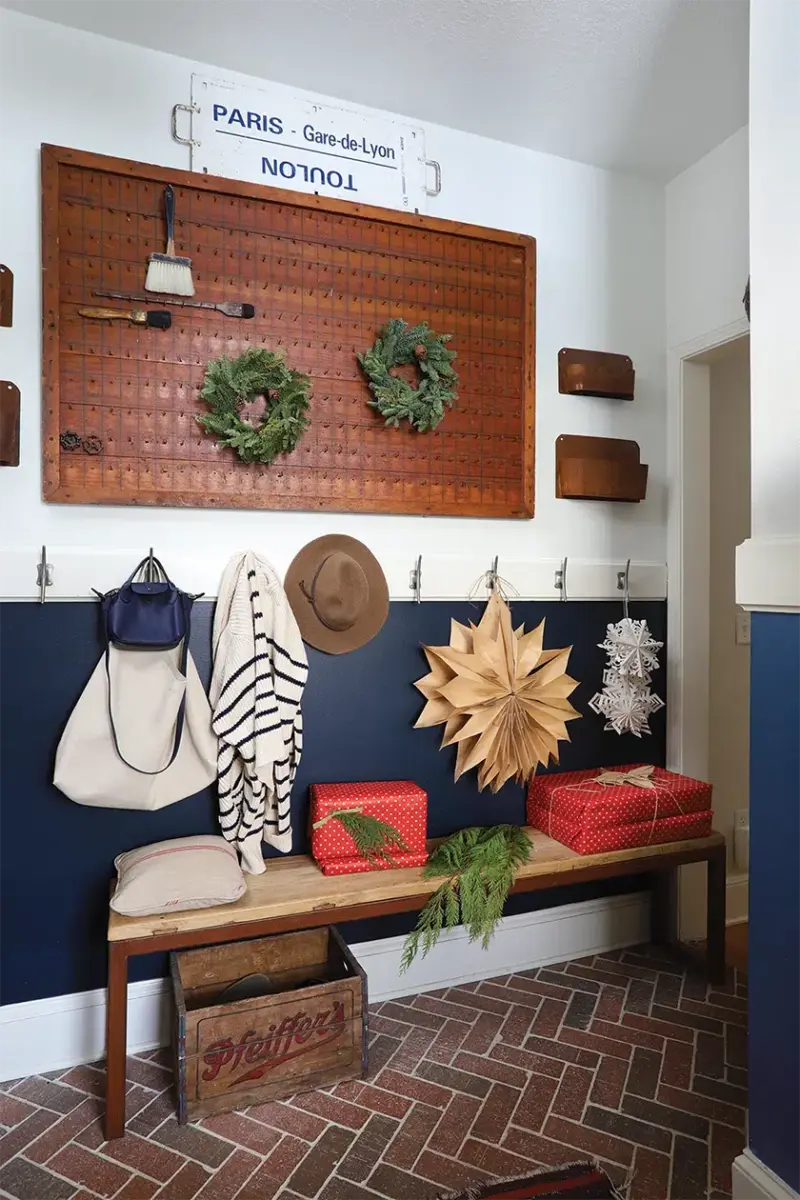
Mudroom Merriment. Kari makes the mudroom merry with winter plants and a seasonal garland. “Even though it’s our secondary entrance, both my family and guests use it a lot, so I always make sure to add touches of holiday goodness here,” she says.
Hydrangeas for the Holidays
A stunning hydrangea installation is an unexpected way to decorate for Christmas and has the fluffy, dreamy effect of freshly fallen snow. Here’s how Kari made and installed her stunning piece.
What she used:
- Dried, long-stem hydrangeas (Kari sourced hers from her garden)
- Chicken wire
- Nails
- Fresh greenery
What she did:
- First, Kari cut the roll of chicken wire into a four-inch
strip. - Then she nailed the wire to the top portion of her cabinet. If you don’t want to nail directly into your cabinet, you can also use Command™ strip hooks.
- Taking the long-stem hydrangeas, she wove them through each opening until all the wire was
obscured—and then she layered in more! - Finally, she added fresh greenery for the perfect festive touch.
Wintry Night Paper-Bag Stars
This sweet DIY is age-appropriate to do with children—in fact, Kari created hers with her 11-year-old daughter Molly, creating rustic stars and special memories all at once. The directions below will result in your own simply sweet paper-bag stars.
What Kari and Molly used:
- Brown paper bags of assorted sizes
- Scissors
- Glue
- Glue gun
- Hole punch
- Ribbon
What they did:
- Kari and Molly took various sizes of brown paper bags and cut the
corners off where the opening is.
They laid them out flat and cut
each corner off about 4 to 6 inches on each side, creating a point (almost like an arrow). - They used a glue gun and placed several dots of hot glue on the bottom of each bag. Approximately five or six bags make one star. They glued the bottoms together and then opened each bag.
- Then they placed glue at the top, bringing the upper portion together to create a star.
- To hang them, they punched a hole at the top and put vintage ribbon through each star.

