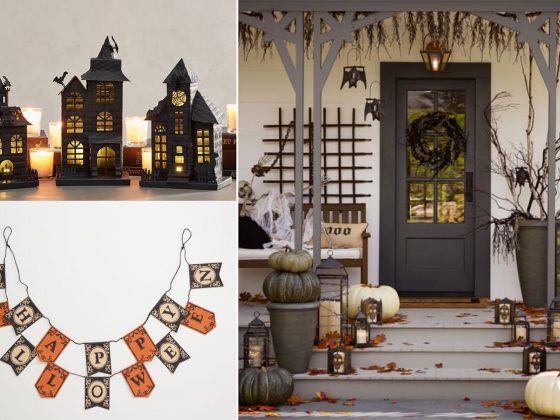
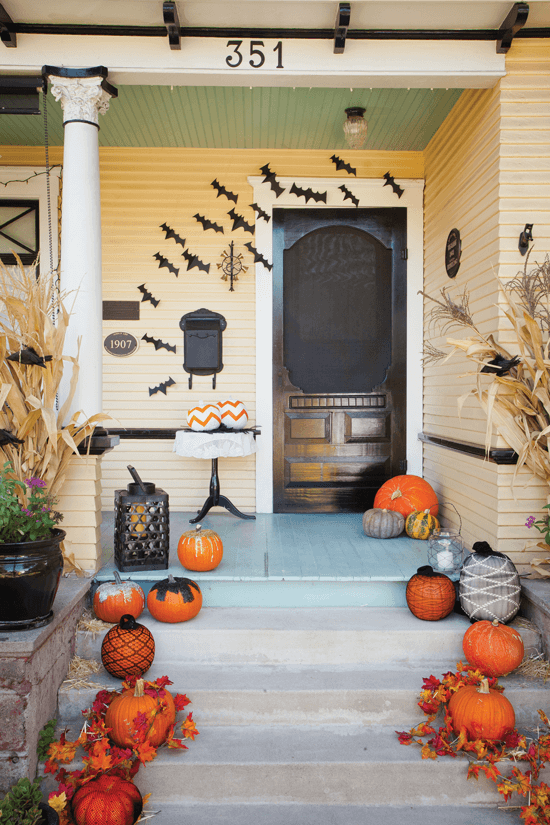
What’s black and white and spooky all over? Answer: this fashion-forward take on Halloween porch décor. Welcome guests with a spooky-chic approach to fall festivities full of super easy DIY ideas using unexpected elements combined with on-trend patterns and vibrant colors.
Moving on Up
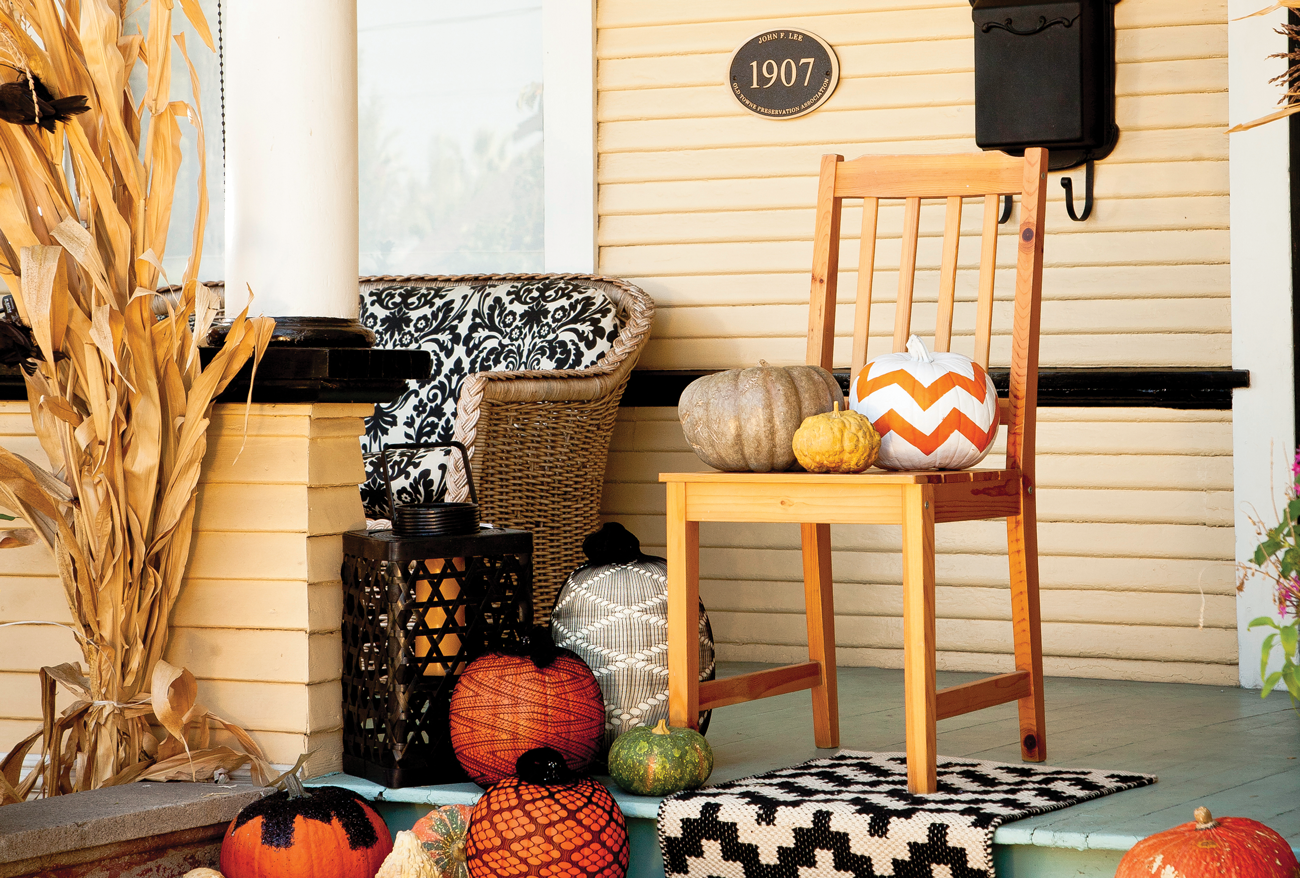
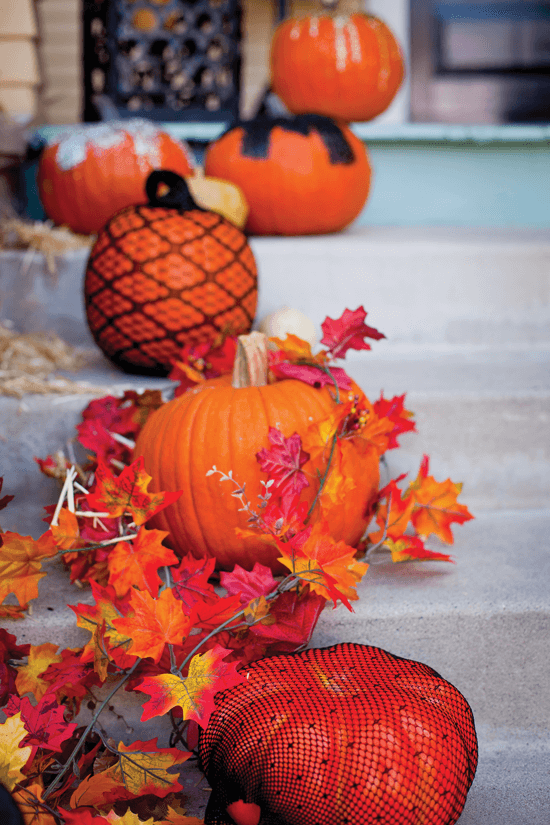
Draw the eye up to your door with a boost of curb appeal by lining your porch steps with a variety of pumpkins. Don’t forget to soften the look by tucking hay, leaves and other fall foliage into the nooks and crannies.
Layer It Up!
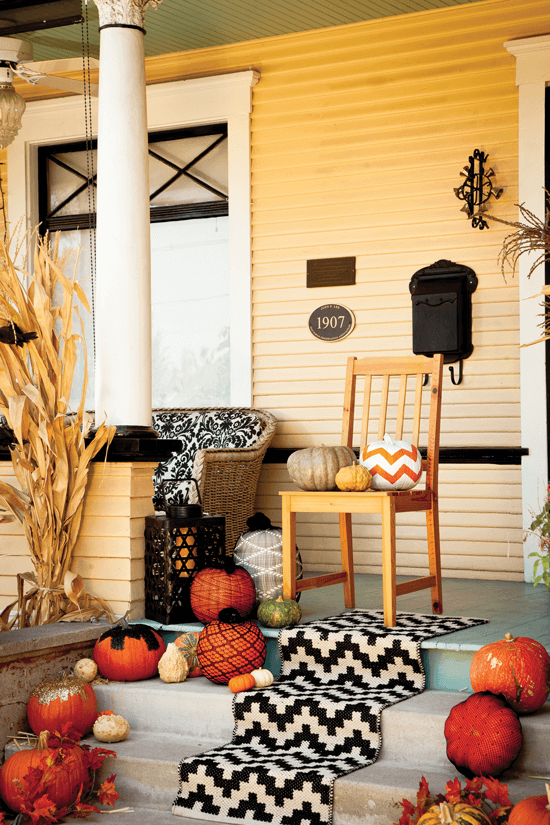
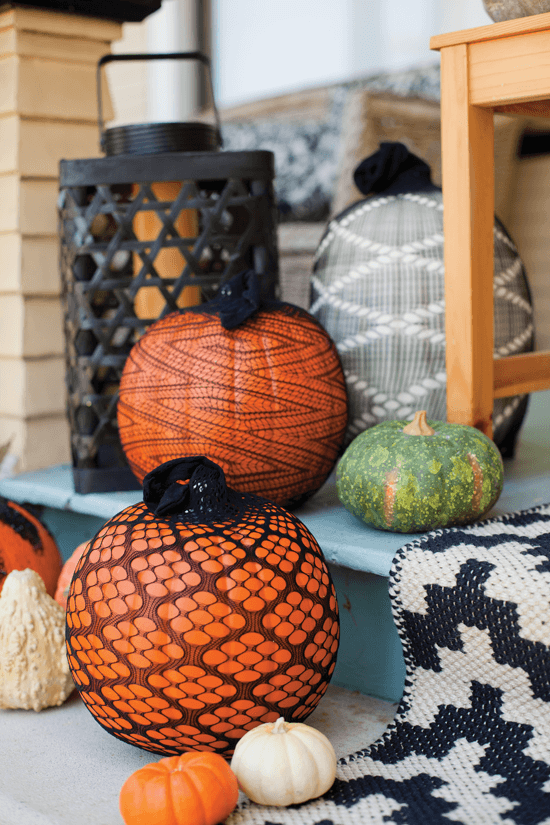
Don’t be afraid to accessorize your Halloween porch with an indoor eye towards elegance and texture. We added a graphic tribal-style runner to this Halloween porch décor scheme to add an eye-catching pop of pattern, and then layered a festive family of pumpkins all along the porch steps for a look that’s inviting and rich.
Paint It Pretty
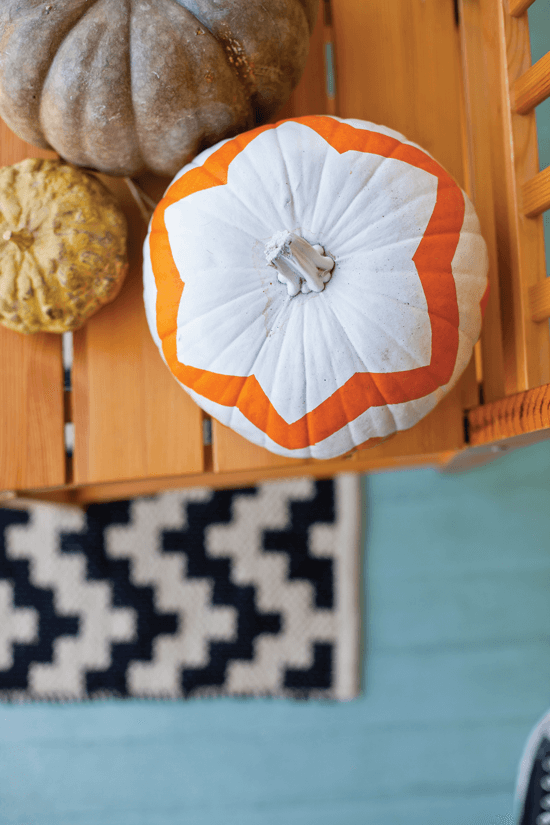
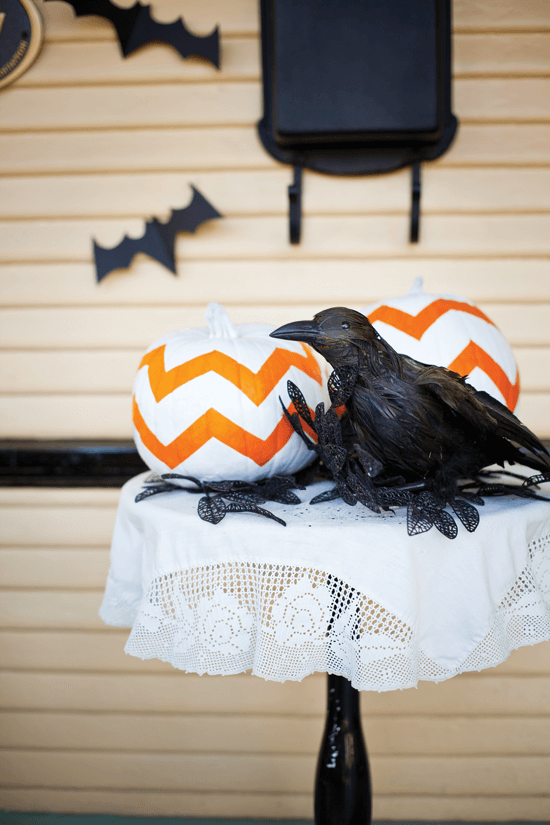
Our other favorite way to decorate pumpkins involves two easy ingredients: paint and painter’s tape. Just mask off a pattern of your choice around your pumpkin, paint a few
layers and then carefully peel off the tape to reveal your crisp design.
Runway-Ready Pumpkins
How’s this for a no-carve approach to jack o’ lanterns? Simply stretch patterned tights or dress socks from the bottom of a pumpkin over the top and snip to fit; then swirl the excess on top to mimic a stem. The lively patterns look like a fancy stencil job without all the work.
Something to Crow About
Need more room for creative display? Make it! A small side table is topped with a cutwork tablecloth to enhance the farmhouse architecture of the cottage. It’s the perfect spot for extra pumpkins and a feathered friend who’ll watch over the Halloween candy on the big night.
DIY Spider-Web Art
What you’ll need:
• Empty frames
• Black yarn
• Glue gun and hot glue
How to do it
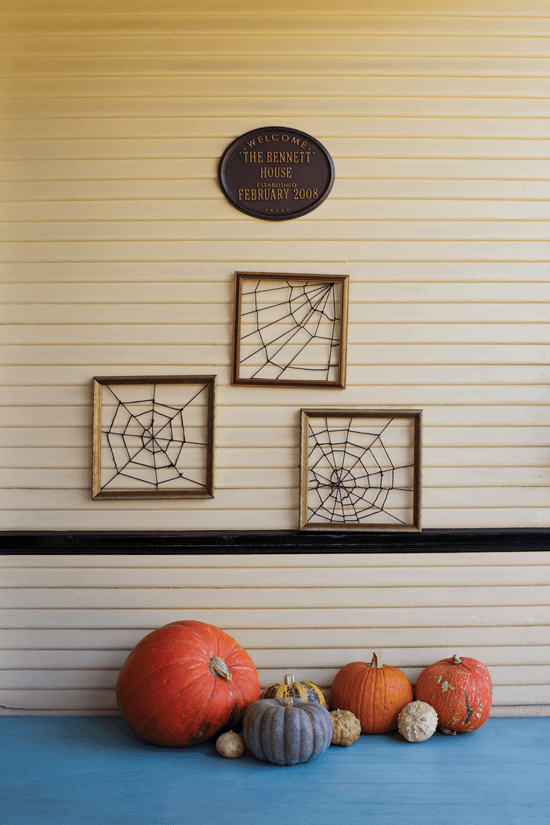
1. Cut three to five lengths of yarn to stretch all the way across the frame, and glue them in place, forming an asterisk or starburst shape. Vary the center point of the asterisk for different frames (setting some off-center) to change up the look for each frame.
2. Starting at the center, tie one end of yarn where the arms of the asterisk meet. Then begin to swirl the yarn in one direction, looping it around each arm of the asterisk to begin to connect them together.
3. Continue all the way around in concentric circles, gluing the joints together if needed until you reach the outer edge of the frame and it creates a classic spider-web shape.

