Hi friends!
Happy spring! I’m so excited to be hanging with you!
I don’t know about you, but with the blossoming of spring comes the bug to change things up. Whenever I am craving change in a space, or want to make a bold statement, I always paint something.
I love DIYs, especially one done on a budget. And paint can be found in wide variety of price ranges.
The power of paint is real, and it’s a definite game changer!
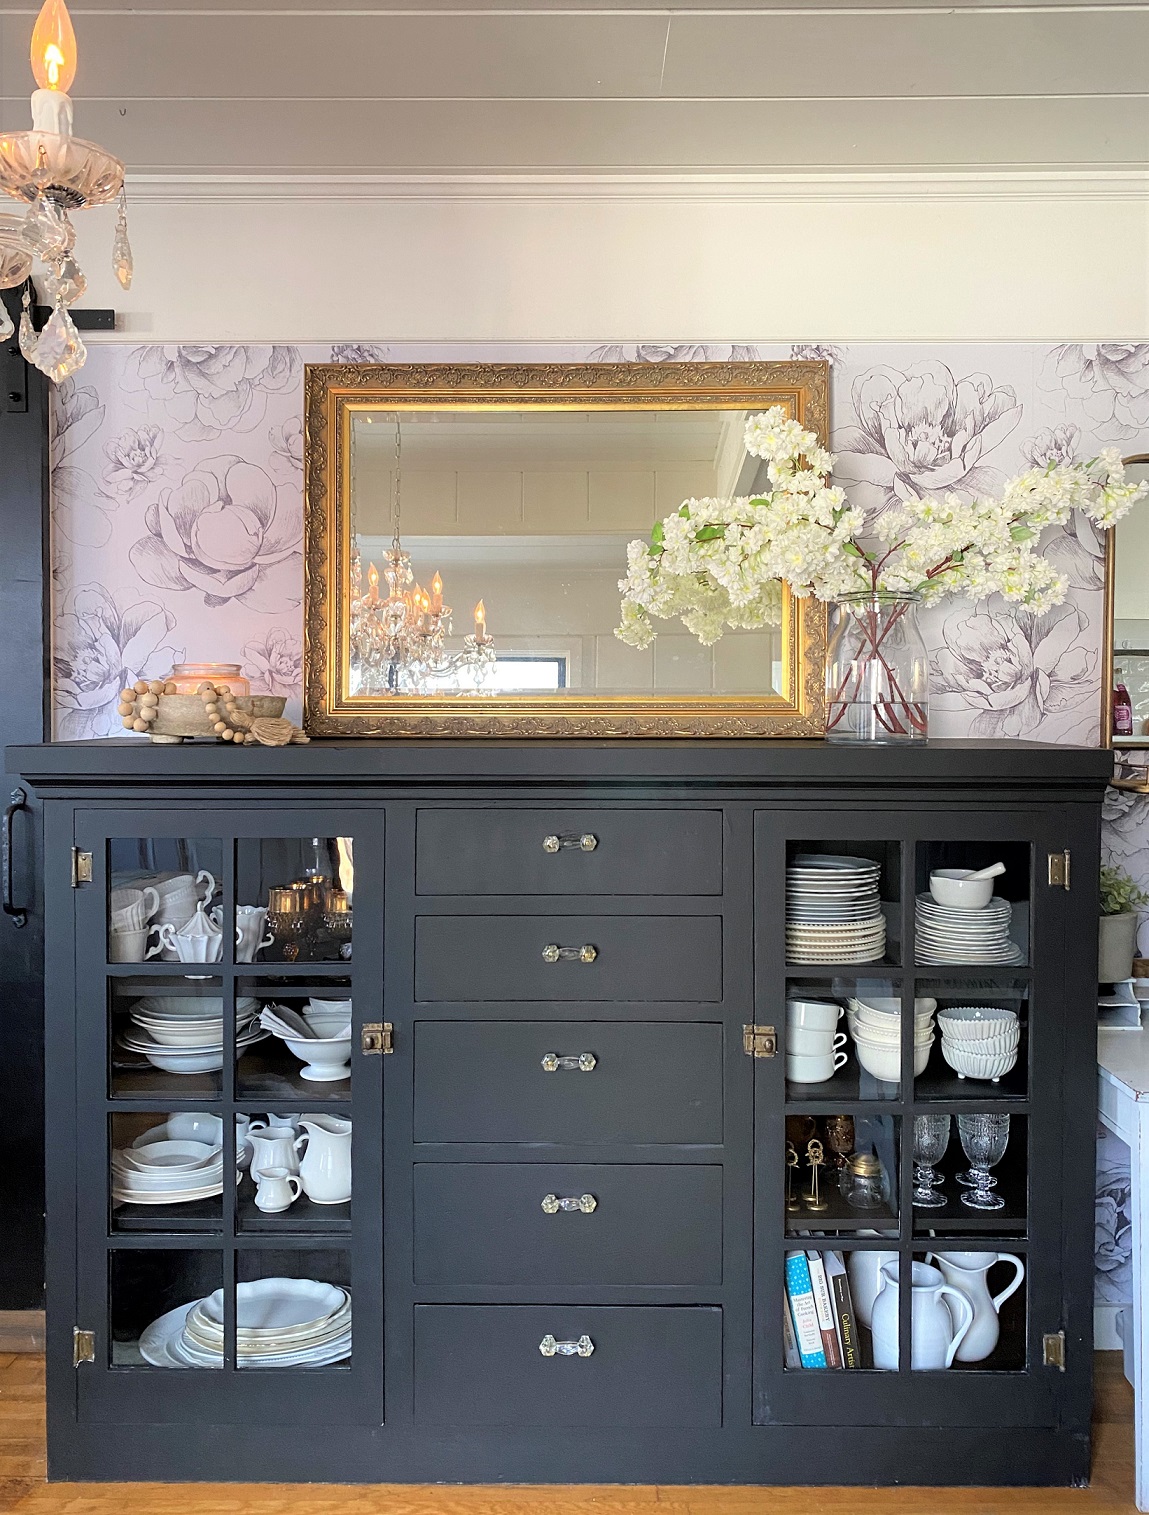
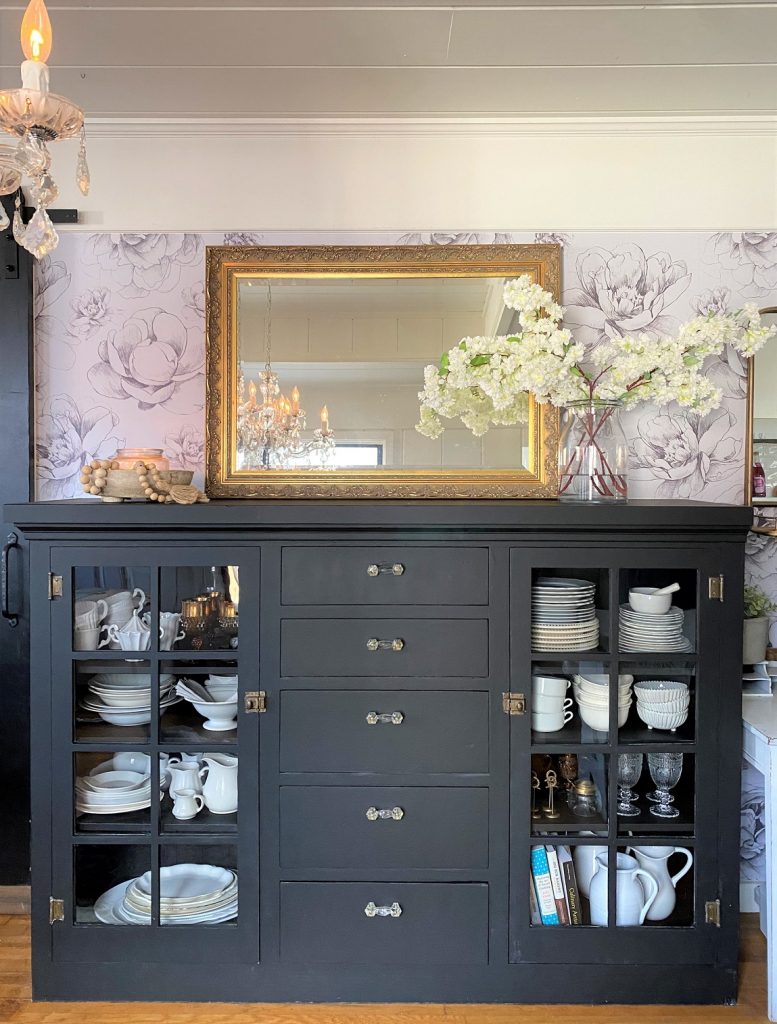
For this DIY project, I wanted to bring a whole new feel to our dining space. A little more modern and refined with a moody vibe, but without giving up our cozy cottage ambience. A dark paint color on our built-in hutch was the perfect answer, so I purchased a can of paint and the fun began!
Step 1: Prep
My husband always says that “90 percent of painting is prep work.” Don’t cut corners here! Take your time preparing the surface you want to paint. Whether sanding, taping off or wiping down, the more time you put into prep, the greater your end results.
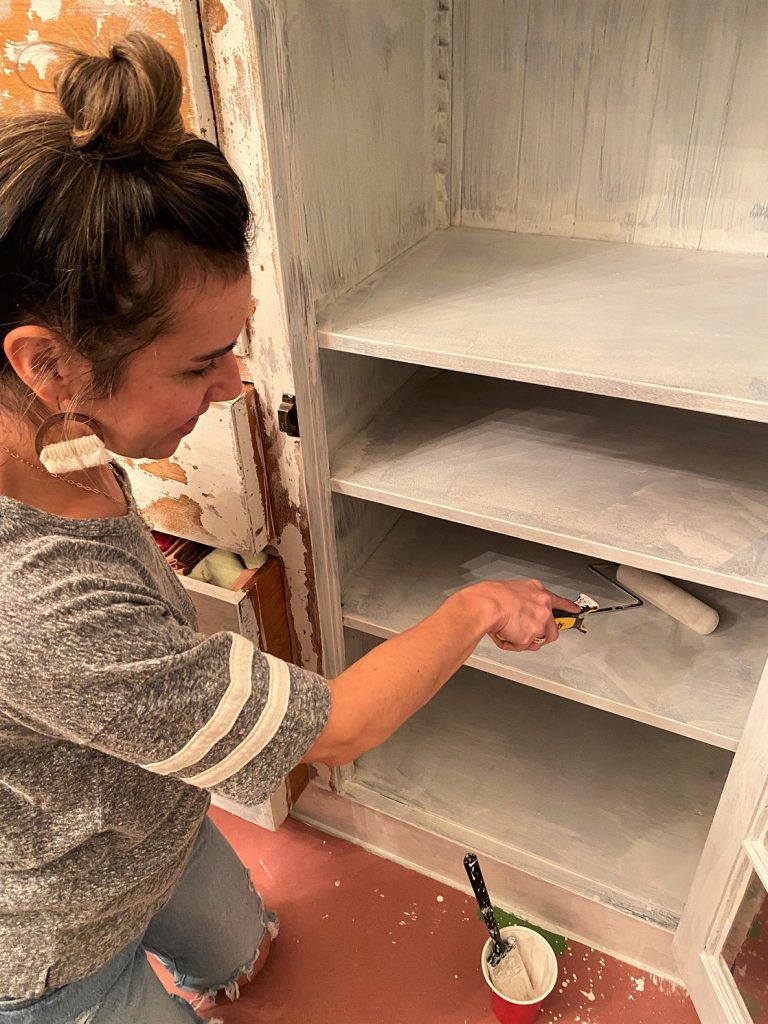
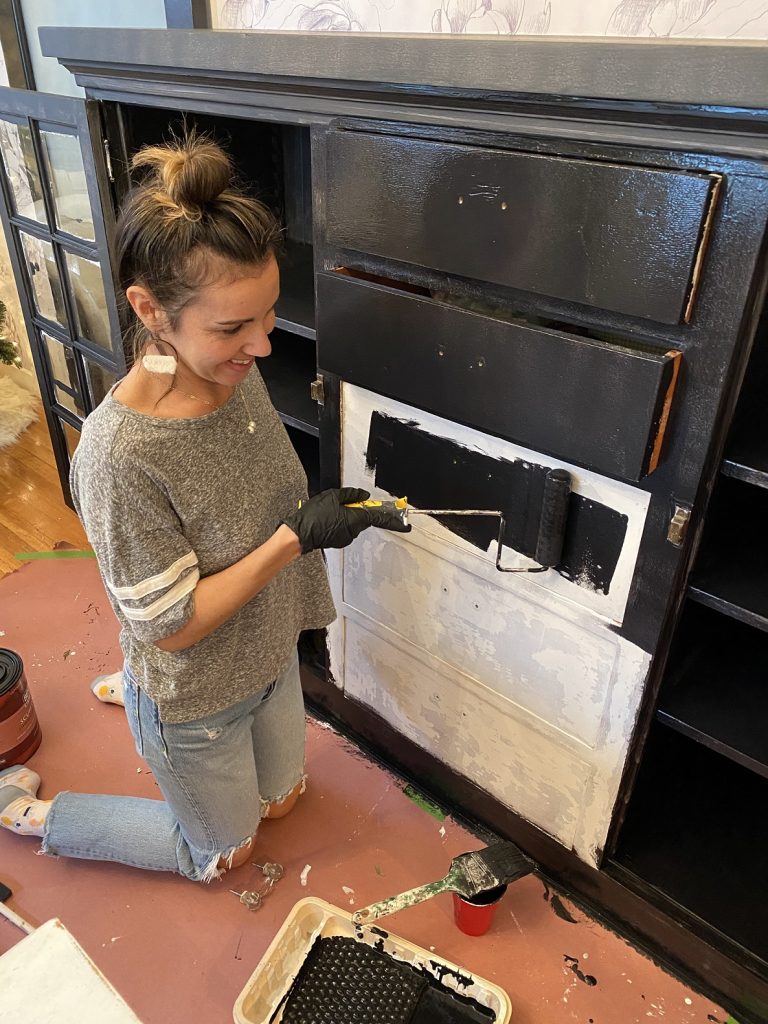
I used 150-grit sandpaper over the entire surface of the hutch, removing any rough and high spots. This is done to create a smooth surface and allow primer/paint to adhere properly. After sanding, I then removed all the sanding dust with a shop vac and soft cloth. The final step of my prep was taping off where the hutch meets the floor. I did not tape off the glass panes or hardware.
Pro Tip: Use a straight-edged razor and Miracle Eraser to quickly remove paint on glass after it dries.
Step 2: Primer and Paint
Not all projects will require primer; however, I primed our hutch with Zinsser BIN Ultimate Stain Blocker Primer to even out the surface because it had both painted and raw wood areas. I then allowed it to dry for 24 hours.
We are finally ready for paint.
Following the primer, I added two coats of paint to the entire hutch and a third coat on the top and shelves to protect against scratches. I used Behr Ultra Scuff Defense in “Flat Black” for that moody vibe I wanted to achieve.
Pro Tip: Prime to avoid discoloration or bleed-through from wood or other finishes.
Step 3: Style
I instantly fell in love with the new dark color and could not wait to style our hutch with my favorite mix of old and new items. I added a thrifted vintage mirror to the top and completed the look with my décor staples of flowers and candles. I must have flowers and candles always! I used blooms from Afloral, which are so life-like and, of course, last forever. Their beautiful cherry blossom branches adorn the top of the hutch, and the silk pink peonies on the table complete my look.
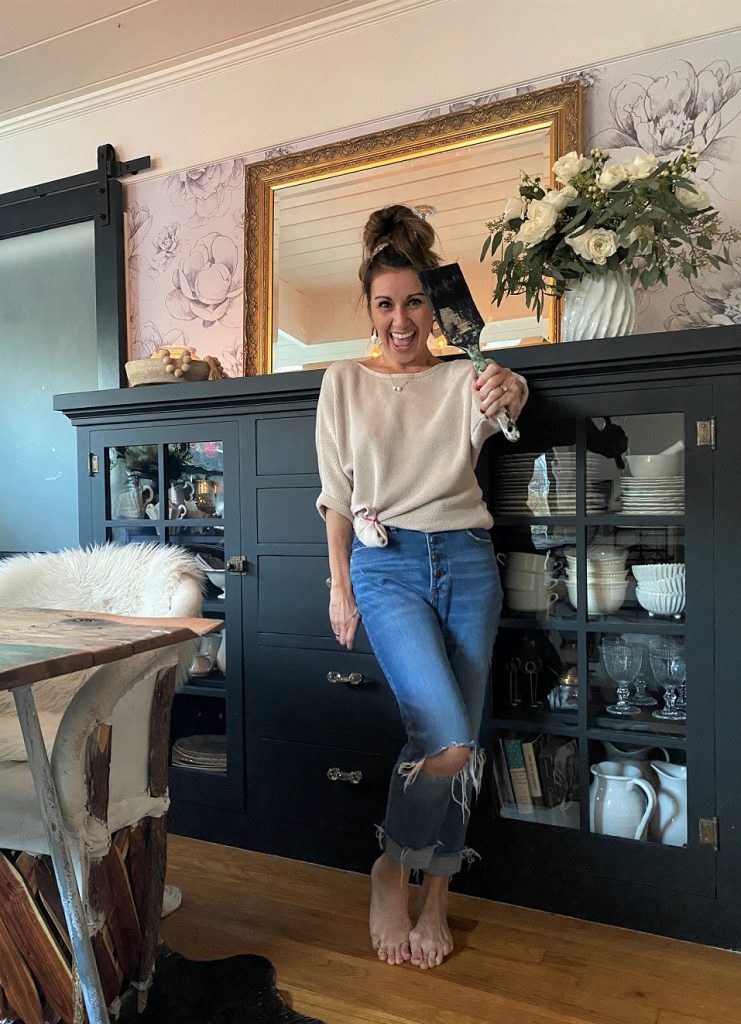
I wanted to fill the hutch with items we use daily, so I added our dinnerware, some of my favorite thrifted glasses, recipe books and my growing collection of ironstone.
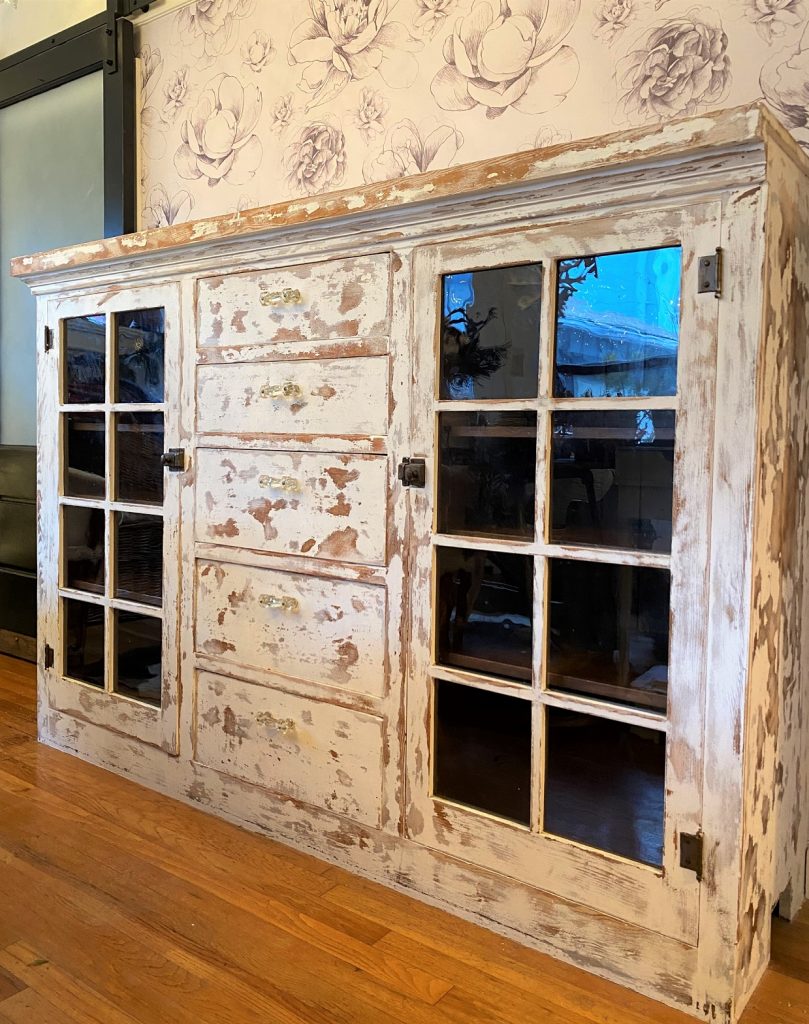
I hope this project inspires you to pick up a paintbrush and just go for it. Transforming an existing furniture piece is such fun, and think of all the fun you can have finding pieces to transform.
And always remember, if you don’t like it, it’s just paint. You can always do it again!
Xo,
Toni
TIP:
For quick one-day paint projects that provide the biggest bang:
-Paint your front door a fun pop of color.
-Paint a dresser and feel like you bought a brand new piece of furniture.
-Paint a vase for a whole new look.
SOURCES:
To see more of Toni’s creations and home, visit her on Instagram @toni_marianna.
Primer: Zinsser BIN Ultimate Stain Blocker Primer, $16.98, zinsser.com.
Paint: Behr Ultra Scuff Defense in Flat Black $32.98/gallon, behr.com.
Florals: Afloral, silk peony in light pink, $72, pink faux cherry blossom flower branch, $54, artificial spring cherry blossoms in cream, $54, afloral.com.
Of course, don’t forget to follow us on Instagram, Facebook and Pinterest to get your daily dose of cottage inspiration!
.

