The beginning of beadboard can be traced to the Victorian period, about 1880 or earlier. I have been recently restoring an 1862 house and, sure enough, a couple of original varieties are there. Some old slang terminology for beadboard referring to its uses may have included sheathing, paneling and ceiling. One of the oldest terms may have been car siding. Long before the invention of what we today consider cars there were wooden railroad cars. When you understand the concept of beadboard, it makes sense that this would be the siding of choice for rail cars, with all their twisting and turning.
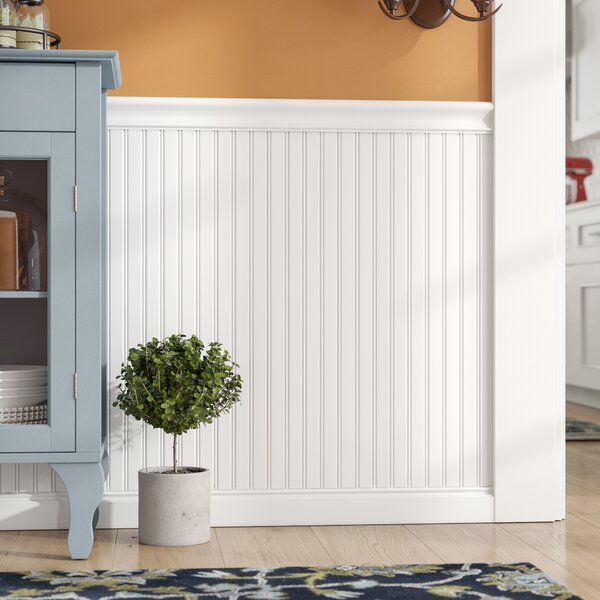
These are but a few of its known interior uses: inside backs of cabinets, cabinet doors, inside closet walls and ceilings, attic hatches, walls and ceilings of utility rooms and secondary stairwells, and occasionally wainscot paneling (lower-half wall) but rarely in baths. Beadboard’s exterior uses include porch lids or ceilings, garage door panels, accent siding, basement doors and, in rare cases, as eaves.
The biggest misconception about beadboard today is that it was paneling. It is true that most of what is called beadboard today is used as paneling, but real beadboard that was produced prior to World War II was not.
What is Beadboard?
True beadboard is tongue-and-groove planks that fit together snuggly just like floorboards; the only real difference being that each plank has vertical-running milled designs cut into it.
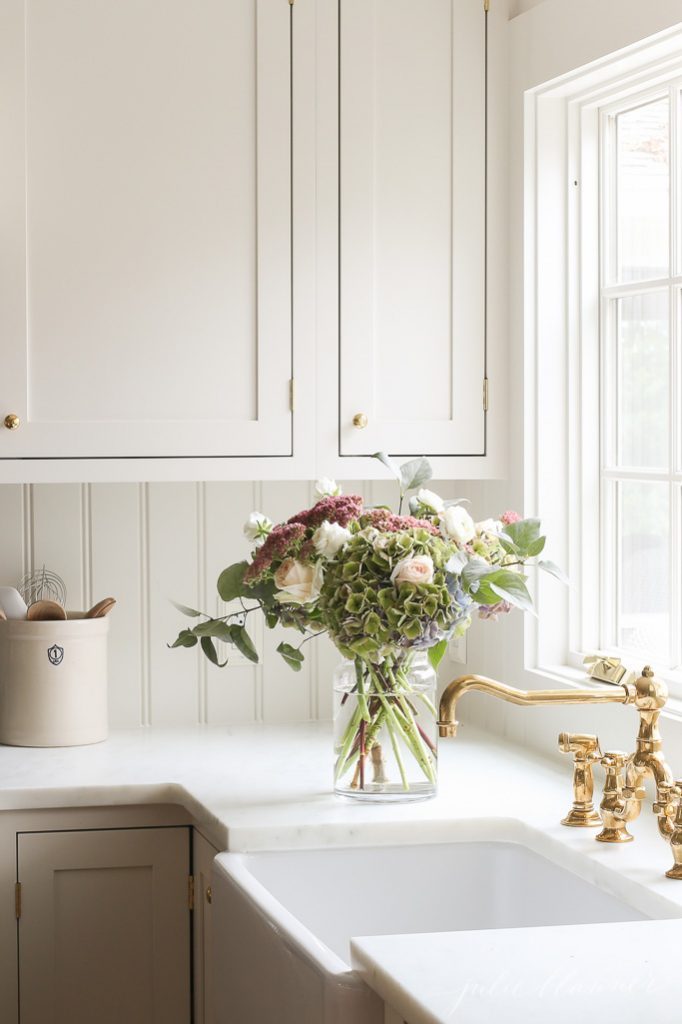
The term “beadboard” refers to the earliest milled design consisting of two thin grooves with a small half-round, or “bead,” between them. This is the style that was popular in Victorian houses and has returned in a big way today.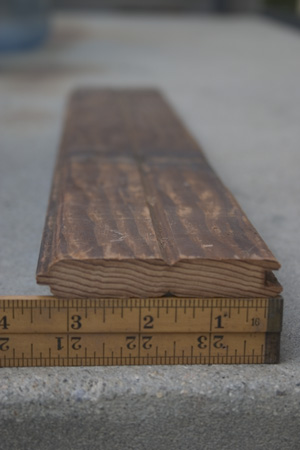
But beadboard has been produced in a wide variety of milled styles, with some being quite ornate. Some styles had different board widths and were available with milling either being increased in size for the larger widths or additional repeats of the pattern added.
Beadboard is being reproduced today mainly in paneling sheet form and almost exclusively in the one Victorian pattern. This style is perfect in a Victorian and acceptable in a variety of post-World War II/modern homes, but it is out of place in a Craftsman bungalow.
Victorian vs. Craftsman
Interior Craftsman woodwork was a simplified reaction to the overdone ornate look of the Victorian style. Craftsman beadboard was likewise simplified to a style that produced evenly spaced small notches, or v-grooves, when the boards were interlocked.
The spacing included a v-groove down the middle of each board so that typical three-inch boards produced a pattern of a v-groove almost every inch and a half. The Craftsman style continued the variety of uses for beadboard with exception to wainscot. Beadboard wainscot, with a few rare exceptions, was eliminated from the Craftsman home and replaced with simple board and batten for the dining room and sometimes other public rooms.
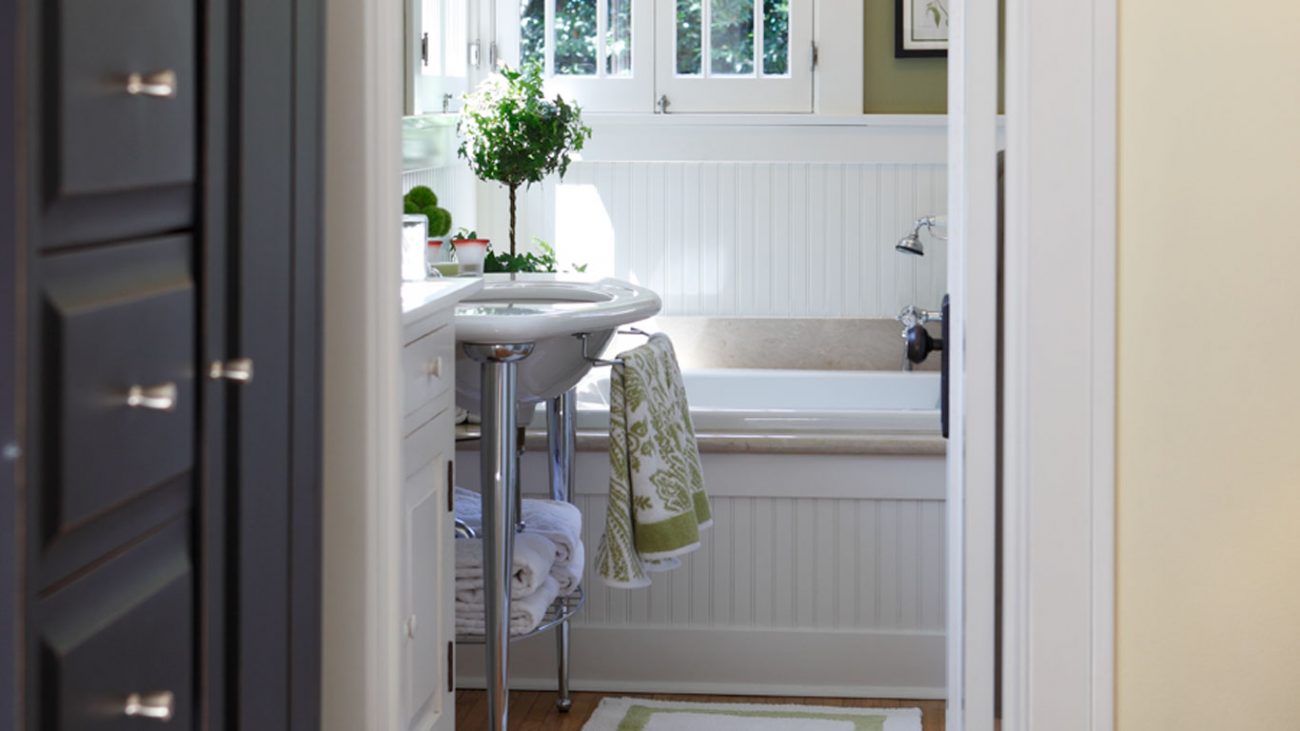
Many will be surprised to learn that it was almost never used in Craftsman baths. Yet, it is rare today to walk into a Craftsman bungalow and find a recently updated or remodeled bath that does not contain Victorian style reproduction beadboard paneling. Of course, even though everyone is doing it does not make it right. This is a design fad that is at its peak. For those who are about to remodel their Craftsman home bath, my biggest tip for you is to avoid design fads and go with the authentic look that will never look dated nor require periodic remodeling.
Honoring the Original
If you are going to introduce beadboard into your Craftsman home, try to limit it to those areas in which it would have been found originally and use only the v-groove notched style—unless you have another original style to match up to. It is more of a design faux pas to put an older (Victorian) element in the Craftsman than a bit newer of one. For example, a 1930s or 1940s stove and 1930s light fixtures will work in a Craftsman but very few from the 1880s will. 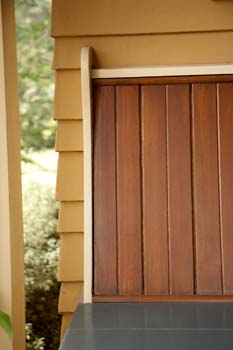
Make Your Own
The Craftsman style v-groove beadboard is really hard to find. I have heard about plans to reintroduce it, but until then you will have to make it yourself (as described here) or have it milled.
The easiest method would be to notch the grooves into paneling but the best authentic appearance will be with notched tongue-and-groove boards as they were made historically. If it is to be painted, avoid composite and go with real lumber. A few widths of paint-grade tongue-and-groove planks are available at lumberyards and in some cases may only require adding a v-groove to the middle of the plank.
If you are going with stain, then you will have to match up the type of wood in your bungalow and mill from scratch. Either way, continue your restoration efforts and keep it authentic. Your home’s value will reflect your hard work.
Michael Logan, painting contractor and Craftsman restorer, has owned Angelo Michael’s Painting since 1984. The projects pictured were done by Logan. He specializes in interior Craftsman restoration in Southern California.
Want more simply beautiful ideas? Check out this post on A Bright & Natural Make-over for a Historical Bathroom.
Of course, don’t forget to follow us on Instagram, Facebook and Pinterest to get your daily dose of cottage inspiration!

