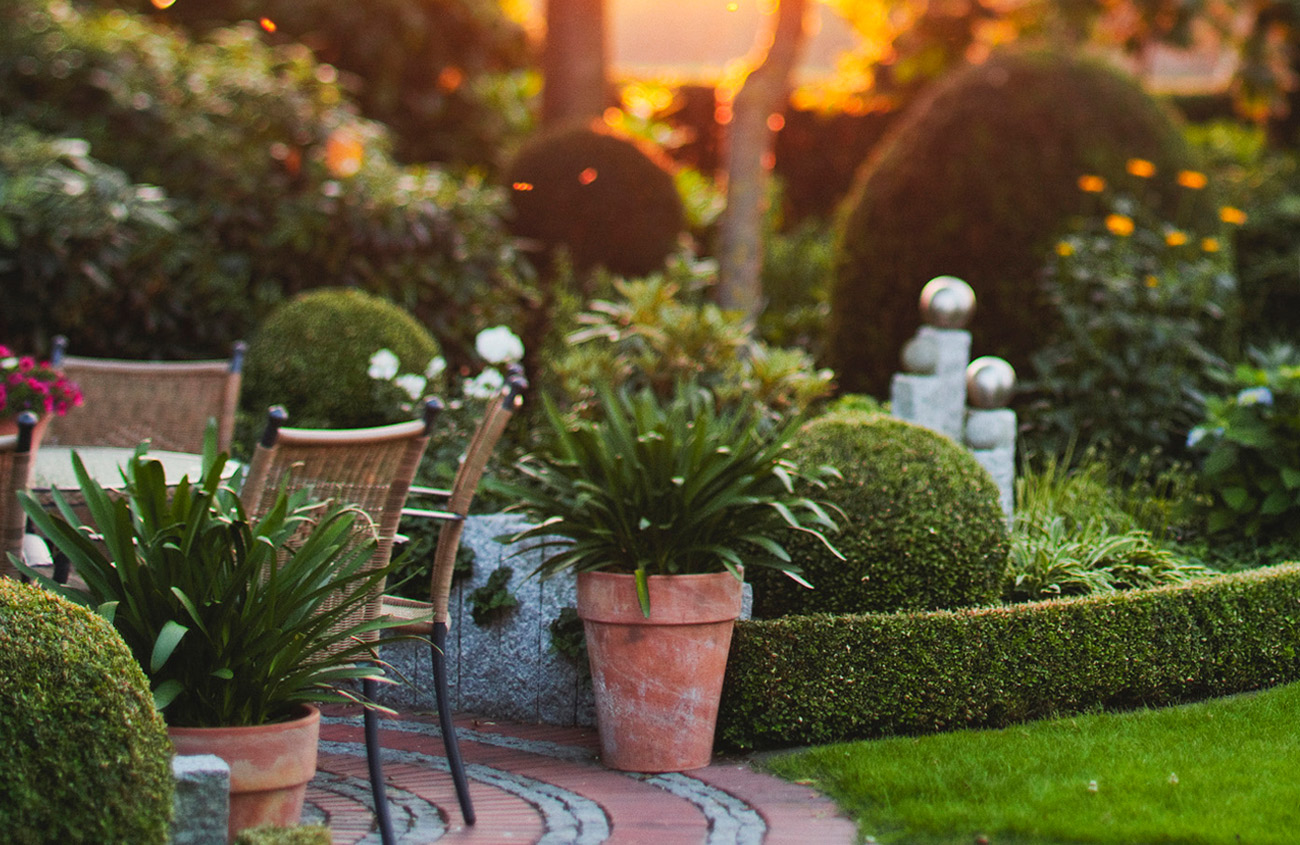
What do the manicured lawns of the Palace of Versailles, the maze in Harry Potter’s Triwizard Tournament and your neighbor’s privacy hedge have in common? Boxwood. Boxwood hedges and topiaries shape some of the most gorgeous and immaculate gardens in the world. So why not start your own beautiful boxwood sanctuary right at home?
To help all of your boxwood fantasies come true, we can show you where to plant the shrubs, how to take care of them and what to do when your hedges start looking a little too brown.
Getting boxwood in the ground
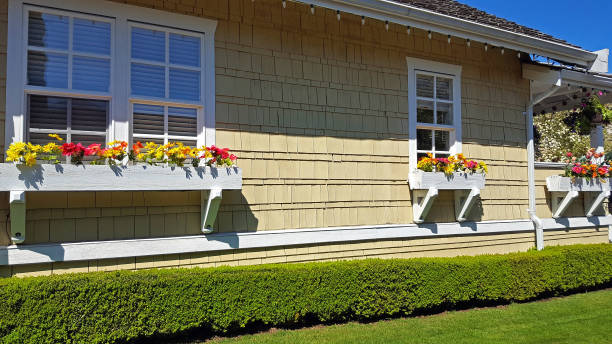
Try to plant your shrubs in a part of your yard that falls in USDA Hardiness Zones 5 through 9, where boxwood thrives, on the north side of your house to avoid direct sunlight. Keep your boxwood 2 or 3 feet from your home and away from downspouts to avoid damaging your house or the plant’s health.
Shrubs wrapped in burlap should be planted in the spring to early summer. Shrubs in containers can be planted between spring and early fall. When planting boxwood, leave top ⅛ of the root ball above soil. Fill in the gaps with loose soil and water. Add a 1- to 2-inch layer of mulch to minimize weed growth and keep the shallow roots cool and moist. The mulch should not cover boxwoods trunks, but should be 2 to 3 inches thick and extend 12 inches past the foliage. Fertilizing boxwood in the first growing season will damage the plant’s roots.
To create a low-level boxwood hedge, space each shrub about 15 to 18 inches apart. For a taller hedge, leave 24 inches between shrubs.
Maintaining your shrubs
To ensure your boxwood is consistently healthy, conduct yearly tests checking that the soil’s pH levels hover around 6.5 and 7. Adding lime will raise the pH, and adding sulfur will lower the pH.
Soak the soil each watering, as boxwood is shallow-rooted. If the soil dries deeper than one inch, the shrub may not be getting enough moisture.
When thinning or shortening your hedges or topiaries throughout the year, dead leaves and stems can accumulate in the center of the plant. The mix can breed fungal diseases, which cause the ends of your branches or roots to start dying. Thin out the plant regularly to ensure that light and air reaches to the center stem.
Related Reading: Garden Ideas That Match Your Style
Revitalizing diseased or dying boxwood
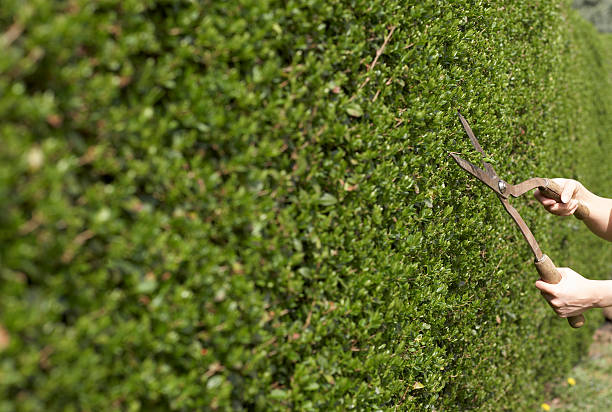
If your boxwood’s chances of surviving look dire, don’t pull them up just yet. Use shears to prune back several 4- to 6-inch dead or diseased branches until you reach green wood. The green coloring indicates that the branch will eventually grow back. If the wood is dry and streaked, you need to keep cutting or remove the whole branch. If the shrub has dried because of rotten roots, the plant cannot be saved.
You can remove dead wood from the plants year round. The best time to thin boxwoods is from December to February – as long as the weather is above freezing. The best time to shear is in early June.
After pruning and shearing, sprinkle one or two cups of a slow-release, natural fertilizer – like cottonseed meal – around the base of the plant, and water the mound. Add a 1-inch layer of mulch, keeping at least 6 inches away from the shrub’s base.
If your shrub is relatively healthy but you want to consistently revitalize the plant, cut the whole bush down to about 3 feet a couple of times each year.
Did you learn a lot about boxwood with this article? We can also help you create a classic cottage garden or learn the dos and don’ts of cultivating lilacs.
Of course, don’t forget to follow us on Instagram, Facebook and Pinterest to get your daily dose of cottage inspiration!

