If you’re inspired by the possibilities of a historic home, or any fixer-upper, once you have the keys, what comes next? Renovating is a process, but the Bridgers have got it down. In Part 1, we introduced you to the Bridgers and their 100-year-old fixer-upper farmhouse in a charming neighborhood of western Michigan. Over the next year, with the experience of several previous renovations the family has undertaken, Christine Bridger will take us behind the scenes to explain what goes into the transformation you’ll see unfold before your eyes.

1. Start Dreaming
Once you’ve found your fixer-upper, it’s time to imagine the possibilities. To do this, especially with a historic home like the Bridger’s, Christine begins by looking back and asking, “What can I learn from the past?”
“When we get into the design, the first thing we start with is just trying to get in the right mindset for the home we’ve acquired,” Christine says. “We try to talk to local people. We go and research the designer who built the home. We try to meet people who have lived in the home if they’re still in the area. Research that style and era of home online. You’d be surprised— you might be able to find articles on a particular home.”
This works well to get a feel for the area’s roots and see what other people have done. Research archives and see what you can unearth about your home and other homes built around the same time. This gives you a reference point for what is authentic to the original home.
2. Ask the Right Questions
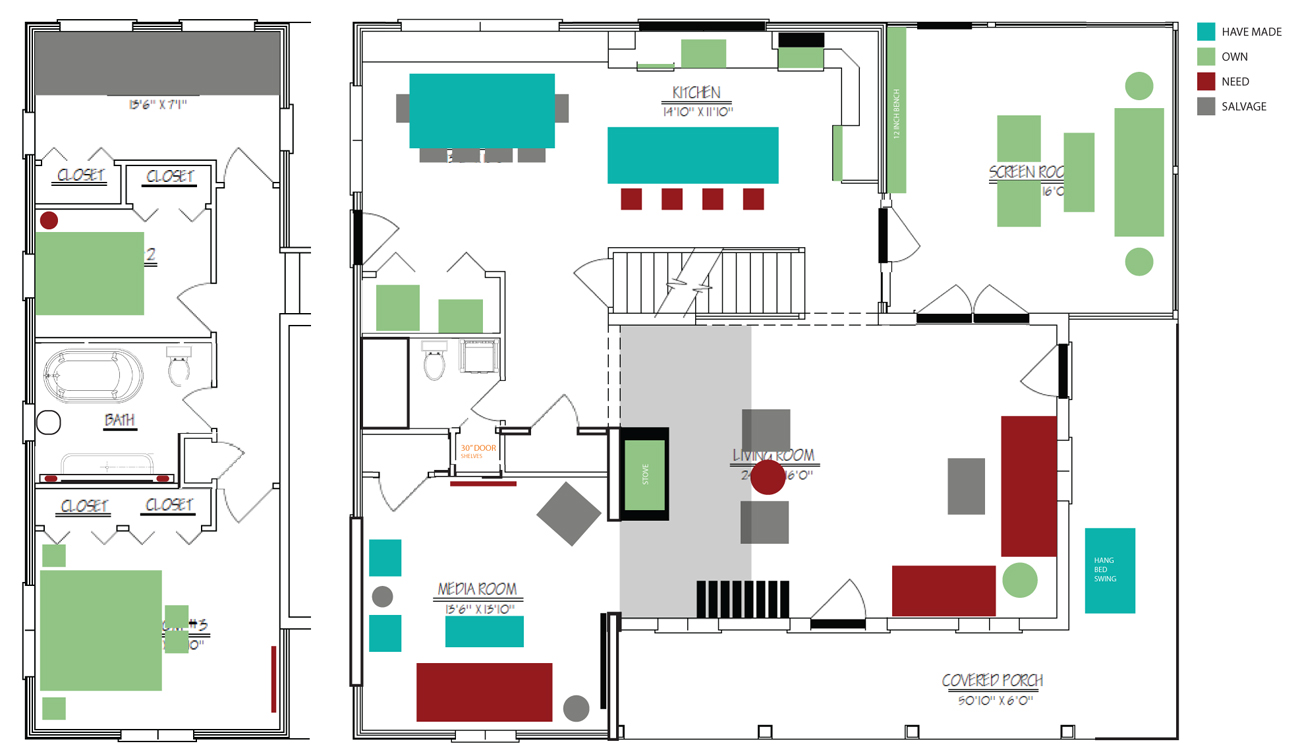
“Then we move on to ‘How do we want to use the home?’ We are the type of people who learn from our mistakes and learn from our happy accidents,” Christine says. “We created a media room in our other home in Holland, Michigan, that had big wide doors that opened up for the room to flow into another living area, but we could also close off the room if people want to watch TV and not disturb the rest of the group that might want to sit and have a conversation. And it also converts into a bedroom. We replicated that concept here at our farmhouse.”
From there, Christine says, “We start taking inspiration from anywhere. We could be in a restaurant and see that we love the industrial look of a working kitchen.” Whether it’s online resources like Pinterest or Houzz, magazines or a restaurant, Christine and Gabe gather their all inspirations together in one place.
“Without judgment, we pull whatever appeals to us. Then we start to break it down,” Christine explains, by noticing common themes. “We call it ‘design heat mapping.’ It allows our instincts and intuition to guide our design process. If you allow yourself to freely collect design inspiration, then it’s easier to find those things and whittle down what you are most drawn to.”
3. Get Real
Once you’ve dreamed up possibilities and narrowed down your vision, “budget always comes into play.” It’s all about priorities, so Christine and Gabe ask, “What is that we absolutely have to have? We never want to end up with a box without character,” Christine says.
For this farmhouse, Christine and Gabe agreed that “it’s an absolute must to keep the original home structure, even though it would have been cheaper to tear it down. We wanted that because we thought we would be preserving the heart of the home, which is the family room. Without it, it would have no heart.”

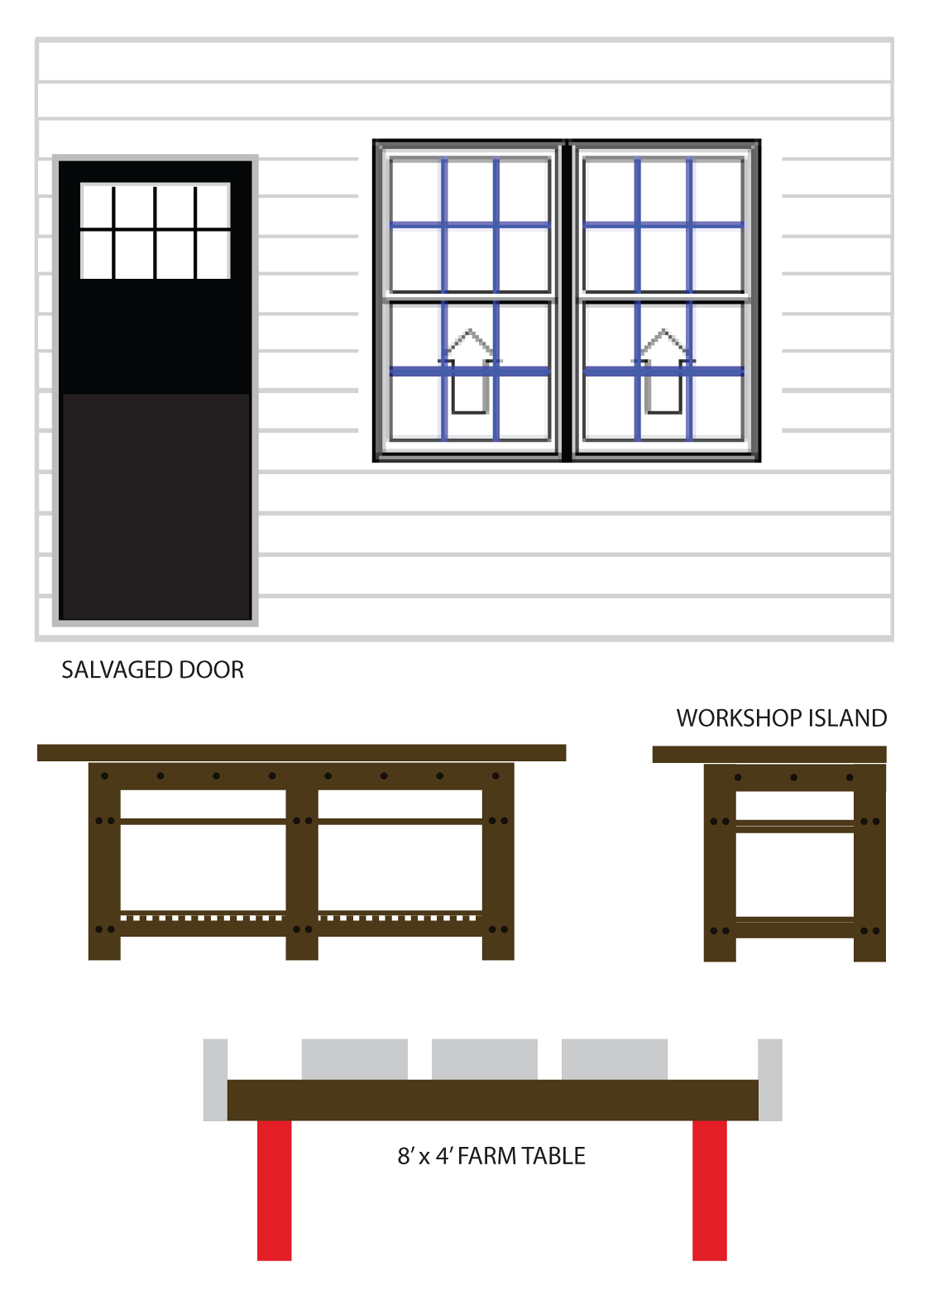
Sometimes it comes down to a cost savings. “We wanted all our doors to have charm and feel period correct, but we didn’t want to go over budget paying for high-quality replicas. So, we went on a salvage shop hunt to find a set of 10 matching doors from another 100-year-old house, costing only $300 total.” Another high priority for the Bridgers and their farmhouse is the exposed rafters in the main living room and sunroom.
Christine and Gabe always share their plan and walk through the home with their contractor, Jon. “It helps us to walk the space … we start looking at things from a 360-degree view,” and Jon’s perspective introduces new ideas or structural concerns. With the decision about the exposed rafters, Jon, owner of Paradigm Renovation, immediately pointed out that this would cost an extra $4,000 to insulate. That’s what Christine calls a “gut-check moment,” where you realize how much a priority something is. This particular decision was so important that Christine knew they would have to pay for it. “We just could not picture this house with dry-walled ceilings. It was going to ruin everything,” she says.
Other times, learning the cost shows that something is not as important as you had thought and you can adjust in order to save on costs. The budgeting phase really identifies your priorities.
From there, Christine says, “Once we know the big architectural decisions, then we start getting into the finite details and physical collecting mode. When you have a good vision, it’s really easy to make spontaneous material decisions. For example, I knew we had designed a really wide space for a sink in our second floor bathroom that everyone would be sharing. So knowing that, and having an idea of what we were looking for, we randomly came across someone who was getting rid of a big, huge Kohler three faucet utility sink from a salvage shop. So I was able to say ‘Yeah, I’ll take that’ without any measuring or further thought because I knew it met the criteria.”

Want to stay organized with children at home? Check out this post on 3 Tips to Stay Clutter Free with Kids.
Of course, don’t forget to follow us on Instagram, Facebook and Pinterest to get your daily dose of cottage inspiration!

